Introduction
In the ever‑expanding world of mobile connectivity, the question can you use a vpn on iphone has become common among users looking to safeguard their privacy, bypass geo‑blocks, and protect sensitive data while on the go. For many, the answer is a confident yes, but the process can seem daunting without clear guidance.
First, let’s understand why a virtual private network (VPN) matters for iPhone users. A VPN encrypts traffic between your device and the internet, hiding your IP address and shielding browsing habits from ISPs, public Wi‑Fi providers, and even governments. It also enables secure connections to corporate networks and provides anonymity for those who need it.
The next step is to figure out how to setup vpn on iphone. While the interface is user‑friendly, there are nuances that can trip up even seasoned users. We’ll walk through the exact steps, covering both built‑in iOS VPN support and third‑party apps.
Now that we have the context, you might wonder whether a VPN can slow your connection. The link Does a VPN affect internet speed? offers a detailed explanation, and it’s reassuring that many modern providers use fast protocols that mitigate latency.
Before you dive into setup, it’s wise to ask can you use a vpn on iphone in the context of your specific use case: streaming, gaming, or corporate VPN needs. The answer will shape the provider you choose and the configuration you apply.
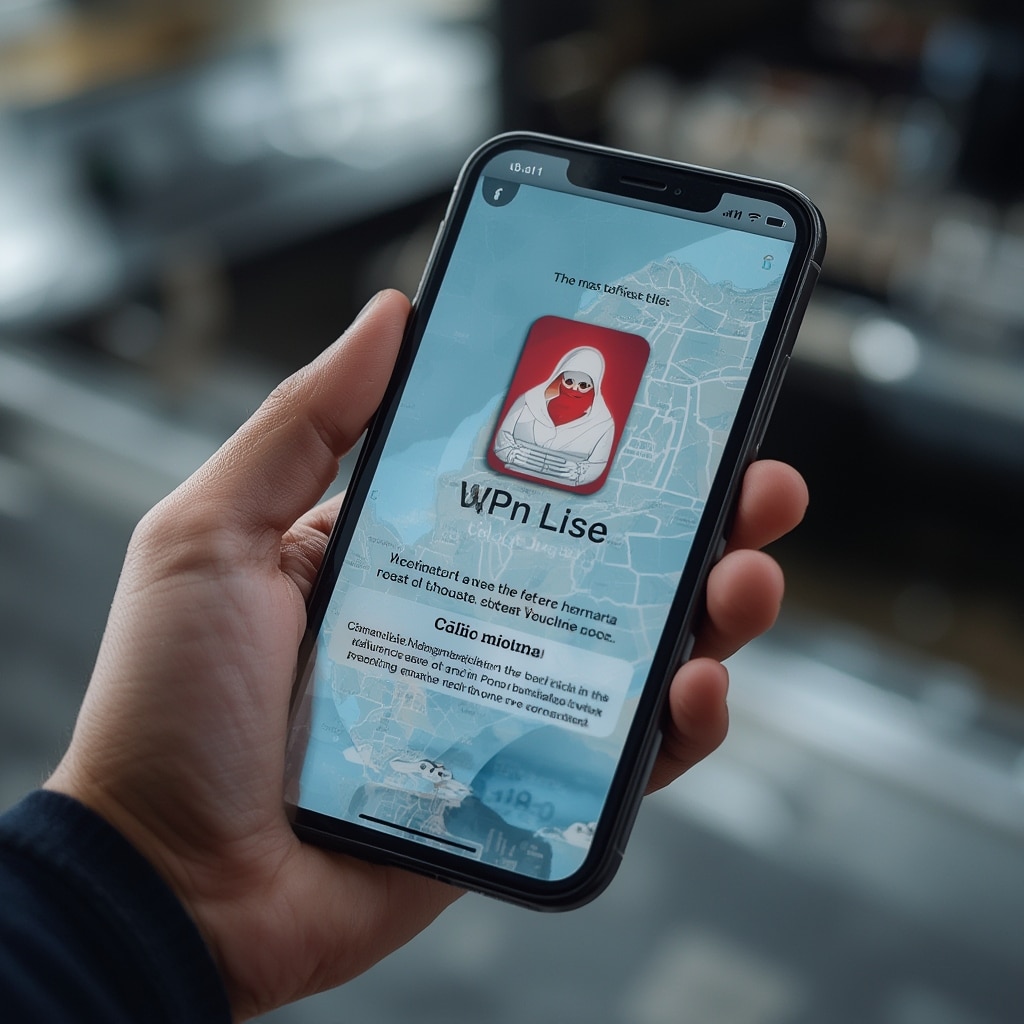
Now let’s tackle the core question: can you use a vpn on iphone. The answer is straightforward—yes. iOS supports both L2TP/IPSec, IKEv2, and OpenVPN protocols, allowing seamless integration. The next sections will show you how to enable it in a few clicks.
Remember that the best VPN for you depends on speed, server locations, and privacy policies. The resource What is the VPN? gives a solid overview of how VPNs function under the hood, which can help you make a more informed choice.
In the next section, we’ll dive deep into the step‑by‑step instructions for setting up a VPN on an iPhone. Whether you’re a first‑time user or just want to double‑check your configuration, these steps will guide you through the entire process with clear screenshots and explanations.
As you progress, keep in mind that the same steps apply regardless of whether you’re setting up a corporate VPN or a consumer service. The key difference lies in the server addresses and authentication methods. Let’s explore that in detail.
In addition to the standard setup, we’ll discuss advanced configuration options, such as split tunneling and auto‑connect settings, which can enhance your experience. By the end of this guide, you’ll have a fully functional VPN on your iPhone that meets your privacy and performance needs.
We’ll also touch on the broader landscape of VPN usage in the U.S., Canada, Europe, and Asia to give you a GEO‑context view. This will help you understand why certain servers perform better in specific regions.
Finally, we’ll conclude with actionable takeaways and best practices, ensuring you stay secure, fast, and compliant with local regulations.
Now, let’s get started with the practical steps.
Step-by-Step Instructions
When you’re ready to set up a VPN on your iPhone, follow these detailed steps. The guide below covers everything from choosing a provider to configuring the VPN in iOS. By the time you finish, you’ll have a fully operational VPN connection.
Step 1: Choose a VPN Provider
Start by selecting a reputable VPN service. Look for one that offers iOS apps, strong encryption, no‑logs policies, and a good mix of server locations. Many providers provide free trials or money‑back guarantees.
Once you’ve chosen a service, sign up for an account and download the official app from the App Store. Many providers also give you manual configuration details for the built‑in VPN feature.
After installation, log in with your credentials to ensure the app is working properly. The app will usually confirm that you can reach its servers.
Next, we’ll walk through the iOS configuration process. If you’re using a paid service, you’ll have an “Advanced Setup” option inside the app to retrieve the necessary VPN details.
Step 2: Gather VPN Details
For manual setup, you need the server address, username, password, and the chosen protocol (e.g., IKEv2, L2TP/IPSec, or OpenVPN). If your provider supports OpenVPN, you’ll usually download a .ovpn file or use the app’s built‑in support.
Make sure to copy each detail accurately. A small typo can prevent the VPN from connecting. Keep a notepad handy to avoid losing any information.
If your provider offers a “Quick‑Setup” script or QR code, use it to simplify the process. Many apps have an “Import” button that scans the QR code to auto‑populate fields.
Now you’re ready to move to the iOS settings. Let’s dive into how you actually add the VPN.
Step 3: Add the VPN in iOS Settings
Open the Settings app on your iPhone. Scroll down and tap on General, then choose VPN & Device Management (iOS 13 or later) or simply VPN on older versions.
Tap Add VPN Configuration… and select the protocol that matches your provider’s instructions (IKEv2, IPsec, or L2TP). Enter the server, remote ID, and local ID if required.
For IKEv2, fill in the Server field with your provider’s address, and set the Remote ID if the service requires it. The Authentication Method is typically Username and Password. Input your VPN credentials and enable the Send All Traffic toggle if you want all traffic routed through the VPN.
When you’re finished, tap Done to save the profile. Your VPN will now appear in the list of available connections.
Step 4: Connect to the VPN
Return to the main Settings page and tap VPN at the top. Toggle the VPN switch to ON. You’ll see a lock icon in the status bar once the connection is established.
Test your connection by visiting a site like https://www.cloudflare.com/learning/ to check your IP address. You should see your VPN server’s IP listed instead of your local ISP’s IP.
If the connection fails, double‑check the server details and authentication credentials. Many VPNs also provide troubleshooting steps in their FAQ.
To turn off the VPN, simply toggle it off in Settings or use the “Turn Off” button within the app. For an alternative method, see the dedicated guide at Turning Off VPN on iPhone.
Step 5: Verify VPN is Working
Open a browser and visit a site that shows your IP address, such as https://www.eff.org/. Your IP should reflect the VPN server’s location.
Try streaming a video from a region you normally cannot access. If the content loads, the VPN is successfully bypassing geo‑blocks.
Finally, test for DNS leaks by visiting a leak test site. If the VPN is configured correctly, your DNS requests should route through the VPN, not your ISP.
Congratulations, you now have a fully functional VPN on your iPhone. Keep this guide handy for future reference, especially if you switch providers or need to troubleshoot connection issues.
Remember, the best practice is to keep the VPN app updated and the iOS system up to date to avoid security gaps.
Also, always review your VPN’s privacy policy regularly to ensure they maintain a strict no‑logs policy.
Now let’s discuss some additional tips that can help you optimize your VPN experience.
Tips
Once you have your VPN set up, there are several ways to improve performance and security. These tips cover everything from selecting the fastest server to enabling split tunneling.
Select the Right Server Location
Choosing a server geographically closer to you reduces latency. If you’re in Europe, use a server in Germany or France; if you’re in Asia, pick one in Singapore or Tokyo.
For streaming services that enforce strict geo‑restrictions, pick a server known to bypass those restrictions. Check your provider’s server list and community reviews for guidance.
Enable Split Tunneling
Split tunneling lets you route only specific apps through the VPN, freeing up bandwidth for others. Many iOS apps support this feature via the VPN app’s settings panel.
To enable split tunneling, open the VPN app, go to Advanced Settings, and select Choose Apps. Add the apps you want to route through the VPN.
Use Automatic Connect
Many VPN apps let you enable auto‑connect. This ensures that the VPN starts whenever you connect to Wi‑Fi or cellular. It’s especially useful if you frequently travel or use public Wi‑Fi.
Turn on Auto‑Connect on Wi‑Fi or Auto‑Connect on Cellular in the app’s settings. This feature keeps you protected without manual intervention.
Check for DNS Leaks
Even with a VPN, DNS leaks can expose your real location. Use the free leak test at https://www.cloudflare.com/learning/ to confirm your DNS is protected.
If a leak occurs, adjust your DNS settings in the VPN profile to use secure DNS servers, such as Google Public DNS or Cloudflare’s 1.1.1.1.
Monitor Bandwidth and Speed
Most VPN apps have built‑in speed tests. Use them to compare different servers. If you notice consistent slowness, try a different protocol or server.
Additionally, monitor your device’s battery usage. A VPN can consume more battery, especially on older iPhones. Consider disabling the VPN when not needed to save power.
Keep Your App and iOS Updated
Security patches for both iOS and VPN apps fix vulnerabilities and improve performance. Enable automatic updates to stay protected.
If you notice performance dips after an update, check the provider’s support pages; they often release notes explaining changes.
Read the VPN FAQ and Support Docs
Each VPN provider maintains a knowledge base. If you encounter a problem, search their FAQ first. The FAQ often contains solutions for common connectivity, speed, and compatibility issues.
When in doubt, contact customer support via chat or email. A good provider will respond quickly and help troubleshoot any configuration problems.
Alternative Methods
If you prefer not to use a built‑in VPN or a dedicated app, there are other ways to secure your iPhone traffic.
Use a Proxy Service
Proxy servers can hide your IP, but they typically don’t encrypt traffic. Proxies are suitable for simple browsing tasks but are less secure than VPNs.
To set up a proxy on iOS, go to Settings → Wi‑Fi → (your network) → Configure Proxy. Enter the proxy address, port, and authentication if required.
Enable iOS Private Relay (iOS 15+)
Apple’s Private Relay encrypts your traffic between your device and Apple’s servers and hides your IP from websites. However, it only works on Wi‑Fi, not cellular.
Activate it by going to Settings → iCloud → Private Relay and toggling it on. Private Relay is a built‑in privacy feature that’s simple to enable.
Use Secure Shell (SSH) Tunneling
SSH tunneling can forward traffic from a local port to a remote server, acting as a lightweight VPN. This requires technical expertise and a server you control.
On an iPhone, you can use apps like Termius to create an SSH tunnel. Configure the remote server and use it as a SOCKS proxy.
Employ a VPN Browser Extension
Some browsers like Firefox allow VPN extensions that route only browser traffic. While not as comprehensive as a device‑wide VPN, it’s useful for browsing privacy.
Install the browser extension from the browser’s add‑on store and configure it with your VPN credentials.
Use a Remote Desktop to a VPN‑Enabled Machine
Connect to a VPN‑enabled remote desktop session. Your local traffic routes through the remote machine, effectively creating a VPN tunnel.
Use Microsoft Remote Desktop or Apple Remote Desktop to connect to a Windows or macOS machine that has a VPN active.
These alternative methods can complement your primary VPN setup or serve as backups in certain situations.
Conclusion
In summary, the answer to can you use a vpn on iphone is a resounding yes. The iPhone’s built‑in VPN support and third‑party apps make it easy to encrypt your traffic and protect your privacy. By following the how to setup vpn on iphone steps detailed above, you can secure your device against data breaches, surveillance, and unwanted tracking.
Remember that the effectiveness of your VPN depends on the provider’s server quality, encryption standards, and privacy policy. Always choose a provider with a strict no‑logs policy and robust encryption protocols.
As you optimize your VPN usage, keep these tips in mind: choose a geographically close server, enable split tunneling if needed, monitor speed, and keep your iOS and VPN app updated. These practices ensure the best balance between security and performance.
Should you need to turn off the VPN quickly, refer to our guide Turning Off VPN on iPhone. This knowledge will help you manage your connection without hassle.
Finally, if you ever explore alternative privacy methods, such as proxy servers, iOS Private Relay, or SSH tunneling, you’ll have a well‑rounded strategy to keep your data secure across multiple platforms and environments.
By implementing a reliable VPN and following the steps and tips above, you’ll enjoy a safer, more private, and geographically unrestricted iPhone experience—whether you’re streaming, gaming, or accessing corporate resources.


