Introduction
When you type do i need a vpn for my ios into a search box, you’re usually looking for peace of mind while browsing on your iPhone or iPad. The answer isn’t a simple “yes” or “no” – it depends on your location, the apps you use, and the data you share.
Many iOS users also search for VPN for iOS because they hear about public Wi‑Fi risks, streaming geo‑blocks, and government surveillance. Both queries point to the same core concern: protecting your digital footprint on a mobile device.
In the United States, a commuter might hop onto a café hotspot and wonder whether their banking app is safe. In Europe, GDPR‑aware users ask if a VPN helps them stay compliant when traveling across borders. In Asia, high‑speed 5G networks raise questions about data interception. All these scenarios illustrate why understanding the need for a VPN on iOS is crucial.
Throughout this guide, we’ll revisit the question “do i need a vpn for my ios” from three angles: security, privacy, and performance. You’ll also see how the phrase “VPN for iOS” appears naturally when we discuss specific settings and app recommendations.
By the end, you’ll have a clear answer, a practical setup checklist, and a toolbox of tips to keep your iPhone traffic encrypted, no matter where you are.
Step‑by‑Step Instructions
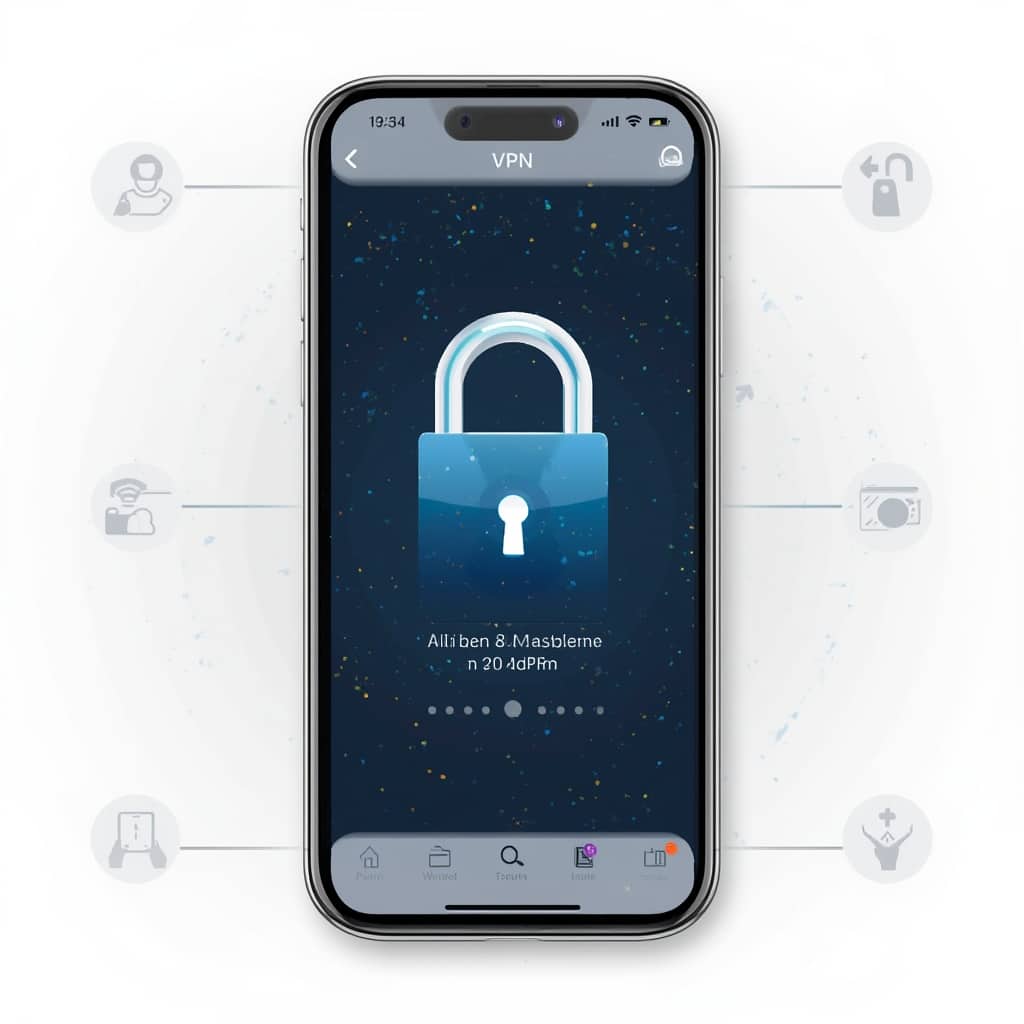
1. Assess Your Need
Before you download anything, ask yourself: am I connecting to public Wi‑Fi? Do I need to bypass regional streaming restrictions? Am I concerned about ISP tracking? If any answer is “yes,” you probably need a VPN for iOS.
Consider your GEO context. For example, a traveler in Brazil might want to access home‑country services that are blocked abroad. In that case, the answer to “do i need a vpn for my ios” leans toward a strong “yes.”
2. Choose a Reliable Provider
Look for providers that offer native iOS apps, strong encryption (AES‑256), a strict no‑logs policy, and servers in the regions you care about. Popular choices include ExpressVPN, NordVPN, and Surfshark.
Read reviews on tech sites and forums. The Reddit thread linked earlier discusses user experiences with different iOS VPN apps, helping you decide if a VPN is necessary for your specific use case.
3. Install the App
Open the App Store, search for your chosen VPN, and tap “Get.” After installation, launch the app and grant the “Add VPN Configurations” permission when prompted. iOS will ask for a passcode or Face/Touch ID confirmation – this step secures the VPN itself.
During setup, you’ll see an option to enable “On‑Demand VPN.” Turn this on if you want the VPN to activate automatically on certain networks, a handy feature for travelers who frequently switch Wi‑Fi spots.
4. Connect to a Server
In the app’s main screen, select a server location. If your goal is to stream US Netflix, choose a United States server. For privacy while browsing, a nearby server often provides the best speed.
Tap “Connect.” iOS will display a VPN icon in the status bar, confirming the tunnel is active.
5. Verify the Connection
To ensure the VPN is truly working, visit a site that shows your IP address, such as this test page. Your displayed location should match the server you selected, not your physical location.
If the IP hasn’t changed, revisit the app settings, or try a different server. Consistent verification helps answer “do i need a vpn for my ios” with confidence – you’ll know when you’re protected.
6. Enable Split Tunneling (Optional)
Some VPN apps let you choose which apps go through the VPN and which use your regular connection. This feature is useful if you need high speed for gaming while keeping banking traffic encrypted.
Enable split tunneling in the app’s settings, then select the apps you trust to bypass the VPN. Remember, any traffic not routed through the VPN is exposed, so use this feature wisely.
7. Test Real‑World Performance
Open a streaming service, a banking app, or a news site. Notice any buffering or latency differences. If performance drops dramatically, you might need to switch servers or adjust the encryption level.
For a quick test, use the built‑in speed test feature many VPN apps provide, or visit a site like this guide for detailed troubleshooting steps.
8. Configure System‑Wide Settings (Optional)
If you prefer not to rely on a third‑party app, iOS also supports manual VPN configuration under Settings → General → VPN & Device Management. Here you can input server addresses, authentication methods, and shared secrets.
Manual setup is more technical, but it gives you full control. Use it if you have a corporate VPN or a custom OpenVPN configuration.
9. Turn Off When Not Needed
Keeping a VPN on all the time can drain battery. To disable it, swipe down to open Control Center and tap the VPN icon, or go to Settings → VPN and toggle it off. For a detailed guide, see this article.
Tips
Choose the Right Protocol
iOS supports IKEv2, WireGuard, and OpenVPN. IKEv2 offers fast reconnection, ideal for mobile users who switch networks often. WireGuard is newer, providing excellent speed and security. If you’re unsure, start with the default protocol offered by your VPN provider.
Enable Kill Switch
A kill switch cuts internet access if the VPN connection drops, preventing accidental data leaks. Most iOS VPN apps have this feature in the privacy settings – always keep it enabled.
Use Private Relay for Apple Services
Apple’s Private Relay works similarly to a VPN for Safari traffic, masking your IP from websites. However, it doesn’t encrypt all apps, so combine it with a full‑device VPN for comprehensive protection. Learn more about Apple’s solution at Ghostery’s blog.
Beware of Free VPNs
Free services often sell your data or limit bandwidth. If you’re asking “do i need a vpn for my ios,” a reputable paid provider is usually the safest answer.
Keep Your iOS Updated
Security patches in iOS 17 and later improve VPN stability. Regularly check for updates in Settings → General → Software Update to ensure your device can fully support the latest VPN protocols.
Test Across Networks
After setting up, test your VPN on home Wi‑Fi, cellular data, and public hotspots. Different networks can affect performance. Use the testing guide for systematic checks.
Alternative Methods
Browser‑Based VPN Extensions
If you only need VPN protection while browsing, consider a browser extension. Opera for iOS includes a built‑in VPN that encrypts traffic within the browser. Follow this tutorial to enable it.
Smart DNS Services
Smart DNS changes your DNS routing to bypass geo‑blocks without encrypting traffic. It’s faster for streaming but offers no privacy. Use it only if your primary goal is accessing region‑locked content, not protecting data.
Corporate VPN Apps
Many enterprises provide their own VPN solutions for iOS. These often require certificates and manual configuration. If you work remotely, check with your IT department before choosing a consumer VPN.
Tor on iOS
The Tor Browser for iOS routes traffic through multiple relays, offering strong anonymity. However, it can be slow and is not suitable for all apps. Use it as a supplement, not a replacement for a full‑device VPN.
Conclusion
The question “do i need a vpn for my ios” is answered by examining your personal risk profile, browsing habits, and GEO context. If you regularly use public Wi‑Fi, travel across borders, or value privacy, the answer leans toward a firm “yes.” Conversely, if you stay on trusted home networks and only need occasional geo‑bypass, a browser‑based VPN or Smart DNS might suffice.
Remember, a reliable “VPN for iOS” not only encrypts your traffic but also provides a kill switch, split tunneling, and multi‑protocol support. By following the step‑by‑step instructions above, testing the connection, and applying the tips, you can confidently protect your iPhone or iPad.
Finally, keep your device updated, choose a reputable provider, and regularly verify that your tunnel remains active. With these practices, you’ll enjoy secure, unrestricted internet access wherever you go – answering both “do i need a vpn for my ios” and “VPN for iOS” with a clear, actionable plan.
“`


