Introduction
In today’s digital age, privacy and security are top priorities for every iPhone user. Whether you’re a casual traveler or a frequent remote worker, understanding how your device protects your data is essential. A common question that arises is whether the iPhone’s native capabilities can keep your information safe. does iphone have built in vpn is a phrase many search engines pick up, and the answer is surprisingly nuanced. Even if your phone doesn’t come with a traditional VPN app pre-installed, it offers a powerful feature called iOS VPN configuration profiles that effectively creates a VPN tunnel. In this guide we’ll explore how the built‑in system works, how it stacks up against third‑party options, and what you can do to maximize your online safety. We’ll also touch on geographic differences—whether you’re in the US, UK, or EU, the fundamentals remain the same, but local regulations can influence how you manage privacy.
Before diving in, it’s worth noting that iPhone built-in VPN often refers to a custom configuration that can be downloaded from a VPN provider’s website or installed through a company’s mobile device management system. This built‑in solution is usually less conspicuous than third‑party apps, which can be a double‑edged sword—less visibility, but also less user control in the default settings. Understanding these trade‑offs will help you decide if a native profile suffices or if a dedicated app is warranted.
By the end of this article you’ll know exactly how to set up a secure VPN on your iPhone, how to evaluate the safety of your provider, and the alternative methods that can complement or replace the built‑in approach. Let’s get started.
Step‑by‑Step Instructions
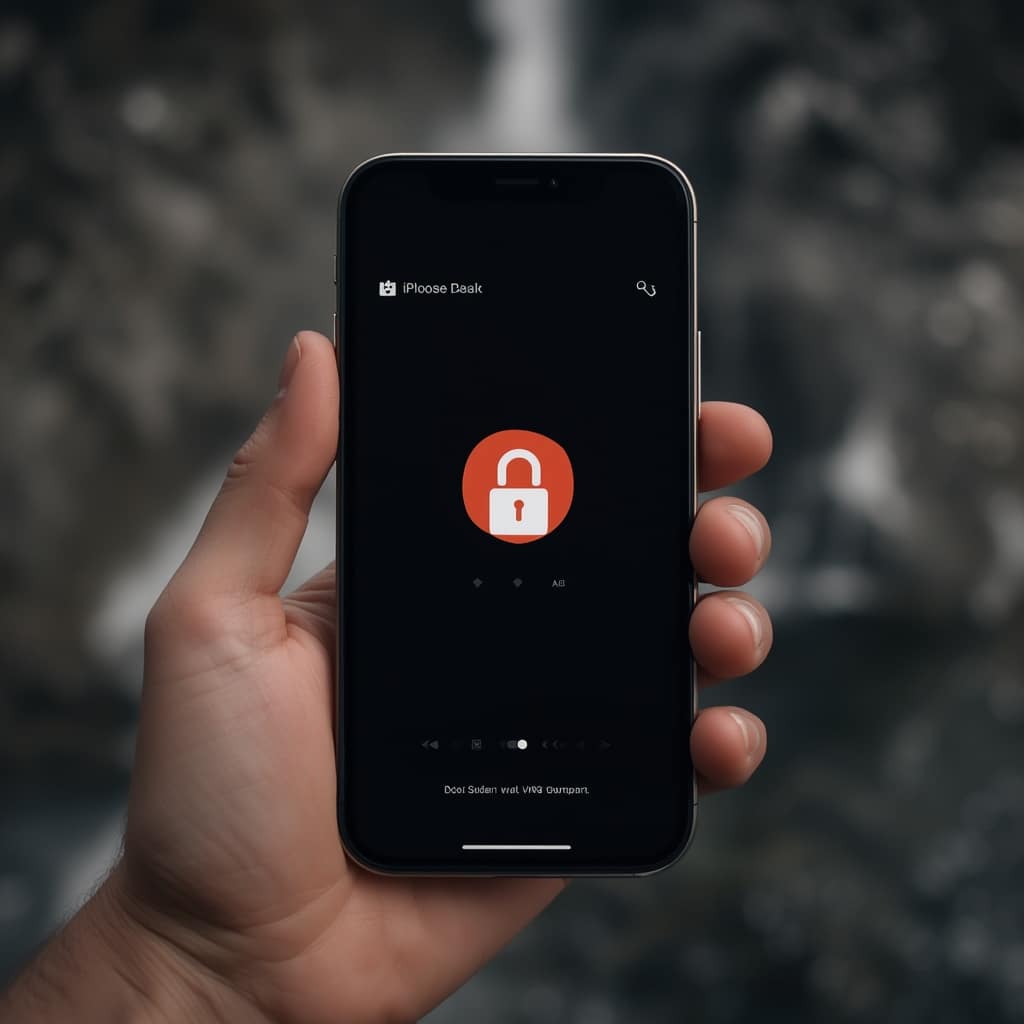
1. Check Your Current Security Settings
Navigate to Settings > General > About and scroll down to the VPN section. If there’s nothing listed, you’re not currently using any VPN profiles. This is a good place to confirm whether the native feature is in use.
2. Decide Whether to Use a Native Profile or a Third‑Party App
While iOS offers a robust VPN framework, most users prefer a dedicated app for ease of use. However, a native profile has the advantage of being integrated into the system, so it can be toggled without opening an external app. The choice ultimately depends on your need for speed, anonymity, and control.
3. Obtain a VPN Configuration Profile
Visit the VPN provider’s website or contact your employer’s IT department to request a configuration profile. The profile is typically a .mobileconfig file that contains server settings, authentication credentials, and encryption details. Download the file directly on your iPhone so you won’t need a computer to install it.
4. Install the Profile
Open the downloaded .mobileconfig file. iOS will display a preview of the profile details. Tap Install in the top right corner. When prompted, enter your device passcode to confirm the installation. The profile will appear under Settings > General > VPN > Add VPN Configuration… once it’s applied.
5. Configure the VPN Settings
Tap the newly added VPN entry. You’ll see options like Type, Server, Remote ID, and Local ID. Most providers pre‑populate these fields. If you need to adjust the Encryption level or Authentication Settings, consult the provider’s support resources. For a secure connection, choose AES‑256 or the highest encryption available.
6. Activate the VPN
Toggle the switch next to the VPN name. The status bar will now show a small VPN icon, and the Connected status will appear in Settings. From here you can verify that all traffic is routed through the VPN by visiting whatismyipaddress.com in Safari; the IP should match your VPN server rather than your local ISP.
7. Test the Connection for Privacy
Once connected, run a DNS leak test using dnsleaktest.com or the built‑in Network Diagnostics feature in iOS. If the test shows that no external DNS queries bypass the VPN, you’re good to go. This step also confirms whether does iphone have built in vpn is a robust security feature for public Wi‑Fi scenarios.
8. Automate VPN Activation on Specific Networks
To ensure your iPhone connects automatically when you enter a public Wi‑Fi space, go to the VPN entry and enable Connect On Demand. Set the trigger to “When Wi‑Fi Network Name Contains” and specify common public network identifiers like “Airport” or “Hotel.” This feature eliminates the need to manually toggle the VPN each time you land at a coffee shop.
9. Keep the VPN Profile Updated
VPN providers occasionally change server locations or encryption standards. Make it a habit to check for profile updates quarterly. A quick visit to the provider’s support page can confirm whether a new .mobileconfig file is available.
10. Understand the Limitations
While the iPhone’s built‑in VPN is powerful, it doesn’t encrypt DNS by default. Unless you configure a DNS over HTTPS (DoH) service within the profile, DNS queries might still leak. Consider adding a dedicated DoH server or using a trusted third‑party VPN app that automatically manages DNS for a seamless experience. Additionally, some iOS restrictions prevent background data from being routed through the VPN on older devices.
Tips for Enhancing Your VPN Experience
Choose a Reputable Provider
Not every VPN is created equal. A quick check of is x vpn safe can give you an initial sense of a provider’s transparency and security. Look for independent audits, no‑log policies, and a clear privacy policy.
Use a Dedicated VPN App When Needed
While the built‑in profile is convenient, dedicated apps like Windscribe offer additional features such as split tunneling, kill switches, and built‑in ad blockers. If you want the flexibility of choosing which apps route through the VPN, explore is windscribe vpn good for a feature‑by‑feature comparison.
Check for Virus Protection
Even with a VPN in place, malware can still compromise your device. Some VPNs provide integrated anti‑virus or threat‑blocking services. Read about does vpn protect you from viruses to see whether your provider includes a security layer beyond encryption.
Secure Your DNS Queries
To protect against DNS leaks, you can manually set a secure DNS server in the VPN configuration or use a free DoH provider like Cloudflare (1.1.1.1) or Google (8.8.8.8). This step ensures that all name resolutions go through the encrypted tunnel.
Monitor Traffic for Unexpected Leaks
Regularly run a DNS leak test or use iOS’s built‑in diagnostics to confirm that traffic isn’t leaking. If you notice any leaks, double‑check your VPN settings or consider switching to a more robust solution.
Alternative Methods to Enhance iPhone Privacy
Use iOS Security Features
Beyond VPNs, iOS offers several built‑in security tools. Enabling Find My iPhone can remotely lock or wipe a lost device, while Two‑Factor Authentication adds an extra layer of protection to your Apple ID. These measures, combined with a VPN, create a layered defense strategy.
Consider a Mobile Device Management (MDM) Solution
For business users, MDM can enforce VPN profiles across all corporate devices, ensuring that every employee’s traffic is routed securely. MDM also allows IT to push updates and monitor compliance. If you’re part of an enterprise, talk to your IT department about MDM integration.
Explore Cloudflare Warp
Cloudflare’s Warp is a lightweight VPN-like service that can be installed via the Warp app. Though it differs from traditional VPNs, Warp focuses on speed and privacy. Learn more about its architecture by checking is warp a vpn to understand how it differs from standard VPN solutions.
Use Secure Wi‑Fi Practices
When connecting to public networks, avoid logging into sensitive accounts until you’re connected to your VPN. Also, disable automatic Wi‑Fi connection to prevent your device from connecting to suspicious hotspots without your knowledge.
Leverage Browser‑Based Privacy Extensions
Safari’s built‑in privacy features are strong, but adding extensions like 1Password or DuckDuckGo Privacy Essentials can help block trackers and manage passwords securely. These tools complement your VPN by ensuring that even within a secure tunnel, your data remains private.
Conclusion
Understanding whether does iphone have built in vpn is a crucial first step toward safeguarding your digital life. While the iPhone’s built‑in VPN framework is powerful, its effectiveness hinges on proper configuration and ongoing maintenance. By following the step‑by‑step guide above, you’ll have a secure tunnel that protects your data on public Wi‑Fi, keeps your location private, and mitigates the risk of eavesdropping.
Remember, a single layer of security rarely suffices. Combine the native VPN with additional safeguards such as DNS over HTTPS, regular DNS leak tests, and enterprise MDM if applicable. For users who need advanced features like split tunneling or a kill switch, exploring dedicated apps like Windscribe (see is windscribe vpn good) can be worthwhile.
Finally, stay informed about the evolving landscape of mobile security. Keep an eye on official Apple resources—Apple’s own VPN overview guide and community discussions (such as the thread on Apple Discussions) offer valuable updates. With the right combination of built‑in tools, third‑party services, and best practices, you can confidently navigate the internet from anywhere in the world, knowing that your privacy is protected at every step.


