Introduction
For everyday users, how do you setup a vpn on windows 10 is a common question when protecting online privacy. The answer is straightforward once you understand the built‑in Windows 10 VPN setup guide.
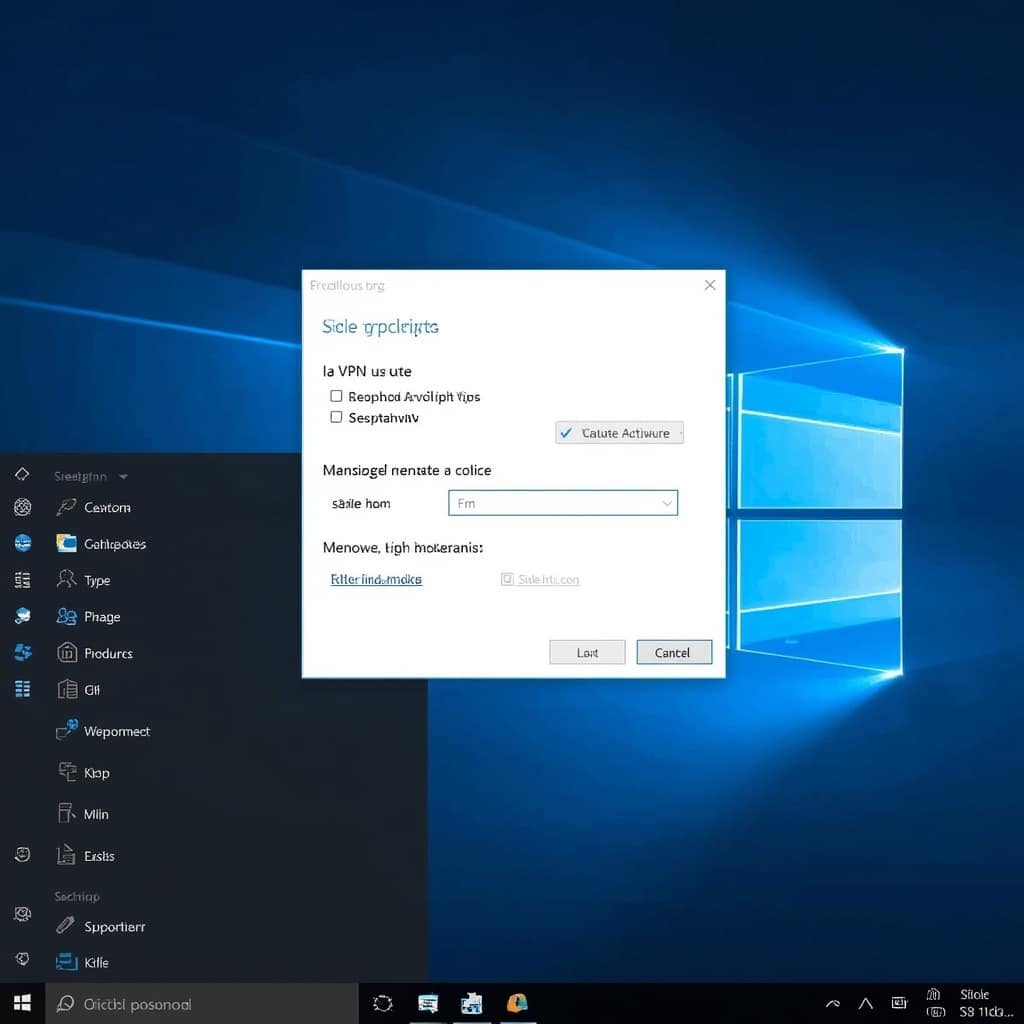
Whether you’re logging into corporate resources or simply want to secure your home Wi‑Fi, the Windows 10 VPN setup guide takes care of most configurations.
You’ll find that the process is similar to older Windows versions but with more options, such as automatic server selection and VPN passthrough for gaming consoles.
Before diving into the steps, let’s clarify why a VPN matters: it encrypts your traffic, masks your IP, and can bypass geo‑restrictions.
With that context, let’s address how do you setup a vpn on windows 10 accurately and thoroughly.
Step‑by‑Step Instructions
1. Open Settings and Navigate to VPN
Press Win + I to open Settings, click Network & Internet, then choose VPN from the left pane. The Windows 10 VPN setup guide starts here.
2. Add a New VPN Connection
Click Add a VPN connection. You’ll be asked for details such as VPN provider, connection name, and server address.
Example: Using a Commercial VPN Provider
If you subscribe to NordVPN, enter the server IP or domain from your account dashboard. See How Much Is NordVPN for pricing options.
3. Choose the VPN Type
In the VPN type dropdown, select PPTP, L2TP/IPsec with pre‑shared key, SSTP, or IKEv2 depending on your provider’s specifications. Most consumer VPNs recommend IKEv2 for fast and reliable connections.
4. Input the Server Address and Connection Name
Enter the server address exactly as provided. The connection name can be any recognizable label; e.g., NordVPN US East. This name appears in the VPN list in Settings later.
5. Set VPN Credentials
Select Username and password, then click Use my Windows sign‑in credentials or input your VPN username and password. For two‑factor authentication, choose Remember my credentials if you’re comfortable.
6. Adjust Advanced Settings
Under Show advanced settings, disable Use default gateway on remote network if you want to keep local network traffic (e.g., your printer) unencrypted. For full tunnel, keep it enabled.
7. Save the Connection
Click Save. Your new VPN entry appears in the list. You can rename or delete it here if needed.
8. Connect to the VPN
Back on the VPN page, select your connection and click Connect. Wait for the status to update to “Connected”.
9. Verify the VPN Connection
Open Command Prompt, type ipconfig /all, and confirm that a PPP adapter lists an IP different from your home network. Test what is a VPN connection now using tracert.google.com to see the new route.
10. Change Server on the Fly
If the VPN slows down, disconnect, then click the connection name and choose Connect to a different server. Some providers list city names next to IP addresses for quick selection.
11. Set Preferences for Apps
In the VPN settings, scroll to App permissions. Enable “Always Use VPN” for your browser or messaging apps if you want them to route traffic through the tunnel.
12. Configure Split Tunneling
Under Split tunneling, add or remove applications. For example, keep streaming services like Netflix on the local network while using VPN for browsing.
13. Enable Wake‑on‑Lan Through VPN
If you need remote wake‑up, add the Wake‑on‑Lan port to the Allow inbound traffic list, or set a specific VPN port in the router wizard.
14. Test Reliability in Gaming
Launch Steam or Epic Games Launcher and verify that you can connect to regional servers. Many gamers use a game‑friendly VPN to reduce ping.
15. Create a VPN Profile for Remote Work
If your company uses a corporate VPN, download the profile file (.pnp) and import via Import a VPN profile. Follow the corporate free VPN alternative list for corporate solutions.
16. Monitor Connection Health
Use built‑in Status or advanced tools like Wireshark to watch PPP0 traffic. Look for dropped packets or authentication errors.
17. Set Fallback Options
Configure Windows 10 to automatically reconnect if the VPN drops. Enable Auto‑reconnect in Network & Internet > VPN > Connection settings.
18. Install a VPN Client from Your Provider
While Windows can handle most connections, many providers offer dedicated apps with features like kill switches and DNS leak protection.
19. Verify DNS Leaks
Navigate to https://ipleak.net/. Ensure your DNS domain resolves to the VPN server, not your ISP. If not, enable Secure DNS in the provider’s app.
20. Delete Unused VPN Profiles
In settings, remove legacy connections that no longer exist. This keeps your VPN list clean and reduces risk of accidental connections.
Tips
For a smoother experience, set the VPN to start automatically when Windows boots. In Settings, go to Network & Internet, select your VPN, and toggle Connect automatically when on this network.
To save battery on laptops, turn off the VPN when you’re on an unsecured network but keep it active for public Wi‑Fi or company VPNs.
A kill switch is a must‑have feature. If your connection drops, the kill switch stops all traffic instead of leaving you exposed.
When selecting a server, consider its physical location and the legal jurisdiction of that country. Use a VPN that supports privacy‑friendly jurisdictions like Iceland or Switzerland.
Use the “Change DNS” option if you notice slow page loads. Many VPNs provide fast, secure DNS servers (e.g., 1.1.1.1).
Always keep your VPN client and Windows up‑to‑date to patch vulnerabilities. Check for updates in Settings > Update & Security.
Finally, evaluate your VPN’s speed with simple tests: perform a file transfer from a known server and compare times with and without the VPN.
Alternative Methods
Beyond the built‑in VPN client, you can configure OpenVPN manually via OpenVPN GUI or VPN on Windows 10 via a command line using rasdial.
Another option is Secure Shell (SSH) tunnels for developers. SSH port forwarding can mimic a VPN for specific ports, providing granular control.
For enterprise environments, consider Microsoft Active Directory integration. It allows seamless single sign‑on (SSO) across your VPN.
The Windows Subsystem for Linux (WSL) can also run OpenVPN inside a Linux container, giving access to Linux‑only tools while still on a Windows machine.
Lastly, Virtual router software like SoftEther can turn your PC into a VPN server, useful for testing or home network anonymity.
Conclusion
Now that you’ve mastered how do you setup a vpn on windows 10, you can protect your data and enjoy unrestricted browsing with confidence. The Windows 10 VPN setup guide remains the most reliable source for step‑by‑step instructions, and we’ve extended it with practical tips and alternatives.
To continue learning, explore our detailed comparison of free VPN options and read about the purpose of different VPN types. If you’re curious about how VPN connections work under the hood, click through to deepen your knowledge.
With a secure VPN connection in place, you can browse, stream, and connect to corporate resources with confidence. Enjoy peace of mind knowing that your online life is safeguarded against eavesdroppers, throttlers, and unwanted surveillance.


