Introduction
In today’s hyperconnected world, securing personal data on mobile devices is more critical than ever. An iPhone user who wishes to browse privately or access region‑locked content often turns to a virtual private network (VPN). Understanding the steps to how to add vpn configuration to iphone is essential for anyone who values privacy, whether they’re traveling abroad or working remotely from home.
The process of setup vpn on iphone can seem daunting, but with a clear guide it becomes a routine task. Many users confuse VPN configuration with the general VPN app installation, so it’s important to differentiate the two. This article walks you through both methods—direct device configuration and app‑based setup—so you can choose the approach that best fits your workflow.
For professionals working from multinational offices, a VPN on an iPhone can unlock corporate resources securely. For travelers, it can help circumvent geo‑restrictions on streaming services in the United Kingdom or Canada. The ability to switch your virtual location from Paris to São Paulo or Tokyo to Sydney is a powerful feature that many overlook.
Moreover, the benefits extend beyond content access. A well‑configured VPN can protect you on public Wi‑Fi in airports or cafés, shielding your login credentials from local eavesdroppers. The iPhone’s built‑in VPN settings are robust and flexible, supporting IKEv2, IPSec, and L2TP protocols.
As we delve into the detailed steps, you’ll discover how the same configuration can be replicated on other Apple devices—iPads or even Apple Watches—providing a unified security posture across your Apple ecosystem. The guide also touches on enterprise MDM (Mobile Device Management) setups for organizations deploying VPN profiles to thousands of devices simultaneously.
Beyond the technicalities, it’s worth noting that certain VPN providers have unique strengths: Cloudflare offers a lightweight “1.1.1.1 for iOS” DNS service that can be paired with a VPN for maximum speed, while Citrix’s Secure Workspace VPN integrates seamlessly with corporate SaaS tools. The guide references these options with internal links to help you evaluate your choice.
Finally, this article emphasizes actionable steps and real‑world examples, ensuring that whether you’re a novice or an experienced iPhone user, you’ll walk away confident in your ability to secure your device with a VPN. By the end, you’ll know precisely how to how to add vpn configuration to iphone and how to setup vpn on iphone for all scenarios.
Let’s begin by exploring the step‑by‑step method that ensures your iPhone remains encrypted, anonymous, and compliant with regional data‑protection laws worldwide.
Step‑by‑Step Instructions
Step 1: Gather Your VPN Credentials
Before you open Settings, verify that you have the server address, username, password, and any certificates needed from your VPN provider. If you’re using a corporate VPN, your IT department typically supplies a .mobileconfig profile, which can be installed directly. For consumer services, you’ll often find a VPN‑specific app that handles credential storage securely.
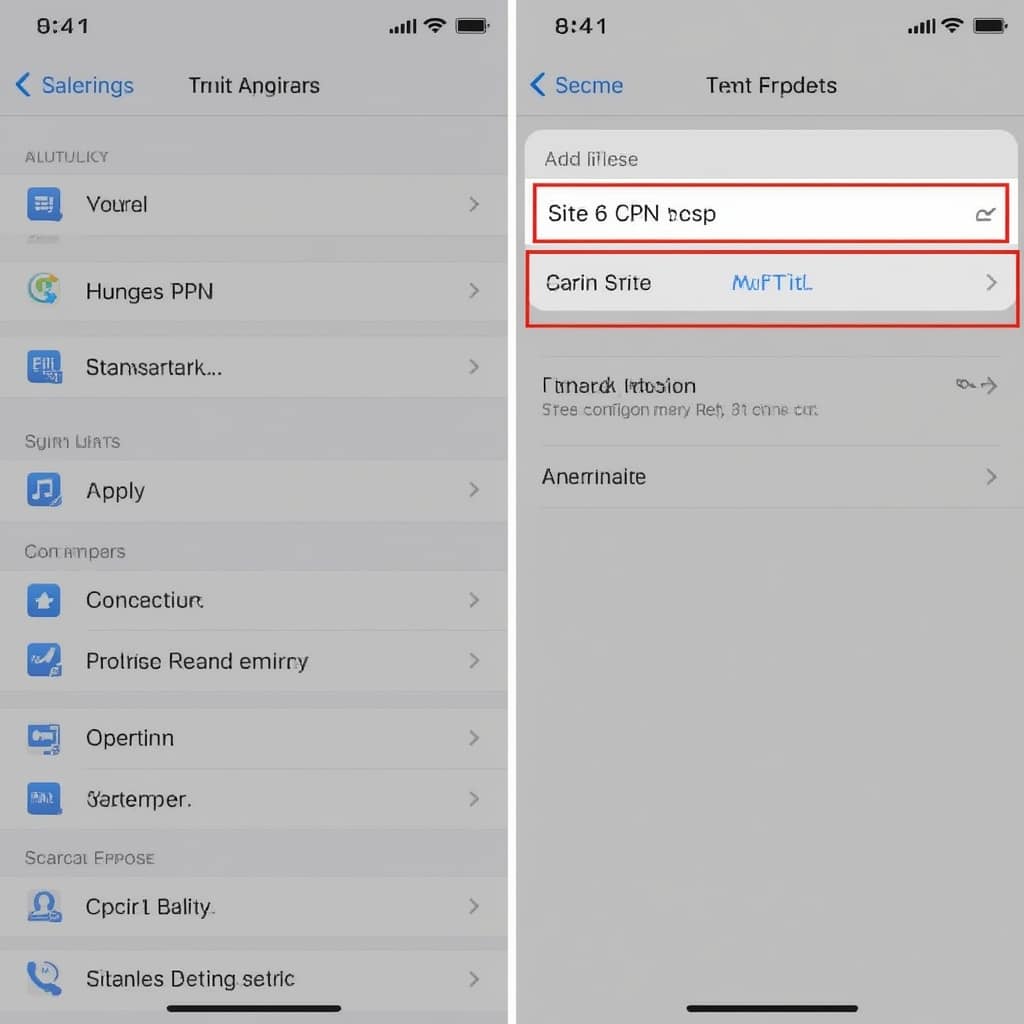
Step 2: Open the Settings App and Navigate to VPN
Tap the Settings icon, then scroll to General and tap VPN & Device Management. On iOS 17 and later, this is the central hub for all VPN configurations. From here you’ll create a new VPN profile by selecting the plus icon.
Step 3: Choose the VPN Type (IKEv2, IPSec, L2TP)
Select the protocol that matches your provider’s recommendation. IKEv2 is usually the fastest and most reliable for mobile devices. L2TP requires a shared secret, while IPSec is suitable if the provider uses a pre‑shared key.
Step 4: Enter Server and Authentication Details
Fill in the server address exactly as provided. In the Remote ID field, paste the same server address or the domain specified by your VPN. For authentication, choose Username & Password or Certificate depending on your credential type. This is a critical step—incorrect details will prevent the VPN from establishing a tunnel.
Step 5: Configure Connection Settings and Custom Options
Here you can enable Disconnect on Idle or Disconnect on Low Battery for power‑saving. Some providers offer split tunneling—allowing you to route only traffic from specific apps through the VPN. You can also add a Pre‑Shared Secret if you selected L2TP. At this stage, you can test the connection by toggling the switch to the ON position.
Step 6: Save the VPN Profile and Verify the Connection
Once you toggle the switch, your iPhone will attempt to authenticate. A green checkmark indicates a successful connection. If it fails, double‑check credentials and ensure your device has an active internet connection.
Step 7: Test the VPN by Checking Your Public IP
Navigate to a website like https://vpnx.blog/does-vpn-change-ip-address/ to verify that your IP address has changed to the VPN server’s location. This confirmation is vital to ensure your traffic is indeed encrypted.
Step 8: Enable VPN in App Store for Automated Connections
Many providers, such as https://vpnx.blog/how-to-setup-a-vpn/, offer dedicated apps that automatically reconnect if the VPN drops. Install the app and log in; the app will usually prompt you to add the same configuration you manually set up, but it offers a more user‑friendly interface.
Step 9: Configure Automatic Reconnection (Optional)
In Settings, under the VPN profile, you can enable Connect on Demand to have your device automatically connect when you visit specific domains or networks. This is especially useful for remote workers who need constant access to corporate resources.
Step 10: Verify MDM Compliance (For Enterprise Users)
If you’re part of an organization using Mobile Device Management, the VPN profile may be pushed automatically. Check under Device Management for a profile named after your company. Ensure that the profile shows Enabled and that the Allow VPN Configuration switch is ON.
Step 11: Test Data‑Leak Protection
Open the VPN app or profile and confirm that DNS queries are routed through the VPN. Some providers offer a DNS Leak Test feature, which can be found in the app’s settings. If the test shows a leak, enable Use VPN for All Connections to force all traffic through the tunnel.
Step 12: Troubleshoot Common Errors
If you receive error code 104 or 104‑2, it often indicates a misconfigured Remote ID. Make sure the Remote ID matches the server address exactly. For error 112, check if you have a weak password or expired certificate. If the VPN disconnects frequently, try changing the protocol to IKEv2 or contacting your provider’s support.
Step 13: Maintain Your VPN Configuration
VPN providers occasionally update their server addresses or authentication methods. Keep the app updated and revisit the VPN Settings monthly to ensure no deprecation warnings appear. If you move to a new office or travel to a new country, update the Server field accordingly.
Step 14: Document the Configuration for Future Reference
Create a PDF or a note in Apple Notes that includes the server address, protocol, username, password, and any certificates. Store it in a secure location, perhaps in iCloud Keychain, so that you can restore the VPN if you switch to a new iPhone.
Step 15: Practice Using VPN in Real‑World Scenarios
While the VPN is active, open a streaming service to confirm that geo‑blocking is bypassed. Log into a bank’s mobile app to verify that your login is secure. Finally, check that your location-based services (e.g., weather or maps) respect your new VPN IP, which may change your regional content.
Tips
Tip 1: Use a Strong Password—the VPN’s authentication password should be at least 15 characters, combining letters, numbers, and symbols. A weak password can compromise the entire tunnel.
Tip 2: Enable Two‑Factor Authentication (2FA) when possible. Some VPNs support 2FA via an app or SMS, adding an extra layer of security beyond the basic login.
Tip 3: Check for DNS Leaks. Even if your IP is hidden, DNS queries can expose your browsing habits. Use https://vpnx.blog/is-cloudflare-a-vpn to confirm that your DNS traffic is routed through the VPN and not your ISP.
Tip 4: Leverage Split Tunneling if your provider supports it. This allows you to route only corporate traffic through the VPN, leaving bandwidth‑heavy apps like YouTube or gaming on the local network for faster performance.
Tip 5: Monitor Battery Usage. VPNs can drain battery faster; enable Low‑Battery Disconnect if you’re on a long trip to prevent unexpected shutdowns.
Tip 6: Understand Your Region’s Data Laws. In countries with strict data sovereignty, a local VPN server might be required to comply with legal obligations. For example, EU residents may prefer a server within the European Economic Area.
Tip 7: Regularly Update the VPN App. Developers often release patches that fix security vulnerabilities; staying up‑to‑date is critical.
Tip 8: Consider VPN Quality—services like Bitdefender VPN are well‑reviewed for speed and security, as discussed in https://vpnx.blog/is-bitdefender-vpn-good.
Tip 9: Use the Apple Support Guide for advanced VPN configurations. The Apple Support VPN guide offers detailed steps for IT administrators deploying VPNs via MDM.
Tip 10: Back Up VPN Profiles by exporting the .mobileconfig file. This ensures quick re‑installation on a new device or after a factory reset.
Alternative Methods
Alternative Method 1: Use a Dedicated VPN App. Many providers, such as NordVPN or ExpressVPN, provide iOS apps that handle the entire connection process. Install the app, sign in, and toggle the VPN switch within the app. This method is simpler for casual users who prefer a single‑tap solution.
Alternative Method 2: Deploy a Profile via MDM. If you’re part of an organization, IT can push a pre‑configured profile to all employee devices. The profile includes the server address, credentials, and connection rules, eliminating the need for manual setup on each phone.
Alternative Method 3: Set Up a VPN via Citrix Secure Workspace. For enterprises using Citrix, the Secure Workspace app allows VPN access as part of the overall workspace experience. Refer to https://vpnx.blog/is-citrix-a-vpn for details on how the Citrix VPN differs from traditional VPNs.
Alternative Method 4: Use a VPN Router. If multiple iPhones or other devices are used in the same household, a VPN‑capable router can route all traffic through the VPN. This way, you don’t need to configure each device individually.
Alternative Method 5: Leverage iCloud Keychain. Store your VPN credentials in iCloud Keychain and enable Auto‑Fill Passwords for the VPN app. This keeps your login secure while reducing manual entry.
Alternative Method 6: Use the Reddit Community for Troubleshooting. If you encounter a unique issue, consult the Apple subreddit thread https://www.reddit.com/r/apple/comments/3jbx2g/how_to_setup_vpn_on_iphoneiosipad/. Many users share solutions for specific iOS versions and VPN providers.
Conclusion
Securing your iPhone with a VPN is not merely a technical necessity but a strategic advantage in today’s digital landscape. Whether you’re traveling between New York and Toronto or working remotely from a coffee shop in Paris, a properly configured VPN protects your data and preserves your privacy.
Remember the key steps: collect the credentials, set up the VPN profile manually or via an app, verify the connection, and keep the configuration updated. By following these instructions, you’ll be able to how to add vpn configuration to iphone with confidence, ensuring your online presence remains secure and anonymous.
When you’re ready to setup vpn on iphone, remember to test for DNS leaks, use strong passwords, and keep the VPN app updated. The combination of these best practices creates a resilient security posture for any iPhone user, regardless of location or network conditions.
Should you encounter challenges, explore alternative methods like MDM deployment, dedicated VPN apps, or even router‑based VPNs. These options provide flexibility for individuals and organizations alike, ensuring that the right solution scales with your needs.
In sum, the ability to secure your iPhone with a VPN is a powerful tool in the arsenal of digital privacy. By mastering the steps outlined above, you’ll gain the confidence to travel, work, and browse with the assurance that your data remains protected from prying eyes.


