Introduction
In today’s hyper‑connected world, securing your online activity on an Android device is essential. Whether you’re a remote worker, a student, or simply an everyday internet user, knowing how to add VPN on android can safeguard your privacy, bypass geo‑blocks, and keep your data safe from prying eyes. The process is surprisingly straightforward, but many users still feel overwhelmed by the technical jargon. In this guide we break down the steps, highlight the most reliable VPN providers, and share actionable tips to help you how to add vpn on android without breaking a sweat.
We’ll also touch on the related keyword install vpn on android device. Understanding the difference between adding a VPN at the app level versus a system‑wide configuration can save you time and frustration. By the end of this article, you’ll know how to choose the right VPN service, install it on your Android phone or tablet, and verify that your connection is secure.
For users across the globe, the importance of a VPN varies. In countries with restrictive internet policies, a VPN can unlock censored content. In more open markets, it protects against ISP profiling and public‑Wi‑Fi attacks. This article provides a comprehensive, step‑by‑step walkthrough that applies to Android devices everywhere.
Step-by-Step Instructions
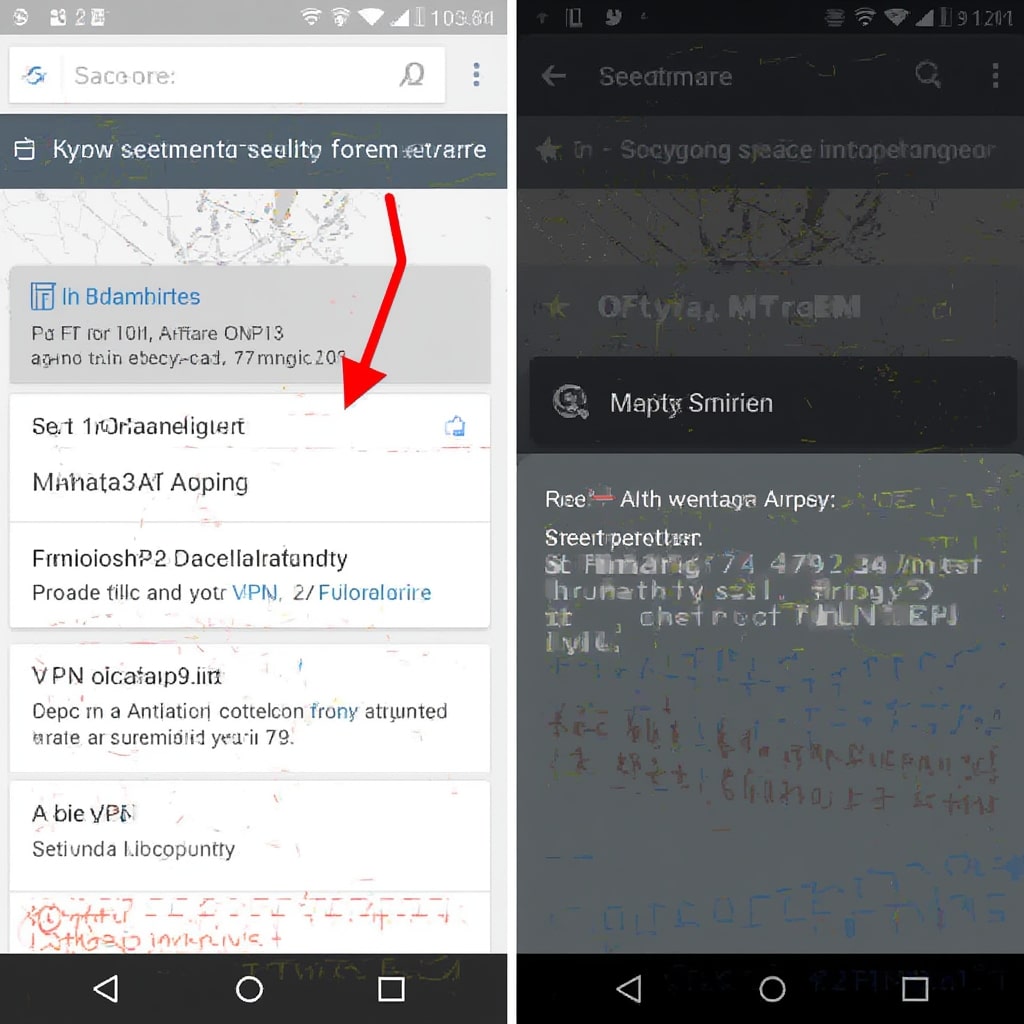
Step 1: Choose a Trusted VPN Provider
The first hurdle is selecting a provider that meets your needs. Look for strong encryption, a no‑log policy, and a reliable network of servers in key locations. If you’re unsure where to start, resources such as Security.org’s Android VPN guide list reputable options.
When you’re evaluating providers, consider factors like connection speed, app usability, and price. Some VPNs offer a free tier, while others require a subscription. For those who need advanced features—such as split tunneling or dedicated IP addresses—a paid plan is often worth the investment.
Once you’ve narrowed your choices, download the official app from the Google Play Store. Avoid third‑party repositories that may host compromised versions.
Step 2: Download and Install the VPN App
Navigate to the Google Play Store on your device. Search for the name of the VPN provider, ensuring you’re selecting the official app. After confirming the developer details, click Install. The installation process should take only a few minutes.
Once the app launches, you’ll be prompted to grant permissions. These typically include the ability to manage VPN connections and access your device’s network settings. These permissions are essential for the VPN to function correctly.
After installation, open the app and sign in with your account credentials. If you’re a new user, you’ll need to create an account and choose a subscription plan. Remember to keep your login details safe and enable two‑factor authentication if available.
Step 3: Configure the VPN Settings
Most VPN apps feature an intuitive interface that defaults to a “quick connect” button. For beginners, this is the easiest route. However, for more control, explore the settings menu.
In the settings, you can select a preferred protocol (OpenVPN, IKEv2, WireGuard) and enable options such as kill switch, auto‑connect, and split tunneling. The kill switch is a crucial safety net that blocks all traffic if the VPN connection drops.
Some providers allow you to choose a specific server region. If you’re located in the US and want to access European streaming services, pick a European server. Conversely, for faster speeds, choose a server nearest to your location.
Step 4: Connect to the VPN
Return to the app’s main screen and tap the big connect button. The VPN will negotiate a secure tunnel with the chosen server. You’ll see a notification in the status bar indicating an active VPN connection.
For a more system‑wide approach, you can add a manual VPN configuration via Android Settings. This is handy if you prefer not to use an app. To do this, open Settings → Network & internet → VPN → Add VPN, then fill in the details provided by your VPN provider.
Once connected, all traffic from your device—browsers, apps, and background services—will route through the encrypted tunnel. You’re now protected from eavesdropping on public Wi‑Fi and from ISP surveillance.
Step 5: Verify the VPN is Working
To confirm the VPN is active, visit a site like WhatIsMyIP.com. Your IP address should reflect the server location rather than your physical location.
Additionally, test your DNS leak protection by visiting dnsleaktest.com. The results should show all requests originating from the VPN server.
Finally, run a speed test to ensure the VPN isn’t dramatically slowing your connection. If you notice a significant drop, try switching servers or protocols.
Tips for a Better VPN Experience
Once you’re comfortable with the basics, these advanced tips can enhance your privacy and performance:
- Use a Kill Switch—Enabling this feature automatically stops all traffic if the VPN disconnects.
- Enable Auto‑Connect—Set the VPN to start whenever you boot your device or connect to Wi‑Fi.
- Choose the Right Protocol—WireGuard is typically faster and more secure than OpenVPN.
- Update Regularly—Keep the VPN app and your device’s OS up to date for maximum security.
- Check for DNS Leaks—A quick DNS leak test can reveal if your traffic is still exposed.
These simple adjustments can significantly reduce your exposure to surveillance and keep your connection stable.
Alternative Methods
Using Android’s Built‑In VPN Settings
Android’s native VPN feature allows you to add a custom configuration. This method is useful for corporate VPNs or when you have a .ovpn file.
Navigate to Settings → Network & internet → VPN → Add VPN. Enter the name, type, and server information. Then provide your credentials. Once saved, tap Connect and enter your username and password.
Unlike app‑based VPNs, this method offers greater control over network routes but requires more technical knowledge.
Installing VPN on Android Device via a Browser Extension
For users who prefer a browser‑specific VPN, extensions like Browsec VPN provide a lightweight solution that only encrypts traffic within the browser.
Install the extension, sign in, and toggle the connection. Note that this approach doesn’t protect apps outside the browser.
It’s ideal for quick browsing sessions or for users who don’t want to run a full‑system VPN.
Using a Remote VPN Server (e.g., from a Home Network)
Some tech enthusiasts set up a VPN server at home using a Raspberry Pi or a dedicated router. Once configured, you can connect your Android device to your home network for secure, remote access.
Detailed guides can be found in posts like how to get VPN on school computer. Adapt the instructions for mobile use, and you’ll have a private tunnel to your home network.
Leveraging Public Wi‑Fi Security
Public hotspots can be risky. When connecting to such networks, always ensure your VPN is active. Some VPN providers automatically detect unsecured networks and prompt you to connect.
Additionally, consider using DataCamp’s limited VPN service if you require short‑term, lightweight protection.
Using a VPN via a Proxy Server
While proxies don’t encrypt traffic like VPNs, they can bypass geo‑restrictions. Many VPN apps offer a “proxy” mode that routes traffic through a specified server.
Keep in mind that proxies lack the privacy benefits of a VPN, so use them only for specific tasks where encryption isn’t critical.
VPN on Android Device with Rooted Phones
Rooting your device allows deeper integration of VPN services, such as enforcing a system‑wide kill switch at the kernel level. However, rooting voids warranties and introduces security risks.
If you decide to root, tools like Cleaner Antivirus VPN Cleaner can help manage root permissions and keep your system clean.
Conclusion
Learning how to add VPN on android has never been easier, thanks to user‑friendly apps and clear instructions. By following the steps outlined—choosing a trustworthy provider, installing the app, configuring settings, connecting, and verifying your connection—you’ll protect your privacy, unlock restricted content, and secure your data against eavesdropping.
Remember to regularly update your VPN app, enable essential security features like kill switches, and perform periodic leak tests to keep your connection airtight. Whether you’re a casual browser or a privacy‑conscious professional, mastering how to add VPN on android empowers you to maintain control over your digital footprint.
Finally, don’t forget that alternative methods, such as Android’s built‑in VPN settings or browser extensions, offer flexibility for different use cases. Use these tools wisely, and stay informed about the latest developments in mobile security. Happy surfing!


