Introduction
In today’s digital landscape, protecting your online privacy is no longer optional—it’s essential. Whether you’re traveling abroad, using public Wi‑Fi, or simply wanting to bypass geographic restrictions, a virtual private network (VPN) offers a reliable shield. This guide walks you through how to add vpn to macbook step by step, ensuring you remain secure and anonymous on every connection. We’ll also cover the closely related task of setup vpn on macbook air, so whether you own an Air, a Pro, or an older model, you’ll find clear, actionable instructions.
Understanding the basics of a VPN is the first step to mastering its use. Learn what a VPN is and why it matters by visiting this dedicated page. The article explains the core benefits—from encrypting data to masking your IP address—so you’ll know what to expect from each connection.
Beyond the theoretical, the real-world impact of a VPN can be transformative. For instance, if you’re in Europe but wish to stream content available only in the U.S., a VPN lets you route your traffic through a U.S. server, effectively bypassing geo‑blocking. This same technique can help bypass restrictive firewalls in certain Asian and Middle Eastern countries, ensuring you stay connected wherever you travel.
Step‑by‑Step Instructions
Step 1 – Choose a Reliable VPN Provider
Before you can add a VPN to your Mac, you must pick a provider that meets your needs. Look for a service that offers robust encryption (AES‑256), a strict no‑logs policy, and a wide range of server locations. Some popular choices include ExpressVPN, NordVPN, and the free yet secure Ultra VPN. Each has dedicated macOS apps, simplifying setup.
Step 2 – Download and Install the VPN App
Navigate to the provider’s website, download the macOS installer, and double‑click the .dmg file. Drag the application icon into your Applications folder. Once installed, open the app; you may be prompted to allow network changes in System Preferences.
Step 3 – Sign In or Create an Account
Launch the app and sign in using your credentials. If you’re new, register a new account. Some services also allow you to sign in via social platforms, but a dedicated email is safer.
Step 4 – Connect to a Server
Most VPN apps display a list of recommended servers. Pick one that aligns with your goals—US servers for streaming, Asian servers for low latency, or a location nearest your physical location to reduce lag. Click “Connect.” The app will establish a secure tunnel, and you’ll see a status indicator once the connection is active.
Step 5 – Verify Your Connection
Open a browser and visit iplocation.net to confirm your IP address and location have changed. If they match the server you selected, your VPN is working properly.
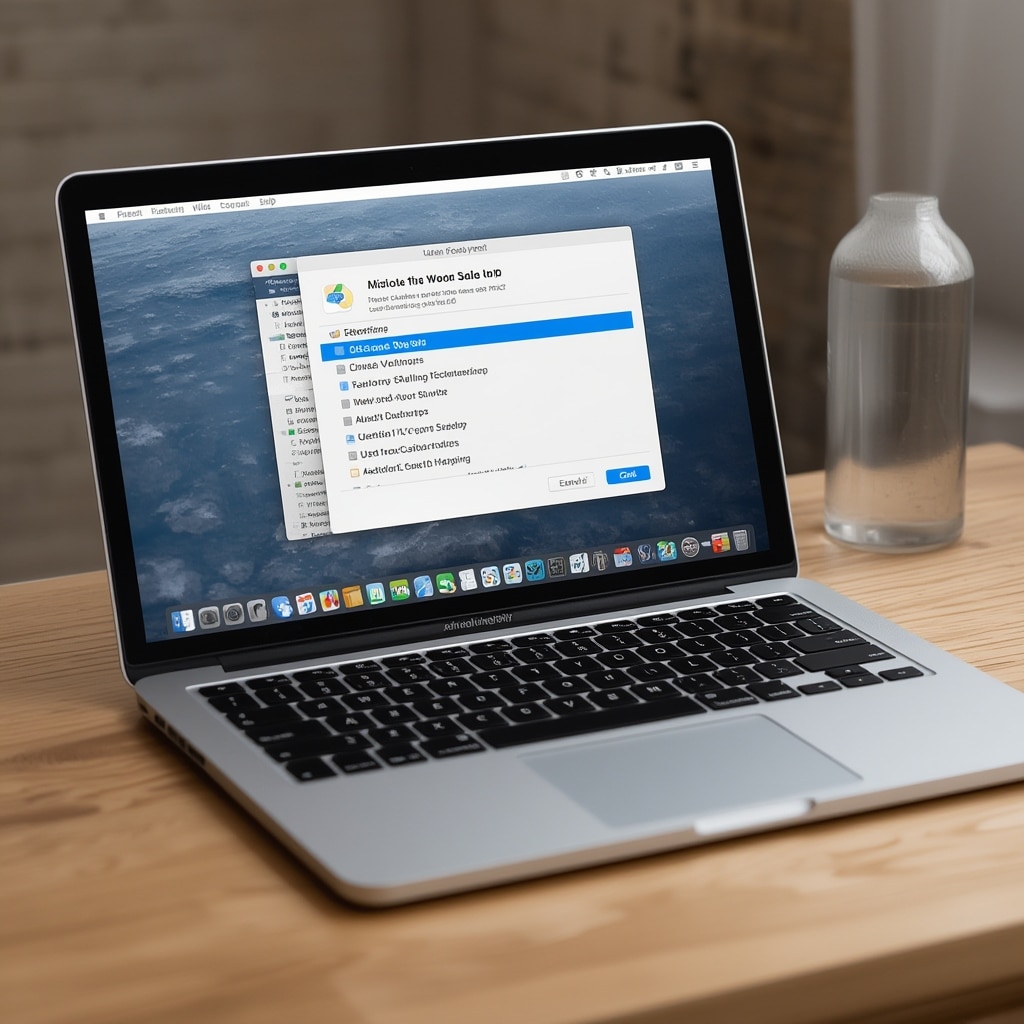
Step 6 – Add VPN to macOS (Optional)
If you prefer to use macOS’s built‑in VPN client instead of the provider’s app, go to System Preferences → Network, click the “+” button, choose VPN as the interface, and select the VPN type (IKEv2, L2TP, or PPTP). Fill in the server address, account name, and authentication details provided by your VPN service. Once set, click “Connect” to establish the tunnel. For detailed guidance, consult the Apple support article on connecting your Mac to a VPN.
Step 7 – Configure Advanced Settings (Optional)
Most apps let you tweak settings like Kill Switch, auto‑connect on startup, and DNS leak protection. Enable these features for maximum safety. If you’re using the system client, check “Send all traffic over VPN” to ensure every app routes through the tunnel.
Step 8 – Test for Leaks
Use a leak‑testing site such as dnsleaktest.com to confirm no DNS or IP leaks occur. A clean result means your VPN is correctly masking your traffic.
Step 9 – Use the VPN for Your Desired Activities
With the tunnel established, you can browse, stream, or use online services with confidence. Remember to reconnect if you close the VPN app or shut down your Mac.
Step 10 – Disconnect Securely
When finished, click the disconnect button in the app or the system icon. Your traffic will revert to your regular internet connection. For added peace of mind, always check that your IP address has returned to your ISP’s range before closing your browser.
Each of these steps is essential for mastering how to add vpn to macbook. By following this guide, you’ll not only secure your data but also unlock a world of content previously restricted in your region.
Tips
Tip 1 – Choose a Server with Low Latency
When streaming or gaming, proximity matters. Selecting a server closer to your actual location reduces latency and improves speed. Most VPN apps show ping times; pick the lowest for optimal performance.
Tip 2 – Enable DNS Leak Protection
Even after connecting, some apps may still send DNS requests outside the tunnel. Turn on DNS leak protection in the app settings or add a secure DNS provider like Cloudflare (1.1.1.1) in System Preferences → Network.
Tip 3 – Use Split Tunneling When Needed
Split tunneling lets you route only selected apps through the VPN, freeing bandwidth for non‑sensitive tasks. Many premium providers support this feature; enable it in the app’s advanced settings.
Tip 4 – Keep Your VPN App Updated
Security patches and bug fixes are released regularly. Enable automatic updates to ensure you always have the latest protection. Uninstalling an old version can prevent accidental usage of insecure protocols.
Tip 5 – Consider Using a Dedicated Wi‑Fi Router with VPN
If you’re home or in a small office, installing VPN software on a router provides coverage for all connected devices, eliminating the need to configure each one individually.
Tip 6 – Check for Compatibility with Streaming Services
Some platforms actively block VPN traffic. If you encounter issues, try a different server or enable the “Obfuscated Servers” option if your provider offers it.
Tip 7 – Use the Kill Switch Feature
A kill switch automatically disconnects your internet if the VPN drops, preventing accidental data exposure. Enable it in the app’s safety settings.
Tip 8 – Monitor Your Data Usage
VPNs can slow down your connection. Keep an eye on your bandwidth usage if you’re on a capped plan, and switch to a server with better capacity if necessary.
Tip 9 – Leverage Geo‑Specific Content
VPNs let you access region‑locked content. For example, use a Canadian server to watch Canada‑only shows on streaming platforms, or a UK server for British news sites.
Tip 10 – Test on Different Devices
Verify that your VPN works consistently across your MacBook, iPhone, and iPad. Many providers offer cross‑platform apps with single‑sign‑on credentials.
Alternative Methods
Alternative 1 – Using Opera GX VPN
If you prefer a browser‑based VPN, the Opera GX browser includes a free VPN feature. Navigate to Settings → Privacy & Security → VPN and toggle it on. While not as robust as a dedicated app, it’s convenient for quick browsing. For a more detailed guide on how to add a VPN to your MacBook using Opera GX, visit how to add vpn to macbook.
Alternative 2 – Manual OpenVPN Configuration
For advanced users, you can manually set up OpenVPN using the Tunnelblick client. Download the .ovpn profile from your provider’s dashboard, open Tunnelblick, and load the file. This method offers fine‑grained control over routing and encryption settings.
Alternative 3 – Using a macOS System VPN
If your organization provides a corporate VPN, you can configure it via System Preferences → Network. After setting the account details, enable “Send all traffic over VPN” to ensure company data stays protected. Refer to the Apple guide on connecting your Mac to a VPN for step‑by‑step instructions.
Alternative 4 – Leveraging a Cloud‑Based VPN Service
Some cloud providers, such as AWS VPN or Azure VPN Gateway, allow you to host your own VPN endpoint. This requires a subscription and some networking knowledge but offers maximum control and no third‑party data handling.
Alternative 5 – Using a Smart DNS Service
Smart DNS services like Unlocator or SmartDNS Proxy bypass geo‑blocks by rerouting DNS requests. They’re faster than full VPN tunnels but don’t encrypt traffic. Use them only when speed is critical and privacy is a secondary concern.
Alternative 6 – VPN Through a Third‑Party App Like TunnelBear
TunnelBear offers a simple interface and a generous free tier. Install the macOS app, sign in, and connect. Although the free tier limits bandwidth, it’s a good way to test the service before committing.
Conclusion
Securing your online presence on a MacBook has never been easier. By mastering the steps to how to add vpn to macbook, you can protect your personal data, bypass geo‑restrictions, and enjoy a safer browsing experience. Remember that the same principles apply when performing setup vpn on macbook air, so you’re covered whether you’re using a lightweight Air or a powerful Pro.
Keep in mind that a VPN is a tool, not a silver bullet. Regularly update your software, avoid logging into sensitive accounts over public networks, and stay informed about new security threats. If you ever need to troubleshoot, the support pages at this link and the Security.org guide for macOS VPNs are invaluable resources.
With the right setup and a few best‑practice habits, you’ll maintain complete control over your digital footprint, ensuring that your MacBook remains a secure and versatile tool in any environment.


