Introduction
In today’s hyperconnected world, securing your online presence has become as essential as locking the front door. A reliable VPN masks your IP address, encrypts your traffic, and lets you bypass geo‑restrictions. Yet, even the most loyal users may find themselves wanting to pause or terminate a subscription. Whether you’re switching services, facing billing issues, or simply testing the limits of your budget, knowing how to cancel NordVPN’s subscription on the app is vital. This guide will walk you through every detail—step‑by‑step, with tips tailored to both beginners and seasoned users—so you can manage your VPN plan without frustration.
NordVPN is one of the industry leaders, praised for its speed, privacy features, and user‑friendly interface. Still, the cancellation process can vary depending on whether you’re on iOS, Android, Windows, or macOS. Below we’ll cover the most common scenarios, explain why you might want to cancel, and provide alternatives if you wish to remain connected but at a lower cost. We’ll also sprinkle in some SEO‑friendly terminology and geo‑specific insights to help you locate the best regions for the most reliable service.
Step‑by‑Step Instructions
1. Prepare Your Device and Account
Before initiating any changes, make sure you’re logged into the NordVPN app on the device you plan to cancel from. If you have multiple devices, check that you’re canceling on the one that’s currently active. Keep your email address and payment information handy; you’ll need them to verify the cancellation request.
2. Open the Settings Menu
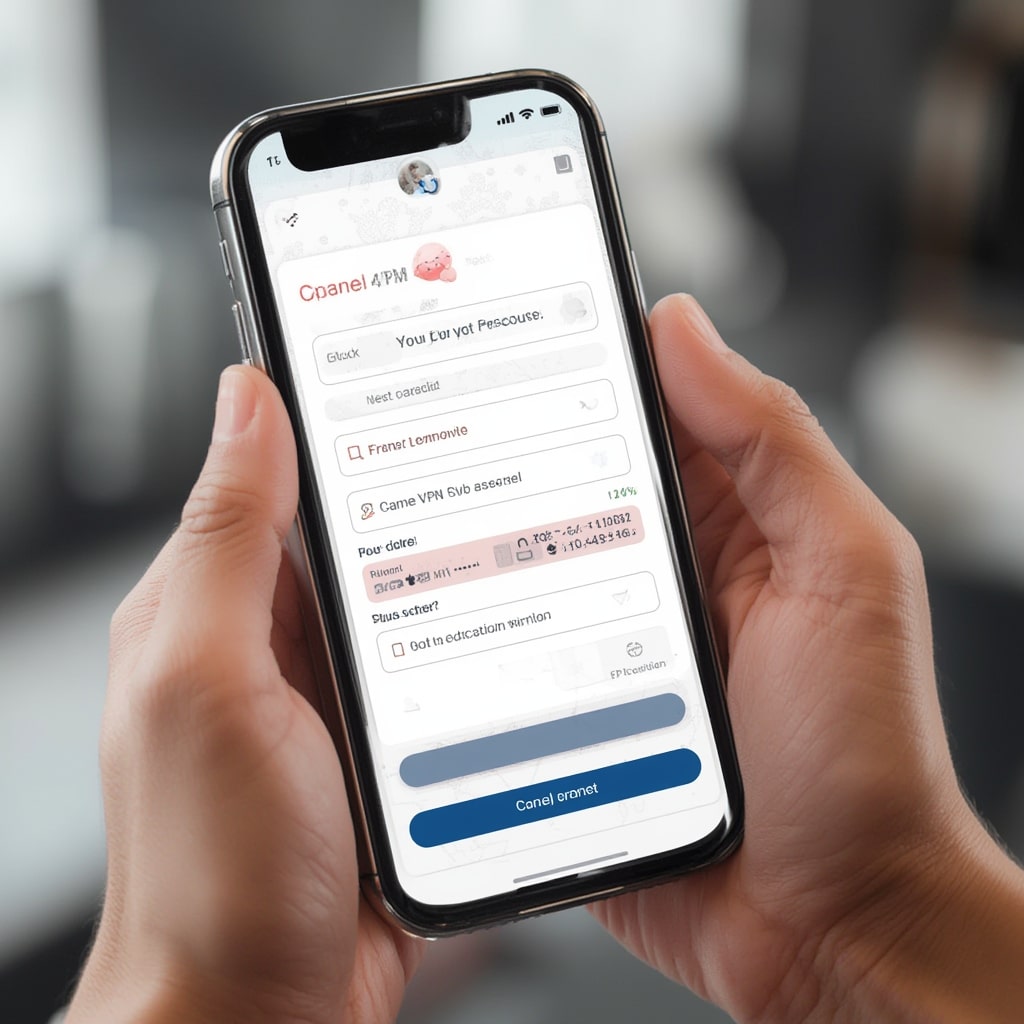
Navigate to the “Account” tab located at the bottom of the screen on mobile devices or on the left sidebar on desktops. Here you’ll find all the subscription details. If you’re using a web‑based interface, look for the “Profile” or “Billing” section.
3. Locate the Subscription Details
In the “Account” area, you will see your active plan, renewal date, and the option to “Manage Subscription.” Click or tap on this to view all billing options. If you’re on Android, the path may be “Settings → Subscription → Manage.” On iOS, it might appear under “Account → Subscription.”
4. Select “Cancel Subscription”
Scroll down until you find the “Cancel” button. The wording can differ slightly—look for “Cancel Subscription” or “Stop auto‑renew.” Tapping this will open a confirmation dialog asking if you’re sure you want to cancel.
5. Confirm Cancellation
Read the cancellation policy carefully. Some plans allow you to keep the VPN active until the end of the billing period, while others may cut off access immediately. Once you agree, click “Confirm” to finalize the cancellation. You should receive an email confirmation from NordVPN within a few minutes.
6. Verify the Change in App
Return to the “Account” tab to confirm that the plan status has changed to “Cancelled” or “Expired.” If the app still shows an active subscription, restart the application or log out and log back in to refresh your status.
7. Check Your Email for Receipt
Open your inbox and search for “NordVPN cancellation.” The confirmation email will contain the exact date your subscription will end and any additional steps to follow if you plan to re‑subscribe later. Keep this email for your records.
8. Remove the App (Optional)
If you no longer wish to use the NordVPN client, uninstall it from your device. On Windows or macOS, you can also delete the related configuration files in case you plan to reinstall the app in the future.
9. Clear Payment History (Optional)
To avoid any accidental renewal, consider removing the stored credit card or PayPal information from the device’s keychain or the NordVPN account settings. This extra precaution ensures no new charges can be processed.
10. Verify Cancellation on Web Dashboard
Log into your NordVPN dashboard via a web browser. Under “Subscription,” verify that the status reads “Cancelled” and that no upcoming charges are displayed.
Tips
Know Your Device Limits
Many users wonder how many devices can connect simultaneously. A quick check on how many devices does NordVPN cover shows that a single subscription allows up to 6 active connections. If you cancel, ensure you disconnect from all devices to avoid accidental usage.
Geolocation Awareness
When you’re canceling, you might want to know which servers are the most reliable in your region. NordVPN’s Cloudflare learning portal offers insights on server locations and latency patterns, helping you decide whether to switch plans or cancel entirely.
Stay Updated on Re‑Subscription Rules
NordVPN occasionally offers discounted renewal rates for users who cancel and then return. Keep an eye on the “Promotions” tab on the dashboard for any offers that may entice you to re‑join before your subscription expires.
Secure Your Data Before Leaving
Always ensure that any sensitive data shared over the VPN—such as login credentials—has been secured before you disconnect. Consider using a password manager like EFF’s secure password manager to protect your accounts.
Alternative Methods
1. Cancel Through the App Store or Play Store
If you subscribed via an app store, you can also manage cancellations directly from the store’s subscription page. On iOS, go to Settings → Apple ID → Subscriptions, then tap on NordVPN and select “Cancel Subscription.” On Android, open the Google Play Store, go to “Account” → “Subscriptions,” and follow the same steps. This method is handy if you forget the app’s cancellation link or encounter errors.
2. Contact Customer Support
Should the cancellation process fail or if you encounter a technical glitch, reach out to NordVPN’s support team via live chat or email. They can manually terminate your subscription and provide a refund if it falls within the policy window. Mention the phrase how to cancel nordvpn subscription on app to streamline the conversation.
3. Use a Third‑Party Payment Platform
If you paid through PayPal or a similar service, you can cancel the recurring payment on the platform’s dashboard. This will effectively stop NordVPN from charging you, though you’ll still need to terminate the app subscription to fully disable the service.
4. Leverage the Family Plan
For users on a family plan, how do i share my NordVPN with family includes a group cancellation option. Each member can cancel individually, or the admin can pause the entire plan. This flexibility can prevent accidental renewals.
5. Take Advantage of the 30‑Day Money‑Back Guarantee
If you’re dissatisfied and still within the 30‑day window, you can simply request a refund. Navigate to “Support” → “Refund Request” within the app or dashboard. This is a quick way to exit without going through a full cancellation process.
Conclusion
Mastering how to cancel NordVPN’s subscription on app is a key part of maintaining control over your digital privacy budget. By following the detailed steps above, you can ensure a smooth transition without losing any valuable data or inadvertently incurring future charges. Remember to check how many devices you’re connected on, use the alternate cancellation methods if the app stalls, and keep your payment methods secure. If you ever wish to re‑activate or switch to another plan, you can always log back into the NordVPN dashboard or use the app’s “Re‑Subscribe” feature. Ultimately, the most reliable VPN service remains a matter of personal need—whether you keep it or cancel, knowledge is your most powerful tool for online safety.


