Introduction
Many Mac users wonder how to connect to a VPN on Mac, especially when traveling or accessing geo‑restricted services. Understanding the basics of how to connect to vpn on mac is essential for privacy, security, and unlocking content worldwide. This guide covers the exact steps to set up a VPN on your Mac, using both built‑in OS X features and third‑party apps. Whether you’re new to VPNs or need a refresher, you’ll find practical advice and actionable tips throughout.
In this article, we’ll explore the three main ways to how to connect to vpn on mac, from the native settings pane to the command line, and we’ll show you how to setup vpn on macbook quickly. The focus is on clear, step‑by‑step instructions that you can follow even if you’ve never used a VPN before.
We’ll also discuss why you might need a VPN, where to find the relevant settings, and how to keep your connection secure. The article includes real‑world examples from different regions, ensuring that whether you’re in the US, Europe, or Asia, you’ll have local context that makes the process easier.
Finally, we’ll share advanced tips for power users, alternative methods for connecting to a VPN on a Mac, and a quick recap so you can confidently how to connect to vpn on mac or setup vpn on macbook whenever needed.
Step‑by‑Step Instructions
1. Choose Your VPN Provider
Before you can how to connect to vpn on mac, you need a subscription from a reputable VPN service. If you’re unsure where to start, check out where to get a VPN to find a provider that fits your needs.
Most providers offer an easy‑to‑install macOS app, which simplifies the setup vpn on macbook process. Look for features like kill switch, split tunneling, and strong encryption.
Once you’ve chosen a provider, download the macOS client from its official website. Avoid third‑party downloads unless you’re sure they’re trustworthy.
2. Install the VPN App
Open the downloaded .dmg file and drag the VPN icon into your Applications folder. Launch the app and log in with your account credentials. The first launch may prompt you to grant the app permission to modify network settings.
After installation, the app will typically add a status icon to your menu bar. This icon indicates whether you’re connected and allows quick toggling.
With the app installed, you’re ready to how to connect to vpn on mac with a single click. However, if you prefer manual setup or need a more flexible configuration, follow the next steps to use the built‑in VPN client.
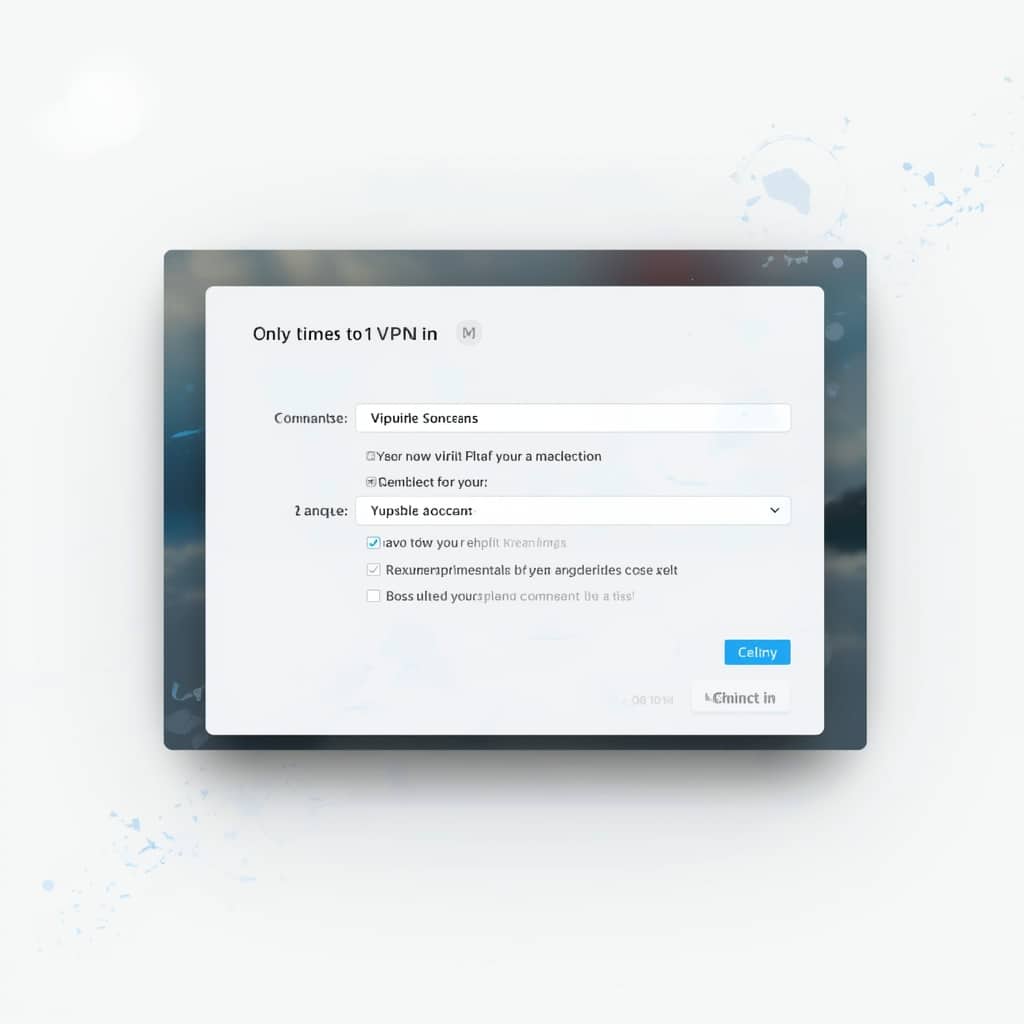
3. Open System Preferences
Click the Apple menu and select System Preferences. Then click Network. You’ll see a list of network interfaces on the left side.
If you don’t see your VPN yet, click the “+” button to add a new service. Choose VPN as the interface type and select the VPN protocol your provider uses (IKEv2, IPSec, or L2TP over IPSec).
Enter the name you want for the connection and click Create. This step prepares your Mac for the manual configuration.
4. Enter VPN Credentials
After creating the new VPN service, you’ll need to input the server address, remote ID, and local ID, if required. Your VPN provider will provide these details in their support documentation.
For most IKEv2 or IPSec connections, you’ll enter your Username and Password. Some providers use a Certificate or a Shared Secret. Make sure you copy them exactly.
Once you’ve entered all information, click Apply to save the settings. You’re almost ready to connect.
5. Connect to the VPN
Select your newly created VPN service in the Network list. Click the Connect button on the right side. If the connection is successful, the status will change to Connected and the icon will turn green.
To verify your new IP and location, visit https://www.security.org/vpn/mac/ or any other IP checker website. This confirms that your traffic is being routed through the VPN.
Now you have a working VPN connection on your Mac. Remember, every time you need to how to connect to vpn on mac, you can simply open the status menu or click Connect again.
6. Automate VPN Connection (Optional)
To make the process even smoother, you can set the VPN to automatically connect when you start your Mac. Go back to Network settings, select your VPN service, and check the Show VPN status in menu bar option.
You can also use the Start VPN on login feature in the VPN app’s preferences. This ensures that your VPN is always active without manual intervention.
For advanced users who prefer scripts, you can use Apple’s command‑line instructions to connect or disconnect the VPN via Terminal.
Tips for a Secure and Reliable VPN Connection
1. Use the Kill Switch
Many VPN apps offer a kill switch that blocks all network traffic if the VPN connection drops. Enabling this feature protects your data from leaking if the VPN fails.
Check your provider’s settings or the built‑in VPN preferences to enable the kill switch. This is essential for maintaining privacy during critical tasks.
2. Choose the Right Server Location
For speed and content access, pick a server that’s geographically close to you but meets your location needs. If you’re in Germany but want to access US streaming, choose a server in the US.
Most VPN apps show latency or ping times. Select the server with the lowest latency for the best performance.
3. Enable Split Tunneling (If Available)
Split tunneling allows you to route some traffic through the VPN while leaving other apps to use your regular network. This reduces load on the VPN and speeds up non‑critical connections.
To set this up, open the VPN app’s settings and look for Split Tunneling or similar options. Add the apps or websites you want to exclude from the VPN.
4. Keep Your VPN Client Updated
VPN software regularly receives security patches and performance improvements. Make sure you enable automatic updates or check manually whenever a new version is released.
Outdated clients can expose you to vulnerabilities that your provider’s support team may have already fixed.
5. Use Strong Encryption Protocols
Protocols like IKEv2 and OpenVPN provide robust encryption. Avoid older protocols like PPTP, which are known to be insecure.
When setting up manually, choose the highest encryption level your provider offers. For most users, IKEv2 with 256‑bit AES encryption is a safe default.
Alternative Methods for VPN Connection
1. Using a Browser‑Based VPN Extension
If you only need to protect your browsing activity, consider a VPN extension for Safari or Chrome. Extensions are lightweight and can be toggled on or off per session.
Popular options include NordVPN, ExpressVPN, and ProtonVPN. These extensions typically provide a quick toggle button and basic settings.
2. Using a Dedicated VPN Router
For a network‑wide solution, set up a VPN on a router that connects to your home Wi‑Fi. This way, all devices on the network automatically use the VPN.
Routers that support OpenVPN or WireGuard are ideal. Check your router’s firmware or buy a model with built‑in VPN support.
3. Leveraging a Third‑Party VPN Client (Beyond the Built‑In App)
If your provider offers multiple client options, you might prefer a third‑party app like Shadowsocks or WireGuard.
These tools can provide better performance on certain networks, especially in restrictive countries. However, they require more technical knowledge to configure.
4. Using a Mac App Store VPN (if available)
Some VPN services are available through the Mac App Store. Downloading from the App Store ensures automatic updates and sandboxed installation.
Search for your VPN provider or check the “VPN” section in the App Store. Always verify the developer’s name to avoid phishing apps.
5. Command‑Line VPN via scutil
Power users can configure VPNs via Terminal using scutil commands. This allows scripting automated VPN connections.
For example, you can run:
scutil --nc start "MyVPN"
Replace “MyVPN” with the name of your VPN service as listed in Network preferences.
Conclusion
Mastering how to connect to vpn on mac is essential for any Mac user who values privacy, security, or wants to access geo‑restricted content. By following the steps outlined above, you’ll be able to setup vpn on macbook quickly and confidently.
Remember the key points: choose a reputable provider, use the built‑in VPN client or a trusted third‑party app, keep your software updated, enable a kill switch, and select the right server for speed and content. With these practices in place, your Mac will stay safe and your internet experience will be more flexible.
Finally, always stay informed about new VPN technologies and local regulations in your region. A well‑maintained VPN setup not only protects your data but also gives you the freedom to browse the web as you wish, wherever you are.
Feel free to revisit any of the steps, refer back to the internal links for deeper guidance, or explore the alternative methods to find what works best for your workflow.


