In today’s mobile-first environment, understanding how to get a VPN on iPhone is essential for IT managers, network engineers, and cybersecurity professionals. VPNs not only secure sensitive communications but also enable compliance with corporate policies and safe access to geo-restricted resources. This guide provides a detailed, step-by-step framework for deploying, configuring, and optimizing VPN usage on iOS devices.
What is “how to get a vpn on iphone” and why is it important?
The phrase refers to the process of selecting, installing, and configuring a VPN client on an iPhone to encrypt traffic and protect user privacy. For enterprises, a properly configured VPN prevents unauthorized access over public Wi-Fi, enforces corporate network policies, and mitigates the risk of data breaches (source: Cloudflare). Moreover, VPNs allow secure remote access to internal resources without exposing endpoints directly to the internet.
Which VPN apps work best on iPhone and how to download them?
Top-tier VPN providers for iPhone include NordVPN, ExpressVPN, Surfshark, and ProtonVPN. The selection criteria should focus on encryption protocols, zero-logs policies, and ease of integration with enterprise MDM solutions. Apps can be downloaded directly from the Apple App Store. Ensure you verify provider authenticity, as counterfeit apps may expose credentials. Additionally, consider evaluating trial versions or enterprise licenses to test compatibility with corporate policies (source: TechRadar).
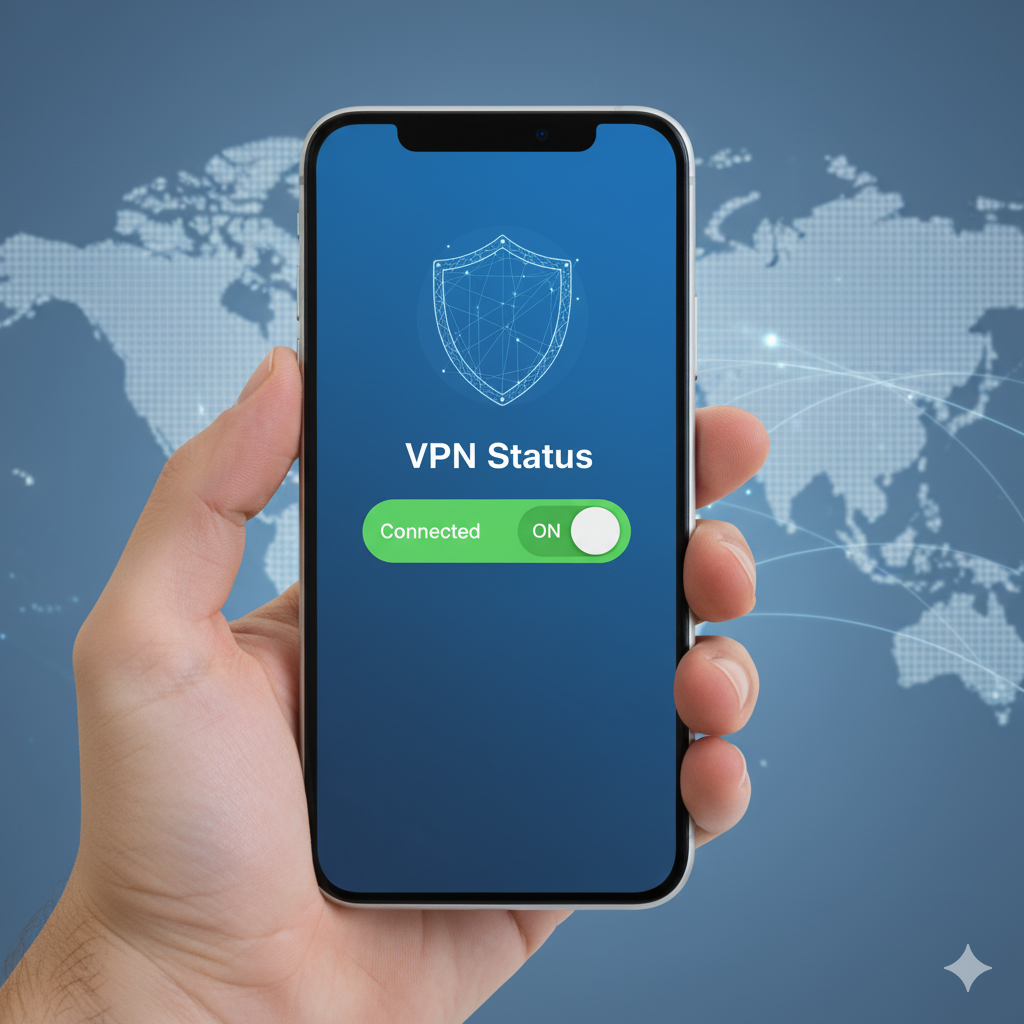
How to install and activate a VPN on your iPhone step-by-step?
- Open the App Store and download your selected VPN app.
- Launch the app and complete account registration or login.
- Follow on-screen instructions to allow the app to configure a VPN profile on iOS.
- Enable the VPN toggle from within the app or iOS Settings → General → VPN & Device Management.
- Verify connection status by checking for the VPN icon in the top status bar.
It is recommended to review official documentation from the provider for updates on iOS versions and VPN protocol support.
How to set up a VPN manually on an iPhone (without the app)?
Manual setup is necessary for certain corporate environments where custom configurations are required. iOS supports L2TP/IPSec, IKEv2, and Cisco IPSec:
- Navigate to Settings → General → VPN & Device Management → Add VPN Configuration.
- Select the appropriate type (IKEv2, IPSec, or L2TP).
- Enter server address, remote ID, and authentication credentials.
- Save and toggle the VPN connection to active.
For compliance with enterprise security policies, always verify certificate validity and preferred encryption suites (source: RFC 8484).
Which VPN protocol should you choose for iPhone (IKEv2 vs WireGuard vs OpenVPN)?
Protocol choice significantly affects security, speed, and battery consumption.
- IKEv2: Highly stable for mobile devices with automatic reconnection after network drops.
- WireGuard: Lightweight, fast, and efficient; excellent for high-throughput requirements.
- OpenVPN: Widely supported and highly configurable, though more resource-intensive.
Selecting the right protocol depends on organizational priorities, including endpoint performance, regulatory compliance, and throughput requirements. For corporate IT deployments, WireGuard is increasingly preferred for low-latency mobile connections.
Constraints and performance:
VPN performance on iPhones is influenced by device model, iOS version, network type, and ISP limitations. LTE and 5G connections generally provide sufficient throughput, but heavy encryption can reduce real-world speeds. Testing under different conditions, including Wi-Fi with captive portals and corporate firewalls, ensures stable connectivity. Some VPNs may trigger iOS battery optimization warnings, requiring adjustment of background app refresh settings. For high-security environments, enforce strong encryption while monitoring CPU and memory usage to avoid user disruption (source: Kaspersky).
How to troubleshoot common issues when a VPN won’t connect on iPhone?
Frequent issues include incorrect credentials, expired certificates, misconfigured DNS, or interference from security apps. Steps for remediation:
- Verify account credentials and server addresses.
- Delete and reinstall the VPN profile if persistent errors occur.
- Ensure no local firewall or parental controls are blocking VPN traffic.
- Test with alternative protocols to identify network-specific restrictions.
For persistent enterprise-level troubleshooting, consult provider knowledge bases or RFC-compliant configuration guides (source: Wikipedia).
What are the best practices for using a VPN on your iPhone in 2025 (security, speed, region limitations)?
- Enable VPN auto-reconnect and “Connect on demand” where possible.
- Regularly update VPN client apps to patch security vulnerabilities.
- Avoid free VPNs with unknown privacy policies.
- Evaluate server locations for latency optimization and compliance with geo-specific restrictions.
Integrating VPN policies with mobile device management solutions ensures uniform security across all endpoints, minimizing human error.
In conclusion, how to get a VPN on iPhone involves careful app selection, protocol choice, and configuration aligned with corporate policies. By implementing the steps outlined above, IT professionals can maintain secure, high-performance mobile connections while mitigating privacy and compliance risks. For further reading, consider detailed reviews of NordVPN and ExpressVPN features in 2025 (NordVPN review, ExpressVPN review).


