Introduction
Many home users are eager to secure their internet traffic, and one popular method is to how to install a vpn on a router as it protects every device connected to the network.
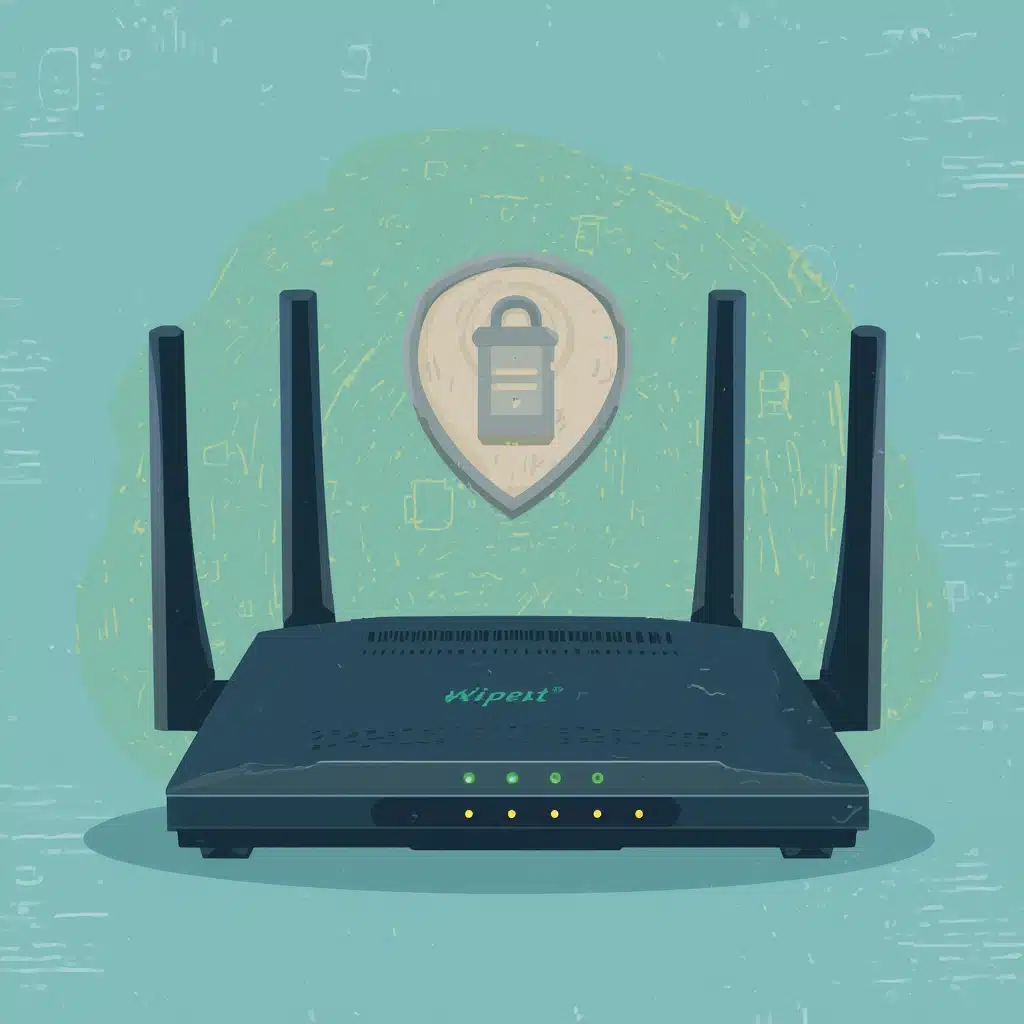
For those new to VPN technology, the first step often involves researching how to install a VPN on a router, understanding firmware, and choosing the right provider.
We’ll walk through the entire process, focusing on setup vpn on home router best practices and common pitfalls.
Whether you’re in the U.S., Canada, Europe, or Asia, the concepts remain the same, but the router models and ISP restrictions can vary.
By the end of this guide you’ll know how to how to install a vpn on a router, troubleshoot, and optimize the experience.
Additionally, we’ll cover how to setup vpn on home router with commercial and free services, ensuring you can keep your data private and bypass geo‑blocks.
Reading on will give you a step‑by‑step manual, actionable tips, and alternative methods if your router isn’t natively compatible.
So let’s dive into the world of VPN‑enabled home networking.
Step‑by‑Step Instructions
1. Choose the Right Router and Firmware
Before you how to install a vpn on a router, check if your device supports OpenVPN or WireGuard.
Many consumer routers use stock firmware that lacks native VPN support, so you might need to install third‑party firmware like DD-WRT or Tomato.
For example, a TP‑Link Archer A9 runs on a firmware that can be upgraded to support OpenVPN, but you must follow the official TP‑Link support FAQ to avoid bricking the device.
Once your firmware is ready, you’ll be in a position to proceed with the VPN configuration.
Remember, the goal is to protect every device, so setup vpn on home router will secure all traffic.
2. Sign Up for a Reliable VPN Provider
To how to install a vpn on a router you need a VPN service that offers server lists and configuration files compatible with your firmware.
Commercial options like NordVPN, ExpressVPN, or ProtonVPN provide OpenVPN configs and clear setup guides.
You can also experiment with free VPNs, but always verify their security: check out how to install a vpn on a router to learn about open‑source or low‑cost alternatives.
After selecting a provider, download the configuration files and note your username and password.
These credentials will be used when you configure the router’s VPN client.
3. Upload the VPN Configuration Files
Most routers expect a .ovpn file for OpenVPN. Place the file in the router’s file manager or use the web UI to import.
When you open the VPN client settings, choose “Import” and locate the configuration file you downloaded.
Double‑check that the file points to a server that is geographically close to you to reduce latency.
After uploading, you’ll see the server list populate in the router’s interface.
Now you’re ready to connect, but first verify your router’s DNS settings.
4. Configure DNS and Firewall Rules
To fully setup vpn on home router you should change the router’s DNS to the VPN’s secure servers.
Many providers recommend using Cloudflare (1.1.1.1) or Quad9 (9.9.9.9) as additional privacy layers.
Adjust firewall rules to block any traffic that bypasses the VPN, ensuring that all downstream devices are forced through the tunnel.
Some routers have a “split tunneling” option; disable it if you want full coverage.
Once DNS is set, you can activate the VPN connection.
5. Activate the VPN and Test Connectivity
Toggle the VPN client to “On” and wait for the router to establish a secure tunnel.
Use a device connected to the router and visit a site like iplocation.net to confirm your IP has changed.
Check that no DNS leaks occur by searching “DNS leak test” online.
If you see your real location, you may need to review the configuration or switch to a different server.
Once confirmed, you’ve successfully setup vpn on home router and protected all local traffic.
6. Automate and Monitor the VPN Connection
Most firmware allows you to set the VPN to auto‑start on reboot.
Enable “Persist VPN” or similar settings so the tunnel remains active during maintenance.
Set up notifications for connection drops via email or SMS if your firmware supports it.
Regularly check the router’s admin page for “VPN status” and “connected IP” to stay informed.
Finally, update the router’s firmware whenever security patches become available.
7. Optional: Advanced Split‑Tunneling for Specific Devices
If you want only certain devices to use the VPN, configure MAC address filtering or VLANs.
Assign a static IP to a device and create a rule to route only that IP through the VPN.
This is useful for gaming consoles or streaming services that need a local IP.
Always remember that split tunneling can reduce overall privacy, so use it sparingly.
With these steps complete, you’re now capable of how to install a vpn on a router for all your devices.
8. Troubleshooting Common Issues
Connection timeouts usually indicate a mismatch in port numbers or server availability.
Check your firewall to ensure ports 1194/443 (for OpenVPN) are open.
If you see “invalid credentials,” double‑check your username and password.
For routers that don’t display error logs, consult the manufacturer’s support portal.
Sometimes a change in ISP network may block VPN traffic; switching to UDP/TCP or a different port can help.
Tips
Use a dedicated VPN router if you plan to run heavy traffic; these units have better processors and more memory.
For Wi‑Fi‑only connections, enable the “Wireless Bridge” mode to avoid double NAT complications.
Consider setting up a second VLAN for guests to keep them isolated from your VPN‑protected network.
Keep a backup of your router configuration in case you need to revert after an update.
Check local regulations in your country; some regions may have restrictions on VPN use.
When choosing a provider, evaluate their logs policy; zero‑log services like ExpressVPN or ProtonVPN are ideal.
Alternative Methods
If your router cannot run third‑party firmware, you can install a dedicated VPN appliance such as the Proxy Master VPN router or the Proton VPN router.
Another approach is to use a Raspberry Pi as a VPN client and route traffic from your main router through it.
This setup requires basic Linux knowledge but provides excellent flexibility.
For Windows users, the ExpressVPN login page offers a dedicated router app that can be installed on many smart TVs and gaming consoles.
If you prefer a commercial solution, consider the Lumos VPN service which offers router firmware for select models.
Finally, for enterprise environments, use a managed switch with built‑in VPN support, though this is often costlier.
Conclusion
Learning how to install a VPN on a router unlocks a layer of privacy that protects every device in your home.
By following our step‑by‑step guide, you’ve mastered setup vpn on home router and ensured all traffic is encrypted.
Remember to keep your firmware and VPN credentials secure; rotate passwords and update firmware regularly.
With a stable VPN connection, you can browse freely, stream in any region, and maintain your digital privacy.
In summary, if you want to how to install a vpn on a router, the process involves choosing compatible hardware, selecting a trusted provider, and configuring the router correctly.
Additionally, the same steps can be applied to setup vpn on home router across various brands, ensuring you have a consistent, secure network experience.
Should you face challenges, consult the vendor’s support pages or consider alternative appliances as outlined earlier.
Stay updated on the latest VPN developments and local regulations to keep your network both compliant and protected.