Introduction
Many streaming enthusiasts ask how to install a VPN on Amazon Fire Stick to unlock global content libraries. In this guide you’ll find clear steps, troubleshooting tips, and best practices to how to install vpn on amazon fire stick without losing quality. Whether you’re in the United States, India, or the United Kingdom, the same approach works, though server choice may vary by location.
Installing a VPN on Fire Stick is especially useful for bypassing geo‑restrictions on services like Disney+, BBC iPlayer, or Netflix. The process may seem daunting, but with the right instructions it becomes a routine setup. This article breaks the task into simple, actionable steps.
To ensure a smooth experience, you’ll need a reliable VPN subscription, a Fire Stick device, and a stable Wi‑Fi network. Below we cover prerequisites, choosing the right VPN, the actual installation, and how to verify that your connection is secure. By the end, you’ll know how to install a VPN on Fire Stick for any region.
Step‑by‑Step Instructions
Pre‑Requisites
Before you start, confirm that your Fire Stick is updated to the latest software version. You can check this by navigating to Settings → My Fire TV → About → Check for Updates. An outdated OS may prevent app installations or cause performance issues.
Make sure you have the credentials for a VPN service that supports Amazon Fire Stick. Popular options include ExpressVPN, NordVPN, and Surfshark, all of which provide dedicated apps for the device. If you’re looking for a free option, check out how to install vpn on amazon fire stick for the latest free VPN recommendations.
Keep a record of the VPN server you wish to connect to. In the U.S., the U.S. West or U.S. East servers often offer the best speeds, while in India, choosing a nearby server in the Middle East or the U.K. can reduce latency.
Choosing a VPN
Select a VPN that offers an app for Amazon Fire Stick, or one that can be installed via the app store. ExpressVPN’s Amazon app is well‑rated for its ease of use, and the official app is available through the Fire Stick’s app store.
When searching for a VPN, look for features such as no‑log policies, high‑speed servers, and a kill‑switch. If you’re new to VPNs, the guide on ExpressVPN’s setup page provides a straightforward walkthrough.
Remember to verify that the VPN supports the protocols you prefer, such as OpenVPN or WireGuard, as these affect security and speed.
Installing the VPN App
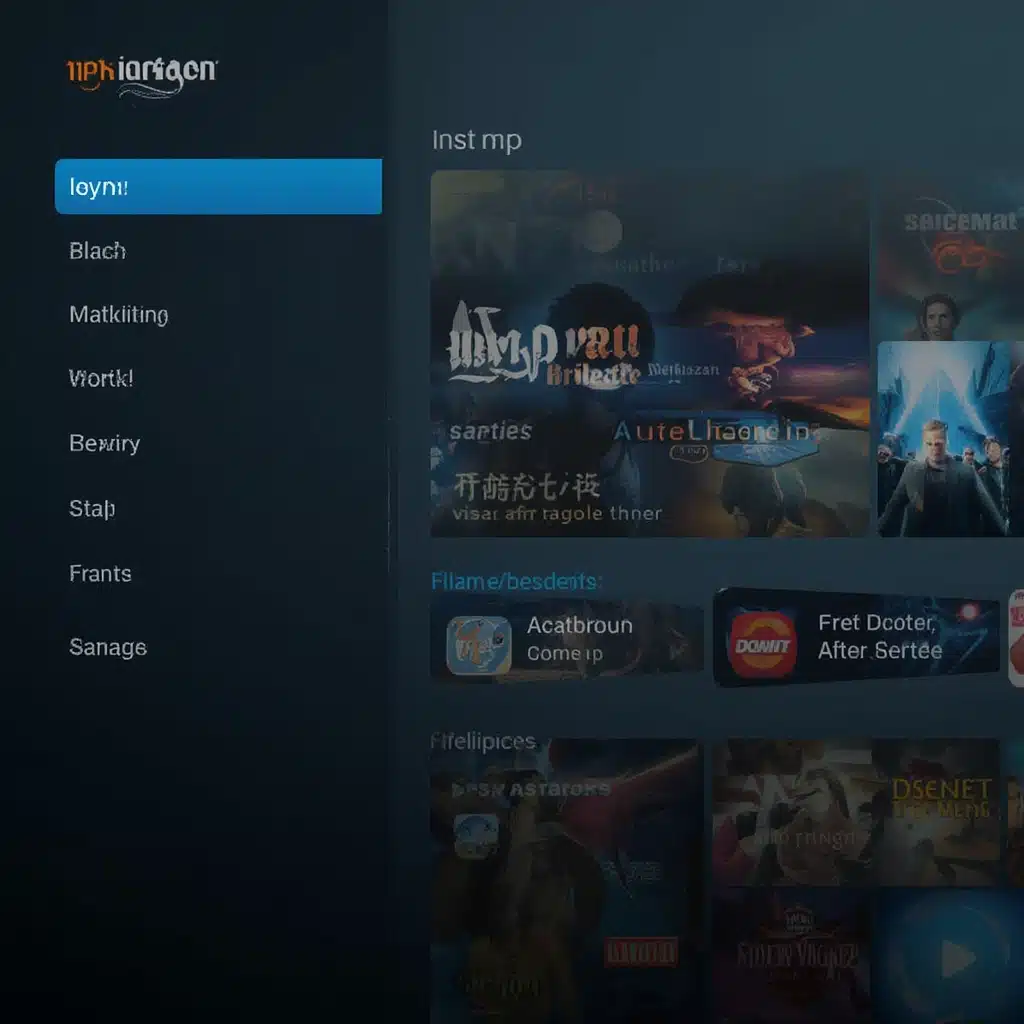
Open the Amazon App Store on your Fire Stick and search for the VPN’s official name. For example, type “ExpressVPN” or “NordVPN.” Once found, select the app and click “Download” or “Install.”
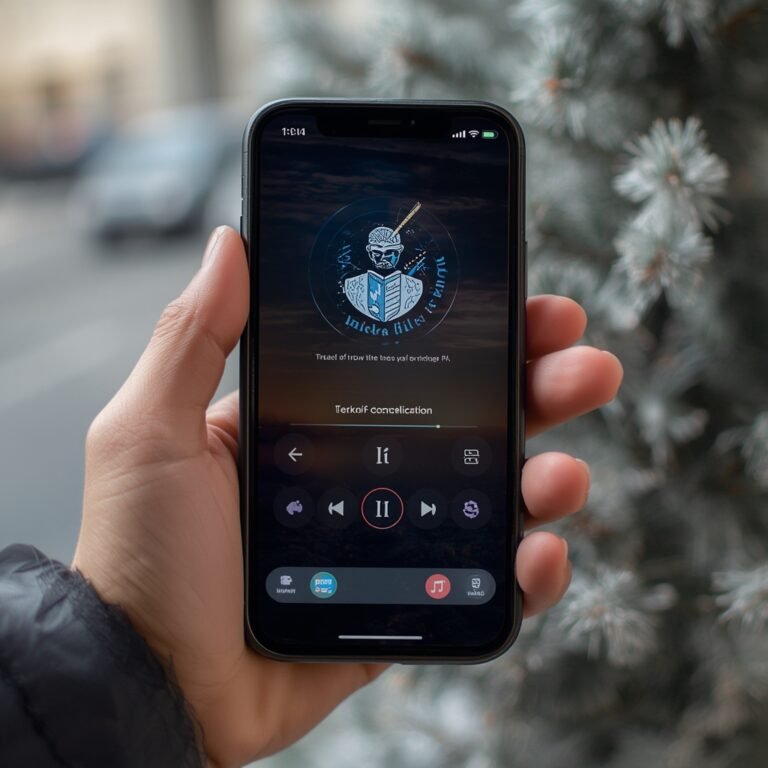
After installation, open the app and sign in using your VPN credentials. Follow the on‑screen prompts to grant the app necessary permissions. Most VPN apps on Fire Stick automatically configure the network settings, but double‑check the settings to ensure the kill switch is enabled.
For users who prefer not to install the app, you can also use the VPN’s web‑based configuration via the Fire Stick’s browser, but this method requires more advanced setup steps.
Connecting to a Server
Within the VPN app, choose a server based on your streaming destination. If you want to watch UK shows, pick a U.K. server; for U.S. content, choose a U.S. server. Selecting the nearest server reduces buffering times.
After selecting, tap “Connect.” The app will establish a secure tunnel, indicated by a status icon or a progress bar. Once connected, you’ll see a confirmation message.
To verify your IP has changed, open a browser on your Fire Stick and navigate to a site like What Is VPN Private? This page will show your new public IP and location.
Testing the Connection
Launch your streaming app and try accessing a region‑locked title. If the title appears without a “geo‑restriction” message, the VPN is functioning correctly. If you still see restrictions, switch to another server or restart the app.
For a deeper test, you can use the Security.org Fire Stick guide to confirm that traffic is encrypted and that DNS queries are routed through the VPN.
Finally, check for any leaks by visiting a site that displays your IP and DNS. Ensure both are consistent with the VPN server you selected.
Maintaining Your VPN
Regularly update the VPN app to benefit from security patches and performance improvements. The Fire Stick’s app store usually prompts you when an update is available.
If you notice a drop in speed, try switching to a different protocol or server region. Many VPNs allow you to toggle between OpenVPN, L2TP, or WireGuard from the app’s settings.
Keep an eye on your data usage if you’re on a metered connection. Most VPNs provide a usage tracker in the app’s dashboard.
Tips
Optimizing Performance
For the best streaming experience, use a wired Ethernet connection if your Fire Stick supports it. Ethernet offers lower latency compared to Wi‑Fi.
Disable any unnecessary background apps on your Fire Stick to free up bandwidth. This is especially useful when streaming 4K content.
Use the VPN’s “Fastest Server” feature if available, as it selects the best performing server based on real‑time data.
Avoiding Blocked VPN Servers
Some streaming services actively block known VPN IP ranges. If you’re blocked, try a different server or enable “Smart Play” if your VPN offers it.
Use VPN Port Forwarding for services that require specific ports, such as some torrent clients.
When troubleshooting, check the VPN’s VPN Passthrough settings to ensure they allow traffic from your Fire Stick.
Alternative Methods
Using a Router‑Level VPN
Instead of installing the VPN directly on the Fire Stick, you can configure it on your home router. This approach protects all devices on the network, including the Fire Stick.
To set up a router‑level VPN, log into your router’s admin panel, navigate to the VPN section, and input your VPN credentials. The exact steps vary by router brand.
Once the router is configured, simply connect your Fire Stick to the Wi‑Fi network, and all traffic will automatically route through the VPN.
Smart DNS for Streaming
Smart DNS bypasses geo‑restrictions by redirecting DNS queries while keeping your IP address local. It’s faster than a VPN but offers less privacy.
Many VPN services provide a Smart DNS feature. To use it, update your Fire Stick’s DNS settings to the provided Smart DNS addresses.
Remember that Smart DNS doesn’t encrypt traffic, so it’s not a substitute if privacy is your primary goal.
Conclusion
Now you know how to install a VPN on Amazon Fire Stick and enjoy unrestricted streaming worldwide. By following the step‑by‑step process and using a reliable VPN, you can watch your favorite shows without geo‑blocks.
Whether you’re a casual viewer in Canada or a serious streamer in South Africa, the same methodology applies—just choose a server that matches your region of interest.
With the VPN installed and configured, you can rest assured that your data remains private and your content library is fully accessible. Happy streaming, and enjoy the freedom that comes from how to install vpn on amazon fire stick and install vpn on firestick for a seamless experience.