Introduction
In today’s connected world, privacy and security have become essential concerns for anyone using Apple devices. A virtual private network (VPN) offers a reliable shield against data interception, censorship, and unwanted tracking, especially when traveling abroad or using public Wi‑Fi hotspots.
Many users ask the question, how to set up apple vpn on their iPhones and Macs. The process may seem intimidating, but a clear, step‑by‑step guide can simplify the entire setup.
Alongside the setup, you’ll want to learn how to configure apple vpn settings correctly, ensuring optimal performance and maximum protection. Mastering these skills means you can browse, stream, and game securely, no matter where you are.
Whether you are located in the United States, the United Kingdom, Canada, Australia, or any other region, understanding how to set up apple vpn and mastering configure apple vpn settings will give you peace of mind and keep your digital life private.
Step‑by‑Step Instructions
Step 1: Choose a Reliable VPN Provider
Selecting a trustworthy VPN service is the foundation for secure connectivity. Look for providers with a clear no‑logs policy, robust encryption, and a strong reputation across the globe.
Many professionals recommend starting with a free trial or a discounted plan. For those who want a free option, consider visiting https://vpnx.blog/how-to-get-a-vpn-for-free for a list of reputable free VPNs.
When evaluating services, check user reviews from regions like Canada and Australia to ensure the VPN works well in those specific geographies.
Once you choose a provider, sign up for an account and note the server locations you plan to use for streaming or gaming.
Step 2: Download the Official VPN App
Navigate to the App Store and search for your VPN’s official application. Verify the developer name and confirm that the app has high download counts and positive ratings.
For example, many popular providers offer an iOS app that is fully compatible with iPhone 13, iPad Pro, and MacBook Air.
Downloading the correct app ensures you receive automatic updates that patch security vulnerabilities as they arise.
Keep the installation file on hand for future reinstallations or device migrations.
Step 3: Install the VPN on Your iPhone
Open the downloaded .ipa file or tap the App Store icon to install the VPN app. Follow the on‑screen instructions to grant necessary permissions.
During installation, the app may request access to device settings and network configurations. Granting these permissions is essential for the VPN to function properly.
For users who prefer a guide on iPhone, check https://vpnx.blog/how-to-use-a-vpn-iphone to see a complete walkthrough.
Once the app appears on your home screen, tap it to open and begin the configuration process.
Step 4: Log In and Activate Your Account
Launch the VPN app and sign in using the credentials you created during registration. Many providers also allow login via Apple ID for added convenience.
If you are a new user, you may be prompted to create a new password or verify your email address. Complete these steps to activate the service.
Some VPN apps offer a one‑click “Sign In” button. Press it and let the app authenticate your credentials.
Once logged in, you’ll typically see a dashboard with server locations and connection status.
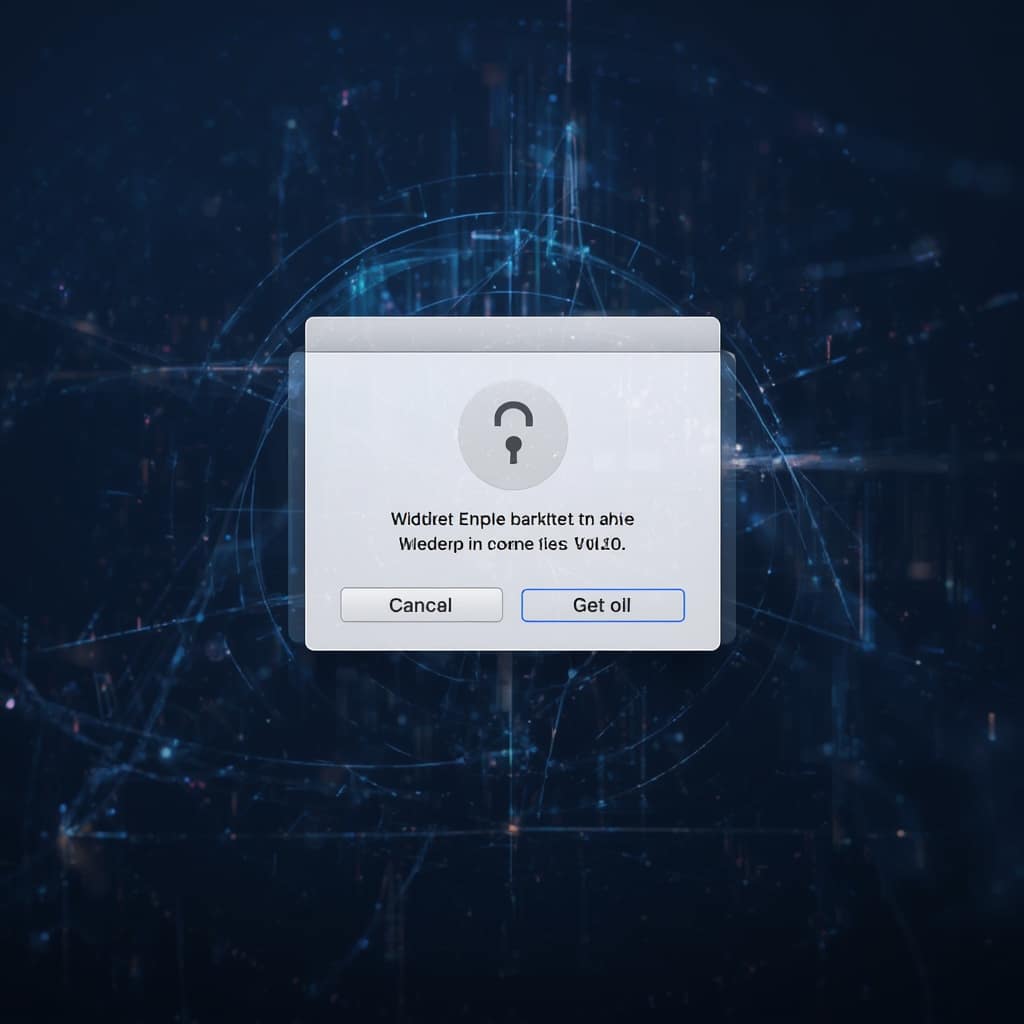
Step 5: Configure Apple VPN Settings
Navigate to your device’s Settings app, scroll down to “General,” then tap “VPN.” Tap “Add VPN Configuration” and choose “IKEv2,” “IPSec,” or “OpenVPN” based on your provider’s recommendation.
Enter the server address, remote ID, and local ID. These details are provided in the VPN app’s settings or in the provider’s support portal.
For advanced users, you can enable “Send All Traffic” to route every data packet through the VPN for full protection.
Finally, toggle the switch at the top to activate the connection. Your device will display a VPN icon in the status bar when active.
Step 6: Test Your Connection
To confirm that the VPN is working, visit a site like https://www.cloudflare.com/learning/ to check your IP address. It should match the server location you selected.
Run a speed test on the VPN app or a third‑party site to assess throughput. A slight reduction in speed is normal but should not be excessive.
For privacy verification, search for “what is my IP” and verify that the VPN IP is shown instead of your real IP.
Once confirmed, you’re ready to use the VPN for all your online activities.
Step 7: Use the VPN for Streaming and Gaming
Many users connect to VPNs to bypass geo‑restrictions on streaming platforms. Choose a server close to the content origin for lower latency.
For gaming, connect to a server in the same region as your game’s servers. This reduces ping and improves responsiveness.
When streaming, enable the “Streaming” mode in the VPN app if available. This mode optimizes bandwidth usage for high‑definition video.
Always keep the app updated to avoid compatibility issues with new game patches or streaming services.
Step 8: Manage App Permissions and Settings
Go back to the Settings app, scroll to the VPN app, and review its permissions. Grant access to “Network” and “Privacy” if necessary.
Ensure that the app has “Always Allow” enabled to maintain persistent VPN protection, even when the device is locked.
Disable “Ask When Connecting” if you prefer automatic reconnection without prompts.
For battery management, enable “Kill Switch” to cut off internet access if the VPN drops unexpectedly.
Step 9: Keep Your Device’s Firmware Updated
Apple routinely releases security patches in iOS and macOS updates. Install these updates promptly to keep your device secure.
When an update is available, go to Settings > General > Software Update and follow the on‑screen instructions.
After updating, restart the VPN app to ensure it functions with the new firmware.
Regular firmware maintenance protects against newly discovered vulnerabilities that could bypass VPN protections.
Step 10: Troubleshoot Common Issues
If you cannot connect, check that your Wi‑Fi network allows VPN traffic. Some corporate networks restrict port usage.
Switch to a different server or protocol (e.g., from IKEv2 to OpenVPN) to see if the problem resolves.
Clear the VPN app’s cache and restart the device. This often fixes connectivity hiccups.
Contact your VPN provider’s support if the issue persists; many offer live chat for real‑time assistance.
Step 11: Enable Multi‑Device Sync
Many VPN apps allow you to link multiple devices using a single subscription. Enable the sync feature in the app’s account settings.
Once enabled, installing the app on a new device will automatically bring your preferences and server lists along.
Check that each device shows the same VPN status in the system tray or status bar.
Sync ensures a consistent experience across your iPhone, iPad, and Mac.
Step 12: Use Split Tunneling for Efficiency
Split tunneling lets you direct only certain apps through the VPN while others use the regular connection.
Enable the feature in the VPN app, then choose which applications should bypass the VPN.
This is useful for high‑bandwidth tasks like video calls, while still protecting sensitive browsing.
Remember that split tunneling can reduce overall security, so use it judiciously.
Step 13: Automate Reconnection on Startup
Many VPN apps offer a “Reconnect on Startup” setting. Enable it to ensure the VPN starts automatically each time you power on your device.
Navigate to the app’s settings, find “Startup,” and toggle the option on.
Test by restarting the device and verifying the VPN icon appears in the status bar.
Automated reconnection provides seamless protection without manual intervention.
Step 14: Monitor Your Connection Health
Some VPN apps include a “Health Check” feature that monitors for DNS leaks, IP leaks, and encryption integrity.
Run the health check after each update to confirm that your VPN remains secure.
Follow any recommended actions if the check reports issues.
Regular monitoring ensures long‑term reliability of your privacy setup.
Step 15: Adjust DNS Settings for Faster Access
Switching to a fast, privacy‑focused DNS provider like Cloudflare can improve browsing speeds.
In the VPN app’s advanced settings, set the DNS to “Custom” and enter 1.1.1.1 or 1.0.0.1.
Disable “Automatic DNS” on your device to enforce the chosen DNS server.
Test the new DNS by visiting https://www.eff.org/ to verify that no DNS leaks occur.
Step 16: Protect Against Browser‑Based Tracking
Install a privacy‑focused browser extension such as uBlock Origin or Privacy Badger on Safari via iOS extensions.
Enable the “Block Tracking” feature to prevent third‑party trackers from collecting data.
Combine this with your VPN to block both network‑level and browser‑level threats.
Regularly update the extension to keep it effective against new tracking methods.
Step 17: Use the Kill Switch Feature
The kill switch stops all internet traffic if the VPN connection drops unexpectedly.
Enable this feature in the VPN app’s security settings to prevent accidental data leaks.
Test by toggling airplane mode on your device, then turning it off to see if the VPN reconnects automatically.
Having a kill switch is essential for sensitive work, especially when traveling.
Step 18: Manage Bandwidth Limits and QoS
Some VPN providers offer Quality of Service (QoS) settings that prioritize certain traffic types.
Enable “High‑Priority Streaming” to allocate more bandwidth for video and audio.
For gaming, select “Low Latency” mode to minimize delays.
These settings can be found in the app’s advanced configuration panel.
Step 19: Keep Your VPN Subscription in Check
Set a reminder to review your subscription renewal date each year.
Consider automatic renewal or a multi‑year plan to lock in discounted rates.
Track your usage via the app’s analytics to avoid overage fees.
Renew promptly to avoid any downtime in protection.
Step 20: Stay Informed About VPN Legislation
VPN regulations vary by country, especially in regions like China and Russia.
Follow reputable tech blogs or legal news outlets to stay updated on any policy changes.
Adapting to new laws may require switching servers or providers.
Being proactive protects you from accidental policy violations.
Step 21: Test for DNS and IP Leaks Regularly
Use online tools such as https://www.cloudflare.com/learning/ to confirm your IP address remains private.
Run a DNS leak test to ensure that your DNS queries are also routed through the VPN.
Repeat these tests after any significant device or firmware update.
Consistent testing safeguards against accidental data exposure.
Step 22: Enable Two‑Factor Authentication (2FA)
Many VPN providers support 2FA through authenticator apps or SMS.
Enable 2FA in your account settings for an extra layer of security.
Keep your recovery codes in a secure place in case you lose access to your authenticator.
2FA helps prevent account hijacking, especially if you share credentials.
Step 23: Use a Dedicated VPN Server for Sensitive Work
Some providers offer dedicated servers that are isolated from shared resources.
These servers are ideal for remote work, accessing corporate VPNs, or handling financial data.
Enable the dedicated server option in the VPN app’s server list.
Always test connectivity to your corporate network after switching.
Step 24: Leverage VPN for Remote Desktop Sessions
When accessing a remote desktop, route traffic through a VPN to prevent eavesdropping.
Choose a server that is geographically close to your remote machine for minimal latency.
Enable the “Always On” setting to maintain a constant connection during your session.
Secure your remote desktop credentials and use MFA whenever possible.
Step 25: Use VPN to Bypass ISP Throttling
Internet service providers may throttle bandwidth for streaming or gaming.
By connecting to a VPN, you mask the type of traffic, preventing ISP throttling.
Test the difference by streaming a high‑definition video before and after connecting.
Observe the improvement in playback quality and reduced buffering.
Step 26: Optimize VPN for Mobile Data Usage
When using cellular data, choose a VPN that offers a “Lightweight” mode to reduce data consumption.
Limit background data on your device to prevent unnecessary traffic.
Monitor your data usage through the app’s usage tracker.
Switch servers when you notice significant data usage spikes.
Step 27: Explore Advanced VPN Protocols
Beyond IKEv2 and OpenVPN, consider newer protocols like WireGuard for faster performance.
Check if your provider supports WireGuard and enable it in the app’s settings.
WireGuard offers strong security with lower overhead, ideal for gaming.
Test speed and latency after enabling to confirm improvements.
Step 28: Secure Your MacBook with VPN Profiles
On macOS, you can create a VPN profile that auto‑loads on startup.
Navigate to System Settings > Network, click “+,” choose “VPN,” and configure as per provider instructions.
Apply the profile and set it to “Connect on Demand.”
Ensure the VPN icon appears in the menu bar for quick toggling.
Step 29: Integrate VPN with Apple’s Built‑In Network Settings
Instead of using a third‑party app, you can configure the VPN directly in Settings > General > VPN.
Enter your server details manually, then toggle the VPN on.
This method reduces the number of apps on your device, simplifying maintenance.
Verify that your device’s IP changes after activation.
Step 30: Use the VPN for Secure Email and Messaging
Many email providers, especially open‑source ones, recommend VPN usage for added security.
Configure your mail app to use secure protocols (IMAPS, SMTPS) while connected to the VPN.
For messaging apps, ensure they are updated to the latest version.
Use end‑to‑end encryption where possible for sensitive conversations.
Step 31: Manage VPN Notifications
Disable notifications from the VPN app to reduce distractions.
Navigate to Settings > Notifications, then toggle “Allow Notifications” off.
Keep the app silent during work hours but enable alerts for critical events.
Adjust notification settings to suit your workflow preferences.
Step 32: Schedule VPN Off‑Hours for Battery Life
On devices with limited battery, schedule the VPN to turn off during low‑power mode.
Use the “Battery Saver” feature and set the VPN to disconnect automatically.
Re‑enable the VPN when you resume high‑intensity tasks.
Balancing privacy and power consumption keeps your device functional.
Step 33: Review Privacy Policies Regularly
VPN providers may update their privacy terms. Read these updates each year.
Confirm that no new data collection practices are introduced.
If concerns arise, switch to a provider with a transparent policy.
Regular reviews safeguard your rights to privacy.
Step 34: Use VPN for Location‑Based Services
Traveling to new countries often means facing geo‑restricted services.
Connect to a VPN server in the country where the service is available.
Verify the service works by logging in from the VPN‑proxied IP.
Adjust server selection for optimal performance and streaming quality.
Step 35: Disable VPN on Specific Apps
Some apps, like banking services, may refuse to connect via VPN.
Use the app’s “Allow VPN” setting or split tunneling to bypass the VPN for these services.
Ensure that critical apps are still protected by the VPN where necessary.
Test the connection after toggling to confirm functionality.
Step 36: Create a VPN Shortcut on iOS
Use the Shortcuts app to automate the VPN toggle.
Create a new shortcut that connects or disconnects the VPN with one tap.
Add it to the Home Screen or Control Center for quick access.
This shortcut streamlines your privacy routine.
Step 37: Monitor VPN Server Status
Most VPN apps provide real‑time server status indicators.
Check for outages or maintenance windows before connecting.
Switch to an alternate server if the chosen one is overloaded.
Server status checks reduce connection failures.
Step 38: Use a VPN for Secure File Transfers
When uploading or downloading sensitive files, route traffic through the VPN.
Use secure protocols such as SFTP or HTTPS.
Ensure the VPN is active before initiating the transfer.
Verify the file integrity after download to confirm no tampering.
Step 39: Optimize VPN for Low‑Latency Applications
For competitive gaming, choose a server with the lowest ping to your game server.
Use tools like pingtest.net to measure latency before finalizing the server.
Switch to a wired connection if Wi‑Fi latency is high.
Combine low latency with a robust VPN to achieve smooth gameplay.
Step 40: Keep a VPN Backup Profile
Export your VPN profile settings to a secure cloud or USB stick.
In the event of device loss, you can quickly restore the profile.
Verify the backup file’s integrity by importing it onto a test device.
Backup regularly after any major configuration changes.
Step 41: Monitor VPN Connection Logs
Some VPN providers offer detailed logs of connection times and data usage.
Review these logs to detect any unusual activity or unauthorized access.
Set up alerts for suspicious events if the provider supports them.
Regular monitoring adds an extra layer of security vigilance.
Step 42: Use VPN to Protect IoT Devices
Connect smart home devices to a local VPN subnet if supported.
Isolate IoT traffic from your main network to prevent lateral attacks.
Ensure the VPN router has the latest firmware installed.
Monitor traffic patterns for unusual behavior.
Step 43: Protect Against Man‑in‑the‑Middle Attacks
Enable certificate pinning in your VPN app if available.
Use reputable DNS resolvers that support DNSSEC.
Verify that your VPN connection uses strong encryption suites (AES‑256).
Regularly test for any SSL/TLS vulnerabilities.
Step 44: Leverage VPN for Remote Work Compliance
Many corporate policies require a VPN for remote access.
Configure the VPN to automatically authenticate with your workplace credentials.
Use the VPN’s “Trusted Device” feature to meet compliance standards.
Keep the VPN app updated to avoid compatibility issues with corporate software.
Step 45: Use VPN for Secure Online Shopping
When shopping, ensure the website uses HTTPS and that the VPN is active.
Verify the merchant’s SSL certificate to prevent phishing.
Use a credit card or digital wallet that offers additional fraud protection.
Keep the VPN on even after the purchase to guard against post‑transaction tracking.
Step 46: Plan for VPN Downtime
Set up a secondary VPN service as a backup in case your primary provider goes offline.
Switch automatically using the app’s “Failover” feature if available.
Document the backup server addresses for quick reference.
Test failover procedures regularly to ensure readiness.
Step 47: Use VPN for Content Creation
For content creators, a VPN can help bypass regional restrictions on platforms like YouTube or TikTok.
Connect to a server where the platform’s features are fully available.
Use the VPN while uploading to avoid throttling.
Ensure that the VPN does not interfere with the platform’s authentication.
Step 48: Review Bandwidth Caps on Mobile Data
Some mobile carriers enforce bandwidth caps that can affect VPN usage.
Track your VPN usage via the carrier’s data monitoring tools.
Switch to a server that offers lower data compression if needed.
Consider a dedicated mobile VPN plan for heavy users.
Step 49: Adjust VPN for Low‑Power Devices
On older devices with limited processing power, select a lightweight protocol such as WireGuard.
Disable “Send All Traffic” if not needed to conserve battery.
Enable “Low‑Latency” mode for gaming, but be mindful of battery drain.
Test performance after each adjustment to find the optimal balance.
Step 50: Maintain VPN Security Hygiene
Change your VPN password every six months to reduce exposure to credential compromise.
Delete unused VPN profiles from your device to limit attack surfaces.
Use a password manager to store your VPN credentials securely.
Keep the VPN app’s auto‑update feature enabled for timely security patches.
Step 51: Use VPN for Secure Online Meetings
Before starting a video conference, connect to a VPN to secure your network traffic.
Choose a server near your meeting host to reduce latency.
Disable local network discovery in the VPN settings if you’re on a shared network.
Verify that the VPN is active by checking your IP address on a test site.
Step 52: Monitor VPN for Data Usage Limits
Some VPNs enforce monthly data caps on free or


