Introduction: Why You Need to Configure VPN on Android
With 86% of internet users worrying about their online privacy, learning how to set up VPN on Android has become essential. Whether you’re accessing sensitive business documents or streaming geo-restricted content, a VPN encrypts your traffic and masks your IP address. Modern Android devices (version 5.0+) natively support VPN protocols, but third-party apps often provide better speeds and advanced features.
Below you’d learn two primary methods to configure VPN on Android: Using built-in settings for manual setups, and popular VPN apps for automated connections. We’ll also explore why understanding VPN terminology helps troubleshoot connection issues.
Step-by-Step Instructions: How to Set Up VPN on Android
Method 1: Using Android’s Built-in VPN Client
- Gather Your VPN Credentials: You’d need server address, VPN type (L2TP/IPSec, IKEv2, etc.), username, and password from your provider
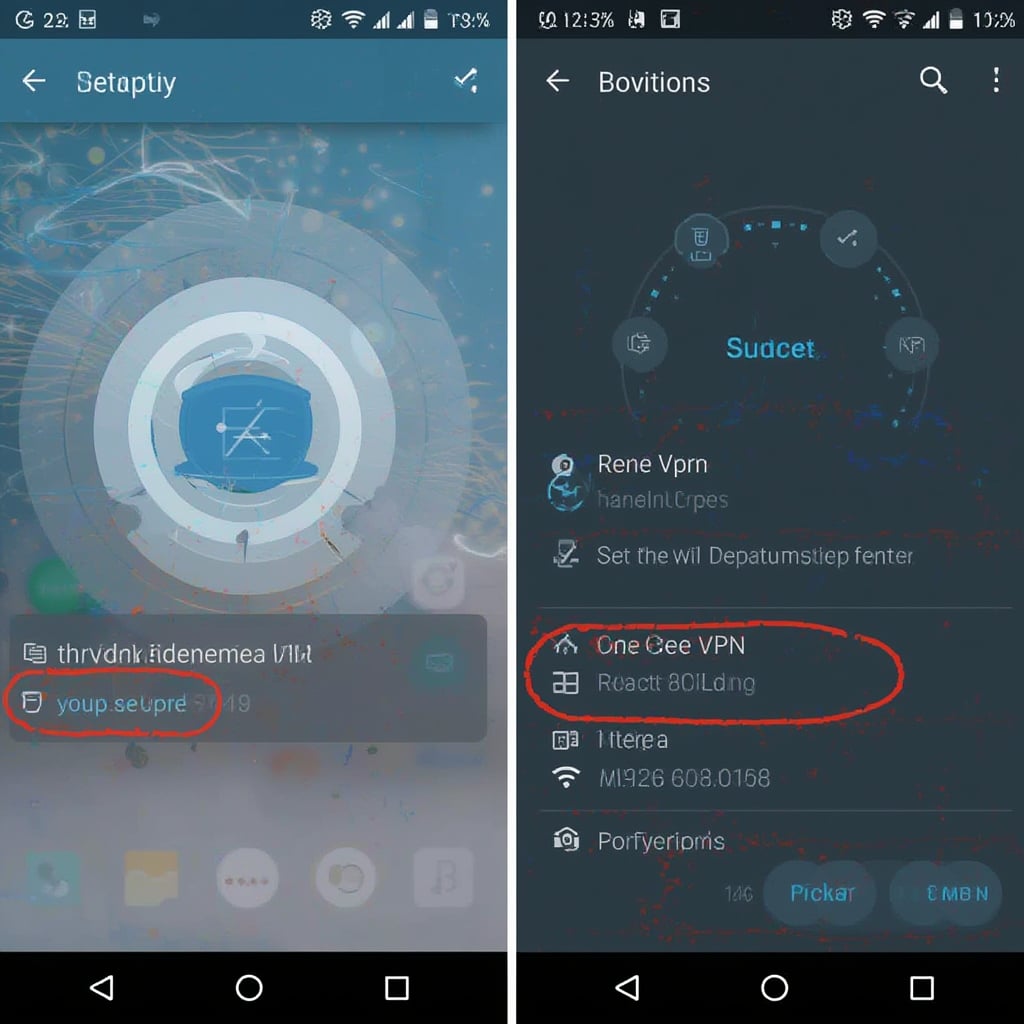
- Navigate to Settings > Network & Internet > VPN
- Tap the + icon or “Add VPN”
- Configure fields:
- Name: Label your connection (e.g., “Work VPN”)
- Type: Select protocol recommended by your provider
- Server address: Enter domain/IP (e.g., us1.vpnservice.com)
- Scroll down to enter username/password
- Tap Save, then select the profile to connect
- Enable “Always-on VPN” in advanced settings for persistent protection

Method 2: Using Third-Party VPN Apps
- Choose a reputable provider (NordVPN, ExpressVPN, etc.) – learn how to evaluate services
- Install app from Google Play Store
- Launch app and log into your account
- Tap Quick Connect or select specific server location
- Grant permission for VPN connection request
- Verify connection via IP address checker
ProtonVPN’s official Android guide shows how their app simplifies server selection with specialty servers for torrenting and streaming.
Essential Tips for Maintaining Your Android VPN
- Kill Switch Activation: Prevents data leaks if VPN drops (Available in apps like NordVPN – see setup guide)
- Protocol Selection: Use WireGuard for speed, OpenVPN for compatibility, IKEv2 for unstable networks
- Battery Optimization: Exclude VPN apps from battery saver mode to prevent disconnections
- Split Tunneling: Route only specific apps through VPN (e.g., Chrome but not local banking app)
Troubleshooting Common Connection Issues
| Problem | Solution |
|---|---|
| VPN won’t connect | 1. Toggle airplane mode 2. Switch protocols 3. Verify credentials |
| Slow speeds | 1. Connect to nearby servers 2. Change to WireGuard protocol 3. Disable battery optimization |
| App crashes | 1. Clear app cache 2. Update Android OS 3. Reinstall VPN app |
Alternative Configuration Methods
Manual OpenVPN Setup
For advanced users needing custom configurations:
- Install OpenVPN for Android from Play Store
- Import .ovpn files from your provider
- Edit advanced parameters like cipher strength
Using VPN-Enabled Browsers
Apps like Opera VPN provide browser-only encryption without full device-level protection
Enterprise Solutions
- Always-On VPN: IT departments push mandatory VPN profiles via MDM software
- Per-App VPN: Work profile containers isolating corporate data
Router-Level Configuration
Set up VPN directly on your Wi-Fi router to protect all connected Android devices simultaneously – no app needed.
Conclusion: Mastering VPN Configuration on Android
Knowing how to set up VPN on Android empowers you to bypass censorship, prevent ISP tracking, and secure public Wi-Fi sessions. Whether using native settings or third-party apps, key considerations include protocol choice, kill switches, and battery management. For iPhone users, follow our iOS-specific guide.
Remember, consistently updating your VPN app and Android OS patches vulnerabilities. By properly learning to configure VPN on Android, you’ve taken critical steps toward comprehensive mobile security across all devices.


