Introduction
In today’s digital landscape, safeguarding online privacy has become essential. Whether you’re traveling, working remotely, or simply browsing, a virtual private network (VPN) helps protect your data from prying eyes. If you’re using a MacBook Air, you might wonder how to setup vpn on macbook air. The process is straightforward, yet it involves several key steps that ensure a secure connection and optimal performance. This guide will walk you through everything you need to know, from basic configuration to advanced tips for maximizing privacy. We’ll also explore the broader context of macOS VPN configuration guide and how it fits into the global trend of increasing online security demands.
Why a VPN matters in 2025. With the proliferation of sophisticated cyber‑attacks and increased surveillance, a reliable VPN is no longer optional. It encrypts your traffic, masks your IP address, and bypasses geo‑restrictions that may block content in certain regions. For users in restrictive countries, a VPN can restore access to social media, news outlets, and essential services. For everyday users, it prevents ISP throttling, protects data on public Wi‑Fi, and provides a layer of anonymity against targeted ads.
In the following sections, you’ll find a step‑by‑step walkthrough on how to setup vpn on macbook air, practical troubleshooting advice, and alternative methods that cater to advanced users. By the end, you’ll be equipped to secure your MacBook Air with confidence and ease.
Step-by-Step Instructions
1. Choose a VPN Provider
Before diving into settings, select a reputable provider. Look for a company that offers strong encryption (AES‑256), a no‑log policy, and servers in multiple countries. Providers that publish independent audits or have certifications from organizations like the Electronic Frontier Foundation (EFF) tend to be more trustworthy. Once you’ve chosen, download the provider’s macOS client or prepare to use the built‑in VPN settings.
2. Gather Your VPN Credentials
Most VPN services provide a username and password, a shared secret, or a pre‑shared key (PSK). For advanced users, some providers also offer certificate‑based authentication. Keep these credentials safe—store them in a password manager or a secure notes app. You’ll need them when you configure the VPN on your MacBook Air.
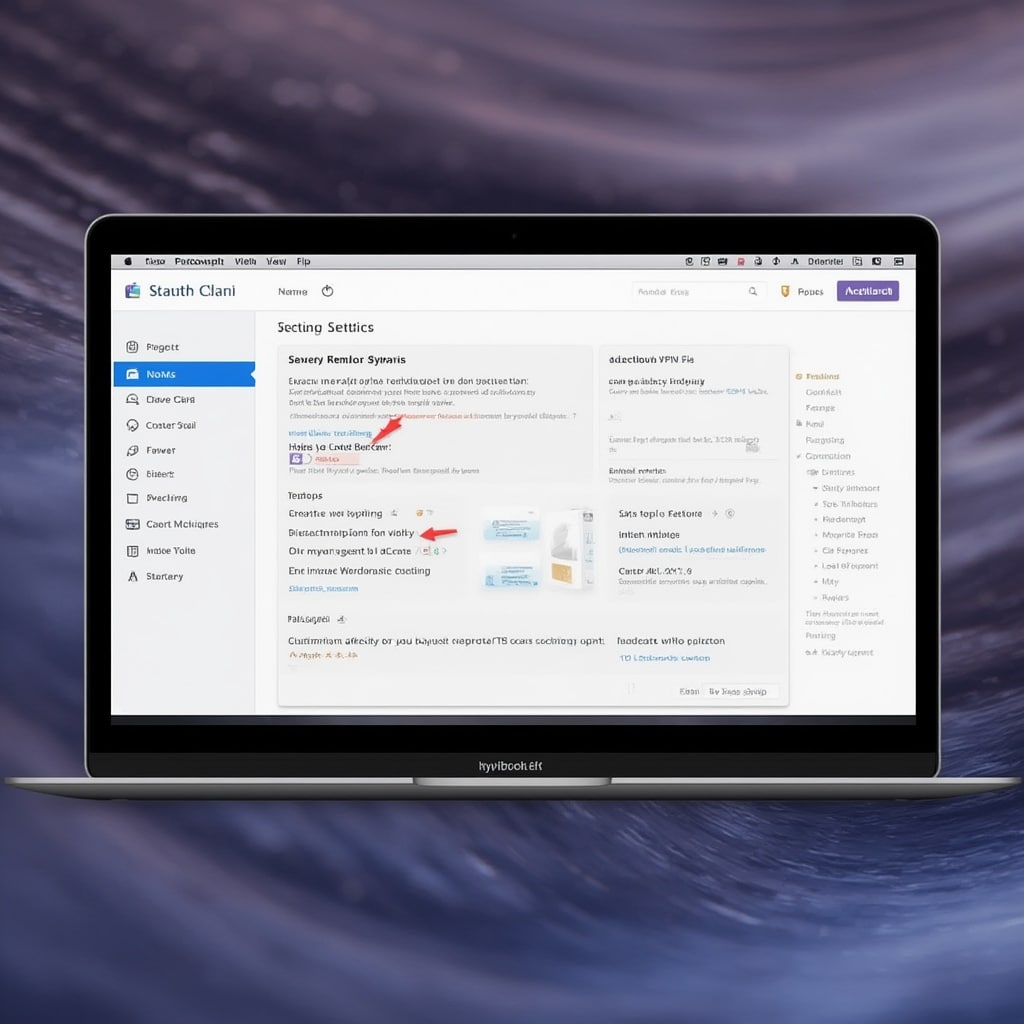
3. Open System Preferences and Access the Network Section
Navigate to Apple Menu > System Settings > Network. If you’re using an older macOS version, it may be System Preferences > Network. Here you’ll find all available network interfaces.
4. Add a New VPN Connection
Click the “+” button in the bottom‑left corner. Select your interface as “Wi‑Fi” or “Ethernet” (depending on your connection). Then, in the “Service Name” field, give your VPN a recognizable name—something like “Personal VPN” or “Work VPN.” Choose the VPN type that matches your provider’s instructions (e.g., IKEv2, IPSec, L2TP over IPSec). Click “Create.”
5. Enter Server Details
In the newly created VPN entry, fill in the Server Address, Remote ID, and Local ID fields. These are typically provided on your VPN provider’s dashboard. For IKEv2, the Remote ID is often the same as the Server Address, while the Local ID may be left blank or set to your email address. For L2TP or IPSec, you’ll also need to input the Shared Secret or Password.
6. Configure Authentication Settings
Under the “Authentication Settings” button, select “Password” or “Shared Secret” depending on your provider. Enter your username and password or shared secret. If your VPN uses certificate authentication, choose “Certificate” and select the appropriate certificate from your keychain.
7. Apply and Connect
Click “Apply” to save the configuration. Back in the Network window, select your new VPN from the list, and click the “Connect” button. A small lock icon will appear next to your network status, indicating that your traffic is now routed securely.
8. Verify the Connection
Open a web browser and visit Cloudflare’s IP Checker or any site that displays your public IP. Compare the IP address before and after connecting. A successful VPN connection will show a different IP, usually from the country you selected on the server list.
9. Automate the VPN Connection (Optional)
For convenience, you can set the VPN to connect automatically when you open your MacBook Air or when you join a specific network. In the Network settings, click “Advanced,” then check “Send all traffic over VPN connection.” This ensures all apps, even those that use the cellular data connection, use the VPN tunnel.
10. Test Speed and Latency
Run a speed test on a reliable platform such as EFF’s Speed Test to check your bandwidth. Note any significant drops compared to your normal connection. While VPNs naturally introduce some latency, reputable providers minimize this through optimized routing.
Tips
1. Use Split Tunneling for Specific Apps
Some VPN clients allow you to choose which apps use the VPN and which don’t. If you need to access local network devices or use certain streaming services that block VPNs, enable split tunneling for those apps.
2. Keep Your VPN App Updated
Regular updates patch vulnerabilities and improve performance. Enable auto‑updates in your provider’s settings or regularly check for new releases.
3. Choose a Server Close to Your Physical Location
Latency increases with distance. If you’re in the U.S., connecting to a server on the East Coast usually offers faster speeds than a server in Asia, unless you have a specific reason to go farther.
4. Use a Kill Switch
A kill switch stops all traffic if the VPN connection drops unexpectedly. This prevents accidental leaks of unencrypted data. Many premium VPNs offer a built‑in kill switch; enable it in the settings.
5. Verify DNS Leak Protection
Even with a VPN, DNS queries can leak. Use tools like Cloudflare’s DNS Leak Test to ensure your DNS traffic is also routed through the VPN.
6. Change Passwords Periodically
Rotate your VPN credentials every few months to reduce the risk of compromised accounts.
7. Use Strong, Unique Passwords
Never reuse your VPN password across other services. Consider a password manager for generating and storing complex passwords.
Alternative Methods
Using a Dedicated VPN App
Many providers offer native macOS apps that simplify configuration. Download the app from the provider’s official website or the Mac App Store. Follow the on‑screen wizard to log in and connect. These apps typically offer additional features such as auto‑connect, kill switch, and multi‑protocol support.
Third‑Party VPN Software
If you prefer an open‑source solution, consider OpenVPN or WireGuard. Both require manual configuration but provide high security and flexibility. You’ll need to import the provider’s configuration file (.ovpn for OpenVPN, .conf for WireGuard) and install the corresponding client.
Command Line VPN Setup
Advanced users can configure VPNs via the Terminal using scutil and networksetup commands. This method is useful for scripting automated connections on multiple machines.
Using a Router‑Level VPN
Setting up a VPN on your home router routes all connected devices through the tunnel. This is ideal for IoT devices that lack VPN client support. Configure the VPN in the router’s admin panel, following the provider’s router guide.
Bypassing Censorship with a VPN
In restrictive environments, a VPN can restore access to blocked sites. Read how to bypass censorship with a VPN for advanced techniques such as obfuscated servers and stealth tunneling.
What Does a VPN Actually Do?
Understanding the fundamentals can help you choose the right configuration. Learn more about what does a VPN actually do and how it protects your data.
Conclusion
Securing your MacBook Air with a VPN is a practical step toward preserving privacy, ensuring data integrity, and accessing global content. By following this comprehensive macOS VPN configuration guide, you’ll establish a robust, encrypted tunnel that protects against eavesdropping and surveillance. Whether you choose to configure the VPN manually, use a dedicated app, or explore third‑party solutions, the key is to maintain strong authentication and regularly monitor performance.
Remember, the goal is not just to hide your IP but to protect every packet that travels over the internet. Implement the tips above, stay updated with your provider’s releases, and consider additional safeguards like a kill switch and DNS leak protection. By doing so, you’ll enjoy the benefits of a VPN—secure browsing, unrestricted content, and peace of mind—no matter where you are in the world.
For further reading, explore resources like Cloudflare’s learning center on internet security best practices and the Electronic Frontier Foundation’s guide to online privacy. Stay informed, stay protected, and enjoy a safer digital experience on your MacBook Air.


