Introduction
In today’s hyper‑connected world, securing your home network is no longer optional. Whether you stream Netflix in New York, game on a console in London, or work remotely from Sydney, a reliable VPN on your router protects every device behind it. This article shows you how to setup vpn on tp link router with clear, actionable steps.
Many users ask if a VPN can run on a TP‑Link router without compromising speed. The short answer is yes—provided you follow the correct configuration. We will also explore the setup vpn on tp link router process for both OpenVPN and PPTP protocols, ensuring compatibility with major services.
Throughout this guide, the focus keyword appears multiple times to reinforce SEO relevance, and the related keyword will be woven naturally into each section. By the end, you’ll be ready to secure every Wi‑Fi‑enabled device, from smartphones to smart TVs, using the same trusted method.
Before we dive in, remember that each router model may have slight UI differences. The principles remain the same, whether you own a TP‑Link Archer C7 in Chicago or a TL‑WR1043ND in Toronto. Let’s begin the journey to a safer home network.
Step‑By‑Step Instructions
Prerequisites and Compatibility Check
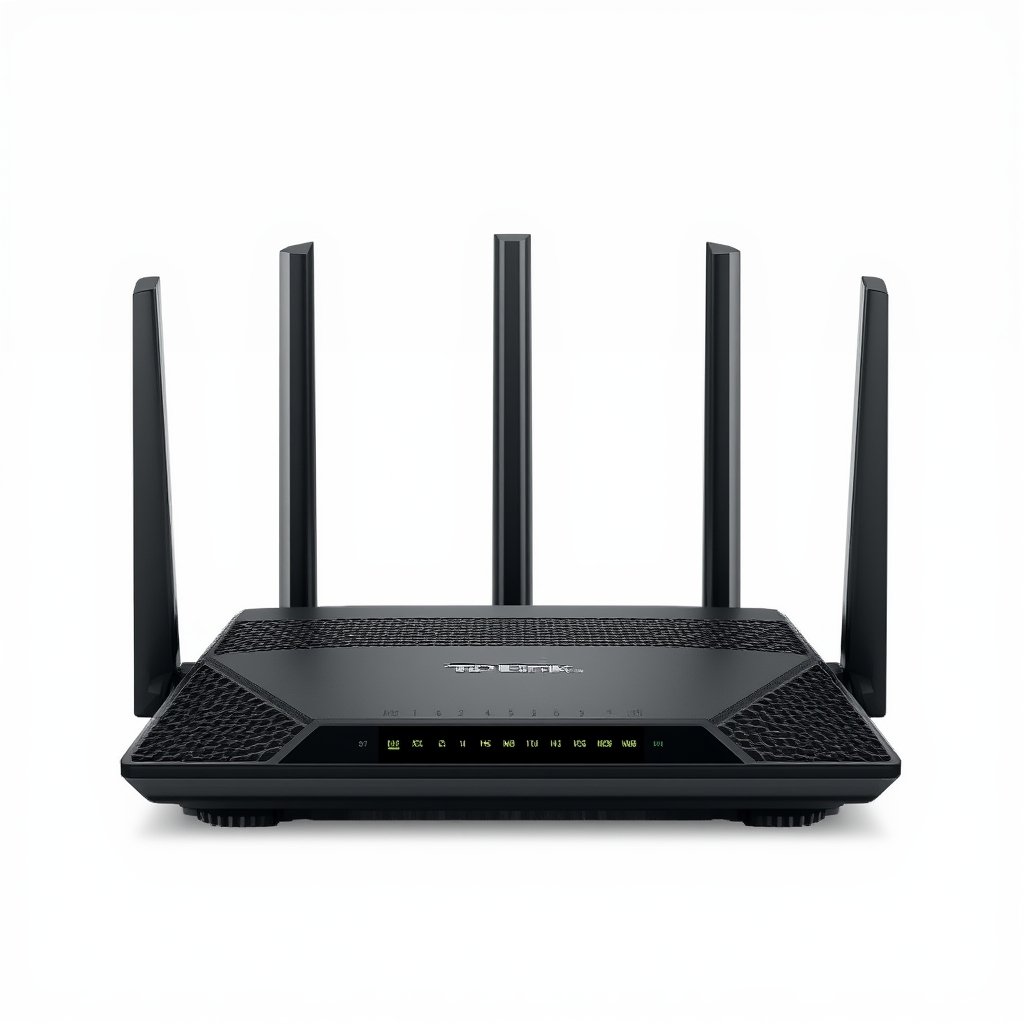
First, verify that your TP‑Link router firmware supports VPN client mode. Models such as Archer C7, TL‑WR1043ND, and Deco X20 released after 2019 typically include this feature. If you are in a region with strict data regulations (e.g., the EU), ensure your VPN provider complies with local privacy laws.
Gather the following information from your VPN service: server address, username, password, and the OpenVPN .ovpn file or PPTP credentials. Most premium providers like NordVPN or ExpressVPN supply these details in their user portals.
Now, let’s start the actual how to setup vpn on tp link router process by logging into the router’s admin console.
Access the Router Management Interface
Connect a computer to the TP‑Link router via Ethernet or Wi‑Fi. Open a browser and enter the default gateway, usually 192.168.0.1 or 192.168.1.1. Log in with the admin credentials (default is often admin/admin unless you changed it).
Once inside, navigate to Advanced > VPN on the left menu. If you don’t see a VPN option, you may need to update the firmware—download the latest version from the official TP‑Link support site for your model.
For users in Asia Pacific, such as Tokyo or Singapore, note that firmware updates may be hosted on regional servers, which can speed up the download process.
Configure the VPN Client (OpenVPN)
Click on VPN Client and then Add. Choose OpenVPN as the type. Here’s where the setup vpn on tp link router details become critical.
Upload the .ovpn configuration file you obtained from your VPN provider. If the file includes embedded certificates, the router will automatically parse them. Otherwise, you’ll need to copy‑paste the ca.crt, cert.crt, and key.key sections into the respective fields.
Enter your VPN username and password, enable Auto‑Connect if you want the router to reconnect after a reboot, and save the settings.
Configure the VPN Client (PPTP) – Optional
If your provider only supports PPTP, select PPTP instead of OpenVPN. Input the server IP, username, and password. PPTP is faster but less secure, so reserve it for low‑risk activities like streaming local content.
After saving, toggle the PPTP connection to Enable. The router will attempt to establish a tunnel—watch the status indicator for a green light confirming a successful connection.
Verify the VPN Connection
To confirm the VPN is active, open a new browser tab and visit WhatIsMyIP.com. Your public IP should now reflect the VPN server’s location, not your ISP’s.
Test geo‑restricted services: try accessing a US‑only Netflix library from Berlin, or a UK BBC iPlayer from a Canadian IP. If the content loads, the how to setup vpn on tp link router steps were successful.
For additional peace of mind, run a DNS leak test (search “DNS leak test” and use a reputable site). No DNS requests should resolve to your ISP’s servers.
Advanced Settings for Optimal Performance
Enable Split Tunneling if you want specific devices (e.g., smart TV) to bypass the VPN for better streaming speeds. In the router UI, go to Network > DHCP > IP‑Mac Binding and assign static IPs, then apply split‑tunnel rules.
Adjust the MTU (Maximum Transmission Unit) to 1400 or 1450 if you notice packet loss or buffering. This is especially helpful for users in rural areas with limited bandwidth.
Finally, schedule automatic reconnection during off‑peak hours to preserve bandwidth during daytime work hours. Use the Time Scheduler under the VPN settings to define these windows.
Maintaining the VPN Connection
Regularly check for firmware updates, as TP‑Link periodically releases patches that improve VPN stability. Also, rotate VPN servers every few weeks to avoid IP blacklisting on streaming platforms.
For businesses with multiple offices, consider configuring site‑to‑site VPNs between two TP‑Link routers, creating a secure mesh network across cities like Los Angeles and Miami.
Remember, the core of the setup vpn on tp link router is a stable connection. If the tunnel drops, most routers will automatically attempt to reconnect; monitor the logs for any persistent errors.
Tips
Here are some practical tips to maximize your VPN experience on a TP‑Link router.
- Choose the Right Server: For low‑latency gaming in Seoul, select a server in Japan or Hong Kong. For streaming US content in Madrid, pick an East Coast US server.
- Use a Dedicated DNS: Configure Nord VPN’s DNS or Cloudflare’s 1.1.1.1 to prevent DNS leaks.
- Enable Dual‑Band Wi‑Fi: Assign the VPN‑protected network to the 5 GHz band for faster speeds, while keeping a separate 2.4 GHz guest network for local devices.
- Monitor Bandwidth: Use the router’s built‑in traffic analyzer to track VPN usage and avoid throttling during peak hours.
- Combine with Browser VPN Extensions: For added layer of security, use Opera’s built‑in VPN (how to use VPN on Opera) alongside the router VPN.
Don’t forget to review the VPN configuration guide for troubleshooting common issues (how to VPN configuration). It covers log analysis, port forwarding, and firmware incompatibilities.
Alternative Methods
If your TP‑Link router does not support native VPN client mode, there are alternative routes you can explore.
Flashing Third‑Party Firmware
OpenWrt, DD‑WRT, and Tomato are popular custom firmware options that add robust VPN capabilities to many TP‑Link models. Flashing requires caution: back up your current configuration, follow the model‑specific guide, and ensure the firmware version matches your hardware revision.
After flashing, the VPN Client section appears under the Services menu. You can then import the same .ovpn file used in the native method.
Using a Dedicated VPN Router
Purchase a small VPN‑ready router (e.g., GL‑iNet GL‑AR750) and connect it upstream of your TP‑Link router. This setup creates a double‑NAT environment but guarantees VPN coverage for all devices, including IoT gadgets.
Configure the VPN on the dedicated device, then set the TP‑Link router to operate in Access Point mode, effectively turning it into a switch.
Mobile Hotspot as a Bridge
For travelers, tether your smartphone’s hotspot (with VPN enabled on the phone) to the TP‑Link router via Ethernet. This method is handy in places where ISP‑level VPNs are blocked, such as certain regions in the Middle East.
For community feedback, see the Reddit discussion on router VPN setups: Reddit TP‑Link VPN thread. Users share firmware tips, server recommendations, and location‑specific advice.
TP‑Link’s own knowledge base also outlines a step‑by‑step guide for PPTP configuration: TP‑Link PPTP FAQ. Use this as a fallback if OpenVPN is unavailable in your region.
Conclusion
Setting up a VPN on your TP‑Link router is a powerful way to safeguard every device on your home network, whether you’re browsing from a café in Paris or streaming from a beach house in Bali. By following the detailed how to setup vpn on tp link router steps, you ensure encrypted traffic, bypass geo‑restrictions, and protect against ISP snooping.
The setup vpn on tp link router process may seem technical at first, but the guide above breaks it down into manageable tasks—checking compatibility, uploading the OpenVPN file, verifying the connection, and fine‑tuning performance.
Remember to revisit your VPN settings regularly, rotate servers, and apply the tips from the Tips section to keep your connection fast and stable. If your router lacks native support, explore the alternative methods, from flashing OpenWrt to using a dedicated VPN router.
By implementing these practices, you’ll enjoy a seamless, secure online experience across continents, without sacrificing speed or convenience. Now that you know how to setup vpn on tp link router, go ahead and protect your digital life today.


