Introduction
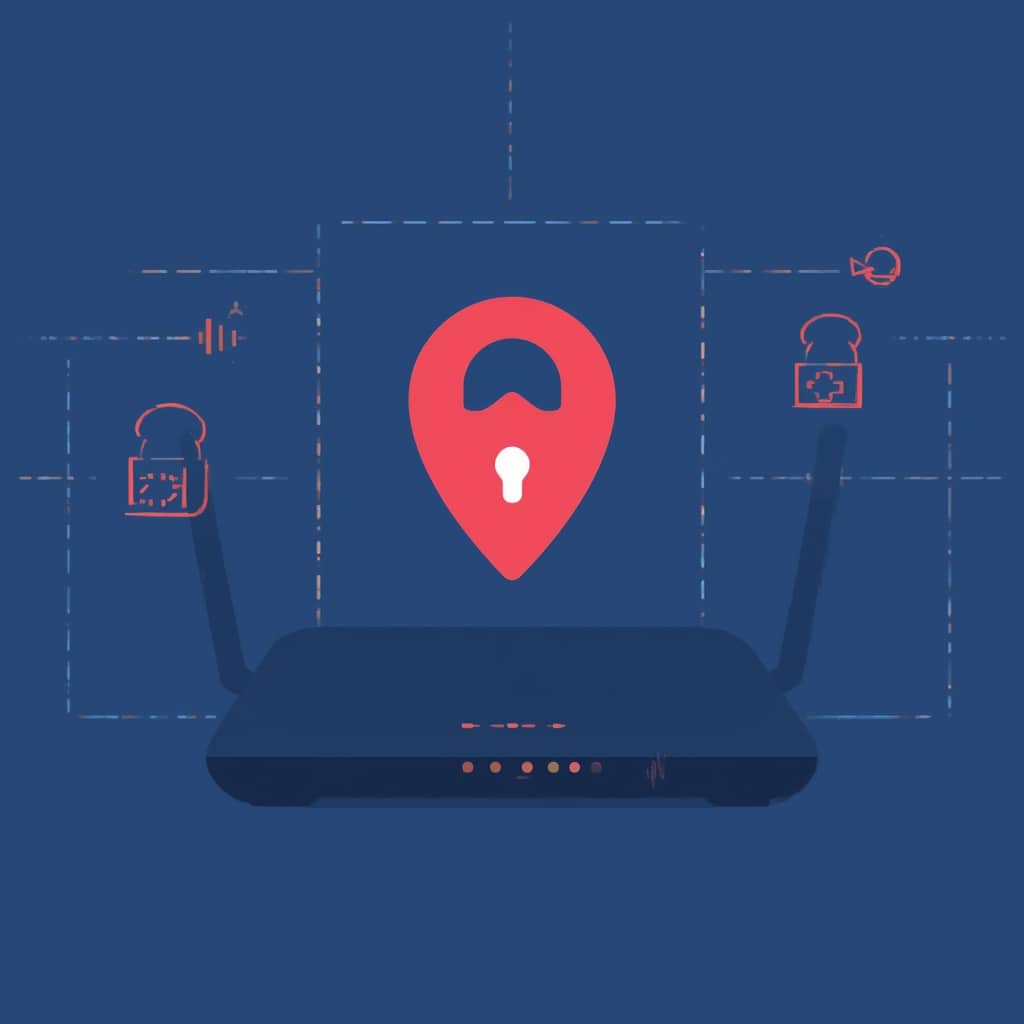
When you hear people talk about how to use vpn on router, they’re often looking for a simple way to protect every device on their home network. Instead of installing a VPN client on each laptop or smartphone, a router‑based VPN turns your entire household into a secure tunnel.
Understanding the difference between a device‑level VPN and a network‑level VPN is key. A VPN on a single device encrypts traffic only from that device, while setup vpn on home router encrypts data from every device connected to the router. This method is especially useful in countries where internet censorship is tight, like China, or for travelers wanting consistent privacy across Wi‑Fi hotspots.
To make the process clear, we’ll walk through a step‑by‑step guide that covers everything from selecting a provider to troubleshooting. Along the way, you’ll see examples of how people in the UK, Brazil, and India use VPNs on routers to bypass geo‑blocking, protect their data, and keep streaming services uninterrupted.
Once you master how to use vpn on router, you’ll be able to enjoy the same benefits that a laptop‑based VPN gives you, but without the hassle of setting up a separate client on each device. In this article, we’ll also touch on the safety of VPNs, how to get one on a computer, and how to avoid common pitfalls.
Before we dive into the details, keep in mind that the exact steps depend on your router’s firmware and your VPN provider’s compatibility. If your router doesn’t natively support OpenVPN or IKEv2, you might need to install custom firmware such as DD-WRT or OpenWrt. The links below will guide you through those advanced options.
Let’s start by selecting the right VPN provider and ensuring they support router installations. Look for providers that offer a dedicated OpenVPN configuration file, which most major services provide. Once you have that, you’ll be ready to configure the router and secure your entire network.
In the following sections, we’ll cover everything from the technical setup to troubleshooting tips. We’ll also look at alternative methods and give you a few extra tricks to get the most out of your router‑based VPN.
By the end of this guide, you’ll know exactly setup vpn on home router and how to keep all your devices protected, no matter where you connect from.
Step‑by‑Step Instructions
1. Choose a VPN Provider and Obtain the Config Files
Most reputable VPN services provide OpenVPN configuration files that can be imported directly into your router’s firmware. Ensure you have the correct file for the server location you want to connect to.
If you’re unsure which server to pick, consider one located in the EU for lower latency if you live in the United Kingdom, or a server in the US if you’re in Australia and need a reliable connection for streaming.
Download the config file and store it securely on a USB stick or your computer, as you’ll need to transfer it to the router later.
2. Log Into Your Router’s Admin Interface
Open a web browser and type the router’s IP address (commonly 192.168.1.1 or 192.168.0.1). Enter your username and password. If you haven’t changed these credentials, consult your router’s manual or look up the default login for your model online.
Once logged in, navigate to the section that handles VPN or WAN settings. On many consumer routers, this is under “Advanced” or “Security.” If your router’s firmware is outdated, you may need to upgrade or flash custom firmware to gain full VPN support.
Keep your login credentials handy; you’ll need to re‑enter them if you make changes to the firmware.
3. Enable OpenVPN Client Mode
Locate the OpenVPN client option and enable it. You’ll then need to upload the configuration file you downloaded earlier. Some routers require you to paste the configuration directly into a text field; others allow a file upload.
After uploading, set the client name and provide the username and password supplied by your VPN provider. This ensures your router authenticates correctly with the VPN server.
Make sure to select the correct protocol (UDP or TCP) that matches the server settings in your config file. UDP is typically faster, while TCP provides a more reliable connection for streaming or gaming.
4. Configure Split Tunneling (Optional)
Split tunneling lets you decide which devices or traffic use the VPN and which bypass it. This can be useful if you want your smart TV to stream local content while keeping your mobile phone’s traffic private.
In the router’s VPN settings, look for a “Split Tunnel” or “Whitelist” feature. Add the IP addresses of devices you want to exclude from the VPN, or add the domains you want to route through the VPN.
Test the split tunnel by visiting a site like does vpn work for tiktok ban to confirm that your traffic is correctly routed.
5. Set Up DNS for Leak Protection
To avoid DNS leaks, configure your router to use a private DNS provider that supports encryption, such as Cloudflare (1.1.1.1) or Google DNS (8.8.8.8). Some VPN providers also offer their own secure DNS servers.
In the router’s DNS settings, replace the default DNS addresses with your chosen secure DNS. If your router offers “DNS over HTTPS,” enable that feature for additional privacy.
After saving the changes, restart your router to apply the new DNS configuration.
6. Verify the VPN Connection
Once the router restarts, check the VPN status page in the admin interface. It should show “Connected” and display the server’s IP address. Visit a site like are vpns safe to confirm that your public IP matches the VPN server’s location.
Test from multiple devices on the network. A quick way is to open a browser on a phone or laptop and navigate to how to get vpn on computer to see the IP and location.
If you encounter issues, revisit each step to ensure the config file matches the server settings and that DNS is correctly configured.
7. Update Firmware for Future Security
Periodically check for firmware updates on your router’s manufacturer website. Updated firmware can improve security, add new features, and fix bugs that might affect VPN performance.
When updating, back up your current router configuration. This ensures you can restore settings if the update process fails.
After the update, re‑apply your VPN settings as they may have been reset to defaults.
8. Optimize Performance with QoS
Quality of Service (QoS) settings help prioritize traffic, which is especially useful when streaming video or gaming over a VPN. Many routers allow you to set bandwidth limits for specific devices or applications.
Configure QoS by allocating higher priority to streaming services like Netflix or gaming consoles. This ensures a smoother experience even when the VPN is active.
Keep an eye on your internet speed after enabling QoS; it may reduce overall bandwidth for other devices, so balance the settings according to your household needs.
9. Secure the Admin Interface
After setting up your VPN, tighten the router’s security. Enable WPA3 if available, or at least WPA2, for wireless encryption.
Change the default admin username and password, and consider enabling two‑factor authentication if your router supports it.
Disable remote management unless you absolutely need it, as it exposes your router to the internet.
10. Troubleshoot Common Issues
If the VPN fails to connect, check that the correct port (usually 1194 for UDP) is open in your router’s firewall settings. Some ISPs block common VPN ports.
Use a network packet analyzer to trace where the connection fails. Look for “TLS handshake” errors or authentication failures.
In many cases, updating the VPN provider’s config file or switching to a different server resolves the problem.
11. Keep an Eye on Bandwidth Usage
Some routers provide statistics on data usage per device. Monitor this to avoid unexpected overage charges, especially if your ISP throttles data after a certain threshold.
Enable alerts or set a usage limit for devices that frequently stream HD video or use large files.
Adjust your split tunneling or QoS settings to reduce data consumption on bandwidth‑heavy devices.
12. Document Your Settings for Future Reference
Take screenshots of each configuration page and keep them in a secure folder. Note the server address, credentials, and any custom DNS settings.
Maintain a changelog that records firmware updates, VPN provider changes, and any troubleshooting steps you performed.
These documents will save you time if you ever need to restore the VPN or migrate to a new router.
Tips
Tip 1: Choose Low‑Latency Servers Near Your Physical Location
Connecting to a server in a neighboring country often yields better speeds. For example, a user in the UK might find that a server in Ireland provides lower ping than a distant US server.
Tip 2: Use Dual‑Band Wi‑Fi to Separate Devices
By separating high‑bandwidth devices like gaming consoles onto the 5 GHz band, you can allocate the VPN bandwidth more efficiently. The 2.4 GHz band can remain dedicated to devices that do not require the VPN.
Tip 3: Set Up a Dedicated VPN Router
If your primary router doesn’t support VPNs, consider purchasing a dedicated VPN router. Many models come with pre‑installed VPN software and simplified setup wizards.
Tip 4: Monitor for DNS Leaks Regularly
Every few months, visit sites like how to get vpn on a computer to confirm that your DNS requests remain private. If a leak occurs, update your DNS settings immediately.
Tip 5: Use a VPN with Kill Switch Enabled
A kill switch disconnects your internet connection if the VPN drops. This prevents your real IP from leaking. Make sure your router’s firmware supports this feature, or use a provider that guarantees it.
Tip 6: Test from Multiple Devices
Check that all devices—phones, tablets, smart TVs—show the VPN’s IP when you browse. If any device bypasses the VPN, revisit the split tunneling settings.
Tip 7: Keep Your Router’s Firmware Updated
Manufacturers often release security patches that protect against newly discovered vulnerabilities. Neglecting updates can expose your network to risks.
Tip 8: Use a VPN That Supports IPv6
Some providers now offer IPv6 support. If your ISP supplies an IPv6 address, ensure your router routes IPv6 traffic through the VPN to prevent leaks.
Tip 9: Backup Your Router Configuration Regularly
Before making changes, export the router’s current settings. This provides a safety net if you accidentally misconfigure the VPN.
Tip 10: Adjust QoS Settings During Peak Hours
During the evening, prioritize streaming devices. During the day, prioritize work or gaming devices to balance bandwidth across household activities.
Alternative Methods
Method 1: Install OpenVPN on a Dedicated Raspberry Pi
Instead of using your router, you can run an OpenVPN client on a Raspberry Pi. Connect the Pi to your network, install the VPN software, and route all traffic through the Pi by adjusting your router’s routing table.
This method offers greater flexibility and can support multiple VPN protocols simultaneously.
It also isolates the VPN from your primary router, reducing the risk of firmware complications.
Method 2: Use a Smart DNS Instead of a Full VPN
Smart DNS services, such as how to install a vpn on your router through DNS, are less secure but faster. They only reroute domain requests to bypass geo‑blocking, leaving all traffic unencrypted.
Choose this option if you only need to stream content from blocked platforms, like Netflix in the US.
Remember that Smart DNS does not protect your data from eavesdropping.
Method 3: Configure a VPN on a Network‑Level Firewall
Enterprise firewalls or advanced home devices like the ASUS RT‑AX86U come with built‑in VPN support. Install the VPN client directly on the device, and the firewall routes all traffic securely.
This option can support advanced features like VPN passthrough and multiple concurrent VPN connections.
It’s ideal for tech‑savvy users who want granular control over network traffic.
Conclusion
Implementing a VPN on a router can transform your home network, offering universal protection without the hassle of installing software on every device. By carefully following the steps above, you’ll gain the same privacy benefits of how to use vpn on router while ensuring a smooth, reliable connection for all your gadgets.
Remember that setup vpn on home router is not a one‑time task; monitor performance, update firmware, and review security settings regularly. The tips and alternative methods provided give you flexibility to adapt to changing needs—whether you’re streaming in Brazil, gaming in Germany, or working from a coffee shop in Canada.
With the knowledge from this guide, you can confidently secure your data, bypass geo‑restrictions, and enjoy a fast, private internet experience. As you experiment with server locations and DNS settings, keep a log of your most effective configurations to streamline future changes.
Finally, stay informed about evolving privacy laws and ISP policies in your region. By staying proactive, you’ll maintain a secure, resilient home network for years to come.


