Introduction
When you search what is vpn iphone, you’re looking for a tool that shields your data on Apple’s mobile platform. In 2025, iPhone users in the United States, United Kingdom, and Canada demand both privacy and speed, making VPNs essential for streaming, banking, and remote work.
This guide explains what is vpn iphone in plain language, walks you through a step‑by‑step setup, and highlights the best vpn for iphone options based on real‑world performance.
By the end, you’ll understand the technology, know how to configure it, and be equipped with tips that work whether you’re in a New York coffee shop, a London hotel, or a Sydney co‑working space.
Step‑By‑Step Instructions
1. Choose a Reliable VPN Provider
Start by researching providers that support iOS 17 and later. Look for a no‑log policy, strong encryption, and a large server network spanning North America, Europe, and Asia. The best vpn for iphone will typically offer a dedicated iOS app, automatic kill‑switch, and split tunneling.
When evaluating, consider whether the service includes features like super unlimited proxy for high‑traffic scenarios or SSL‑based tunnels for extra security.
2. Download the Official iOS App
Open the App Store, search for the VPN provider’s official app, and install it. Avoid third‑party clones that may contain adware. Once installed, open the app and sign in with the credentials you created during purchase.
3. Grant VPN Permissions
iOS will prompt you to allow the app to create VPN configurations. Tap “Allow”. This step is crucial because, without system‑level permission, the VPN cannot encrypt traffic. For detailed guidance, see Apple’s official documentation: VPN Overview.
4. Select a Server Location
Choose a server close to your physical location for the fastest speeds. If you’re streaming Netflix US from Berlin, pick a United States server; for accessing a UK‑only news site from Toronto, select a United Kingdom node.
Most apps display latency and load percentages to help you pick the optimal endpoint. Remember that geo‑specific content often checks the IP address, so the correct server region matters.
5. Enable Advanced Settings (Optional)
For power users, toggle the kill‑switch to block internet traffic if the VPN disconnects unexpectedly. Activate split tunneling via VPN split tunneling if you need certain apps (like banking) to bypass the VPN for speed.
Some providers also let you choose between OpenVPN, IKEv2, or WireGuard protocols. WireGuard typically offers the best balance of speed and security on iPhone.
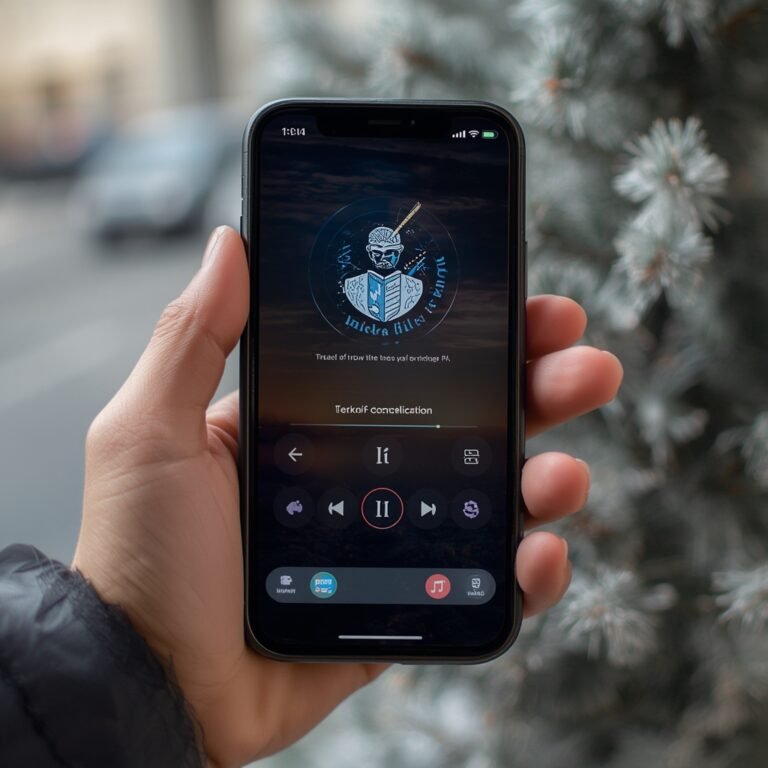
6. Connect and Verify
Press the “Connect” button. After a few seconds, the status bar will display “VPN”. Verify your new IP address by visiting a “what is my IP” site. The location should match the server you selected.
To ensure everything is working, test a geo‑restricted service (e.g., a US streaming platform) and confirm you can access it without errors.
7. Automate Connection (Optional)
iOS lets you set up VPN on demand for specific Wi‑Fi networks or domains. In the app’s settings, enable “Connect on Wi‑Fi” for public hotspots in airports or cafés. This provides continuous protection without manual interaction.
Tips for Optimal Performance and Security
Keep the app updated. VPN developers release patches to address emerging threats and improve compatibility with the latest iOS version.
Use a wired DNS resolver. Configuring 1.1.1.1 (Cloudflare) or 8.8.8.8 (Google) as your DNS inside the VPN app reduces latency and prevents DNS leaks.
Combine with device encryption. iPhone’s built‑in encryption works hand‑in‑hand with a VPN, ensuring data is protected both at rest and in transit.
For travelers, enable “Obfuscated Servers” if you’re in countries that throttle VPN traffic, such as China or the United Arab Emirates.
When selecting a plan, check if the provider offers a free trial or a money‑back guarantee. This lets you test the best vpn for iphone without commitment.
Alternative Methods
Using iOS Built‑In VPN Configuration
If you prefer not to install a third‑party app, iOS supports manual VPN profiles via Settings → General → VPN & Device Management. You’ll need server details (IP, shared secret, username, password) from a provider that offers L2TP/IPSec or IKEv2 connections.
While this method works, it lacks features like automatic kill‑switch, split tunneling, and multi‑hop routing. For a comprehensive experience, the app‑based approach remains superior.
Utilizing a Mobile Hotspot with a Router‑Based VPN
Another option is to set up a VPN on a travel router (e.g., GL‑iNet) and connect your iPhone to the router’s Wi‑Fi. This method encrypts all devices on the network, useful for families traveling together.
Make sure the router’s firmware supports the same protocols you’d use on iPhone, and configure DNS to avoid leaks.
Free VPN Services – Cautionary Note
Free options like the one discussed at Is Mullvad VPN Free? can be tempting, but they often impose data caps, limited server choices, or invasive ads. If privacy is a priority, invest in a reputable paid service.
Conclusion
Understanding what is vpn iphone is the first step toward safeguarding your digital life on iOS. By following the step‑by‑step instructions above, you’ll have a secure tunnel ready for streaming, banking, and remote work, no matter whether you’re in Manhattan, Manchester, or Melbourne.
Choosing the best vpn for iphone involves evaluating speed, server distribution, and advanced features like split tunneling and kill‑switch. Remember to keep the app updated, use reliable DNS, and consider automation for public Wi‑Fi hotspots.
Whether you opt for a dedicated iOS app, a manual profile, or a router‑based solution, the core principles remain the same: encrypt your traffic, hide your IP, and stay compliant with local regulations. Armed with these insights, you can confidently protect your data on the go and enjoy the global internet without borders.
“`