Introduction
When you hear the phrase what’s a vpn on iphone, you’re likely wondering how it protects your personal data, bypasses geo‑restrictions, and keeps your browsing anonymous. A VPN on iPhone is not just a feature; it’s a gateway to secure, private internet usage, especially in today’s hyper‑connected world.
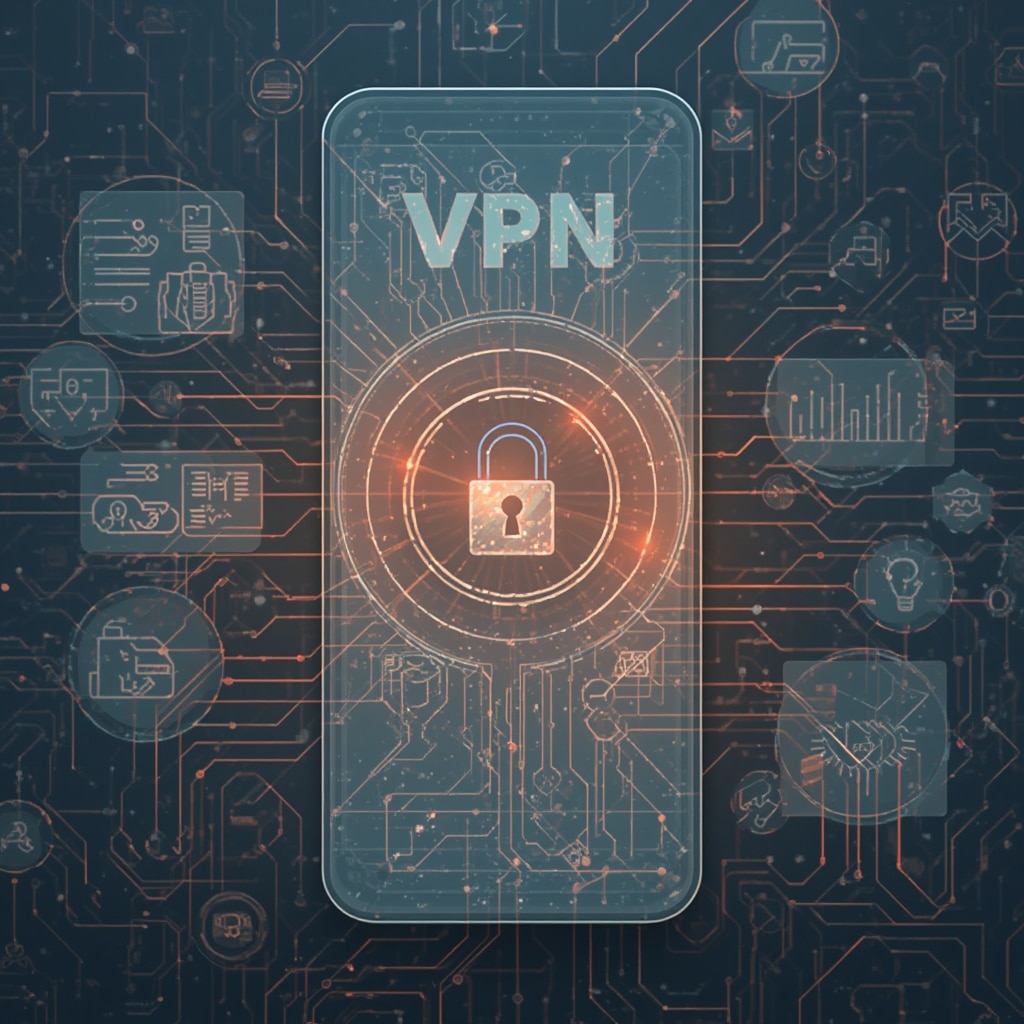
For many, the first question is simply, “What’s a vpn on iphone?” It is a software tool that encrypts your device’s traffic and routes it through a remote server, masking your IP address and shielding your online activity from prying eyes.
In this guide we will also address the practical side: how to set up a VPN on iPhone, what it does, and why you might need it whether you’re streaming, gaming, or working from a coffee shop. By the end of the article, you’ll have a clear understanding of the benefits, step‑by‑step instructions, and a few advanced techniques.
The concept of a VPN (Virtual Private Network) was originally designed for corporate use, but its popularity has skyrocketed among everyday users. When you ask the question, what’s a vpn on iphone, the answer extends beyond encryption: it’s about privacy, security, and freedom on the go.
While Apple’s built‑in VPN settings are straightforward, many iPhone users prefer third‑party VPN apps that offer additional features such as ad‑blocking, DNS leak protection, and advanced protocols. We’ll explore these options in later sections.
Understanding the fundamentals of VPNs, how to set them up, and how they help you navigate the digital world is essential, especially when you’re traveling, working remotely, or simply curious about online safety. Let’s dive into the practicalities.
Step‑by‑Step Instructions
1. Choosing the Right VPN Service
Before you start the setup process, decide on a reliable VPN provider. Look for services that have a strong privacy policy, a no‑log policy, and servers in the locations you need. Many providers offer iPhone‑specific apps that simplify the installation.
Consider your primary use: streaming, gaming, secure browsing, or corporate VPN access. If your goal is to unblock streaming content in the US while you’re traveling abroad, choose a provider with a high‑speed network and dedicated streaming servers. For corporate use, you’ll likely need a VPN that supports MDM and enterprise protocols.
2. Downloading the VPN App from the App Store
Open the App Store on your iPhone, search for your chosen VPN provider, and tap Get. The app will install automatically. Many VPNs offer a free trial or a free tier, allowing you to test before committing.
Once installed, launch the app. The first screen typically asks for a login or registration. Sign in or create a new account using an email address or phone number. This step is mandatory for most paid plans.
3. Navigating the Initial Setup Flow
Most VPN apps will guide you through an initial configuration wizard. This includes choosing a server region, selecting the VPN protocol (OpenVPN, IKEv2, WireGuard, etc.), and granting necessary permissions. For instance, you might be prompted to allow the app to add VPN configurations to your iPhone’s settings.
Granting this permission is crucial because the iPhone requires explicit user consent to install VPN profiles. Without it, the app cannot route traffic through the VPN server.
4. Installing the VPN Profile
When prompted, tap Install or Add VPN. Your iPhone will display a confirmation dialog. Confirm the installation, and the VPN profile will appear under Settings → General → VPN. This profile is now ready to be activated.
Some apps may ask you to allow background app refresh or notification permissions. While optional, enabling these can improve performance and keep you informed of connection status.
5. Connecting to a Server
Open the VPN app and tap the button that says “Connect” or “On”. The app will establish a connection to the chosen server. Once connected, you’ll see a VPN icon in the status bar and the IP address will reflect the server’s location.
You can also manually switch servers by selecting the server list within the app. Many providers let you choose by country or by purpose (e.g., gaming, streaming, privacy).
6. Verifying Your Connection
To confirm that your traffic is being routed through the VPN, visit a website like whatismyip.com and note the displayed IP address. It should match the server’s location, not your real IP.
Additionally, you can check for DNS leaks by using a service such as dnsleaktest.com. A proper VPN connection should not reveal your actual DNS servers.
7. Managing Connection Settings
Within the app, you can tweak settings like kill switch, auto‑connect on Wi‑Fi, and DNS encryption. A kill switch ensures that if the VPN disconnects unexpectedly, your device will not automatically fall back to the unsecured network.
Auto‑connect is useful when you’re on public Wi‑Fi; it guarantees that the VPN starts as soon as the network is detected.
8. Using the VPN with Other Apps
Once the VPN is active, all traffic from your iPhone is encrypted, including Safari, third‑party browsers, and in‑app requests. This means that any app you use will benefit from the VPN’s privacy features.
Some VPNs offer per‑app control, letting you decide whether specific apps should bypass the VPN. This can be handy if you need to use a local service that only works with your native IP.
9. Disconnecting and Reconnecting
To stop the VPN, simply toggle the connection switch within the app. If you want to switch to a different server quickly, most apps have a “Quick Switch” or “Server Switch” option for instantaneous changes.
When you’re done for the day, you can disable the VPN entirely from Settings → General → VPN by sliding the switch off.
10. Updating and Maintaining the App
Regularly update the VPN app to benefit from security patches and protocol improvements. iOS automatically prompts you to install updates, but you can manually check in the App Store under Updates.
Keep an eye on any changes to the provider’s privacy policy or terms of service, especially if they introduce new logging or data retention practices.
11. Troubleshooting Common Issues
If the VPN fails to connect, first check your internet connection. Then, restart your device or the VPN app. If the problem persists, contact the provider’s support team.
In some cases, a firmware update on the iPhone may interfere with VPN functionality. Make sure your iOS version is up to date by going to Settings → General → Software Update.
12. Using the VPN on iPad and macOS
Many providers offer cross‑platform support. If you own an iPad or Mac, download the corresponding app and follow a similar setup process. Your VPN subscription usually covers multiple devices.
When using the Mac, you can add the VPN profile directly through System Settings → Network. This offers an alternative to the app for power users.
13. Understanding VPN Protocols
VPNs support various protocols such as OpenVPN, IKEv2, WireGuard, and L2TP. Each has its strengths: WireGuard is lightweight and fast; IKEv2 is excellent for mobile handovers; OpenVPN is highly configurable.
Select a protocol that matches your needs. For example, gaming often benefits from the low latency of WireGuard, while secure corporate connections may prefer IKEv2 or OpenVPN for compatibility.
14. Adjusting Advanced Settings
Advanced users can customize DNS settings, select split‑tunneling, or enable double VPN. Split‑tunneling lets you choose which apps go through the VPN and which use your regular network.
Double VPN routes traffic through two servers, adding an extra layer of encryption and anonymity, albeit at a slight speed cost.
15. Monitoring Usage and Data Limits
Many free VPN plans impose data caps. Keep track of your usage by checking the app’s dashboard. If you exceed the limit, you’ll be prompted to upgrade to a paid plan.
For businesses, monitoring logs can help identify potential security breaches or policy violations. Most reputable VPNs provide detailed usage reports for administrators.
Tips
Choose a Region with Fast Servers
When streaming or gaming, latency matters. Pick a server in a region geographically close to your location. This reduces buffering and lag.
Enable Kill Switch for Extra Security
A kill switch protects you if the VPN connection drops. It stops all traffic until the VPN is re‑established, preventing accidental data leaks.
Use Split‑Tunneling for Efficiency
If you only need the VPN for certain apps (like a VPN‑protected email client), use split‑tunneling. This keeps other traffic on the regular network, saving bandwidth.
Set Up Auto‑Connect on Public Wi‑Fi
Many public networks are insecure. Configure the VPN app to automatically connect whenever your device detects a public Wi‑Fi network.
Keep Your iOS Updated
Security patches often address vulnerabilities that could affect VPN functionality. Regular updates keep your device and VPN working smoothly.
Consider a Multi‑Device Plan
If you share a subscription with family members, a multi‑device plan can be cost‑effective and ensures everyone’s privacy.
Check for DNS Leak Protection
Even if the VPN is active, some apps may still use local DNS servers. Make sure your VPN provides DNS leak protection, or manually set a secure DNS provider in Settings.
Test Your VPN Regularly
Periodically visit whatismyip.com to confirm that your IP and DNS are masked. This simple check keeps you aware of any accidental leaks.
Use Strong Authentication
Many VPNs support two‑factor authentication. Enabling this adds an extra security layer, ensuring that only you can access the service.
Back Up VPN Configurations
If you frequently switch devices, back up your VPN settings through iCloud or the VPN provider’s portal. This speeds up re‑installation.
Alternative Methods
Using Apple’s Built‑In VPN Configuration
iOS supports VPNs via Settings → General → VPN. You can manually add an OpenVPN or IKEv2 configuration using the “+” sign and entering the required server details. This method is free but requires you to source the configuration file from your VPN provider.
Using a Browser Extension on iPad
For iPad users, browser extensions like the Safari VPN extension can route specific web traffic through the VPN without installing a full‑blown app. However, this approach only affects the Safari browser.
Leveraging a Wi‑Fi Router VPN
If you own a VPN‑capable router, you can route all home network traffic through the VPN. Devices like the iPhone will inherit the VPN connection automatically, eliminating the need for individual VPN apps.
Utilizing a VPN‑Enabled Hotspot
Some cellular carriers offer VPN‑enabled hotspots. By connecting your iPhone to a VPN‑enabled hotspot, you can bypass local network restrictions without installing an app.
Employing a Smart DNS Service
While not a true VPN, a Smart DNS can unblock geo‑restricted content without encrypting your traffic. It’s faster but lacks privacy protections.
Using a Zero‑Trust Network Access (ZTNA) Solution
For corporate users, ZTNA offers granular access control without traditional VPNs. It’s more complex but can provide similar security levels for specific internal resources.
Running a Personal VPN Server
Tech‑savvy users can set up an OpenVPN or WireGuard server on a home NAS or cloud VM. This gives complete control over encryption and logging practices.
Adopting a Secure DNS Resolver
Switching to a privacy‑focused DNS like Cloudflare DNS (1.1.1.1) can improve privacy. Combine this with a VPN for maximum protection.
Exploring Cloud‑Based VPN Services
Some services like Aura offer cloud‑hosted VPN solutions that can be managed centrally, ideal for businesses with multiple users.
Referencing Security Guides
For a deeper dive into iPhone VPNs, check out the comprehensive guide from Kaspersky. It covers security best practices and advanced configuration tips.
Conclusion
In summary, understanding what’s a vpn on iphone and mastering how to set up a VPN on iPhone are essential skills for anyone concerned about online privacy, secure communication, and unrestricted access to content worldwide. By following the step‑by‑step instructions above, you can protect your data, avoid censorship, and enjoy a seamless browsing experience.
Remember to regularly verify your VPN connection, use advanced features like kill switches and split‑tunneling, and stay updated with both iOS and your VPN provider. When you need to answer the question again—what’s a vpn on iphone?—you’ll be equipped with both the knowledge and the tools to keep your digital life safe and private.
Ultimately, a reliable VPN on iPhone empowers you to surf, stream, work, and play securely, no matter where you are. Take the steps, experiment, and stay vigilant—your online privacy matters, and a good VPN is the first line of defense.


