Introduction
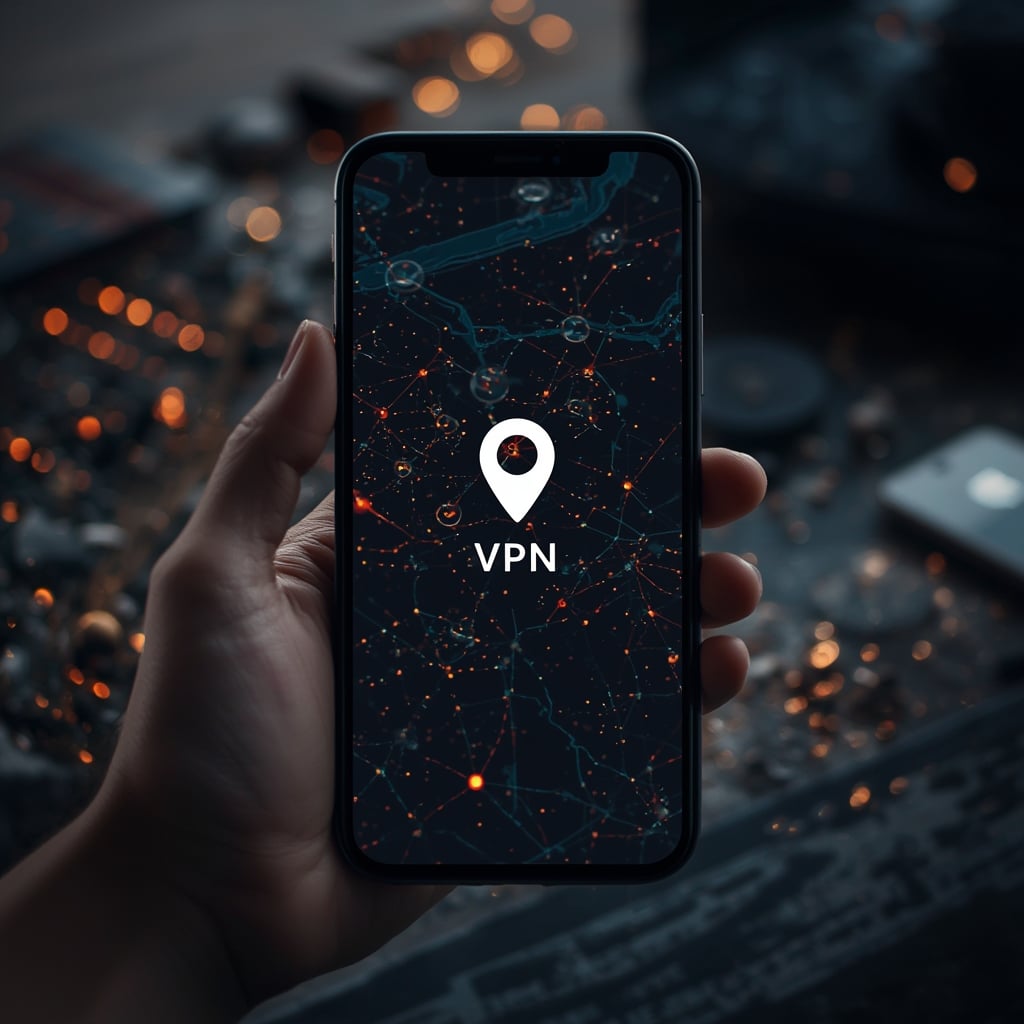
When you’re in a café, airport lounge, or a hotel Wi‑Fi hotspot, you may wonder where is vpn on my phone to protect your data. In fact, most modern smartphones come with built‑in VPN support, but the process isn’t always obvious. This guide will walk you through the steps to find that hidden setting and show you how to enable VPN on Android, even if you’re new to the technology.
Why is a VPN essential? It masks your IP address, encrypts traffic, and lets you bypass geo‑restrictions. Whether you’re streaming shows from the U.S. while traveling in Brazil, or accessing work files in a foreign country, a reliable VPN keeps your online identity private.
We’ll cover the basics, provide step‑by‑step instructions, share handy tips, explore alternative methods for other devices, and wrap up with a quick recap. If you’ve ever searched the web for where is vpn on my phone and found the answer buried in the settings menu, this article will clear the confusion.
Step‑by‑Step Instructions
1. Check Device Compatibility
Before diving into settings, confirm that your Android device supports VPN. Most phones released after 2015 have this feature, but older models may lack the native VPN client. If you’re unsure, look up your phone’s specifications or check the manufacturer’s support page.
For reference, you might read what is VPN in mobile to understand how mobile VPNs differ from desktop solutions.
2. Locate the VPN Setting
Open the Settings app on your phone. Scroll down to the “Network & internet” or “Connections” section—names vary by manufacturer. Tap the “VPN” option to open the VPN settings page. If you don’t see a VPN entry, it may be hidden under a submenu such as “Advanced” or “More networks.”
On many devices, the VPN screen will display “No VPN connections” if none are configured. This is where you’ll add a new connection, and here’s where the keyword where is vpn on my phone becomes clear: it’s under the network settings menu.
3. Add a VPN Profile Manually
If you prefer a custom configuration, tap “Add VPN” or the plus icon. Enter a name for the connection, then choose the VPN type (PPTP, L2TP, IPSec, or OpenVPN). Next, input the server address, your username, password, and any additional authentication details provided by your VPN service.
When you finish, tap “Save” or “Connect.” Android will prompt you to confirm the VPN request and may ask you to grant permission for the network to change. Accepting will activate the VPN, and the Wi‑Fi icon will show a small lock symbol.
4. Use a Trusted VPN App
For most users, downloading a reputable VPN app is the simplest path. A popular choice is ProtonVPN, known for its privacy‑first policy. Click how to enable vpn on android to start the installation process.
After installation, open the app, sign in or create an account, and select a server. Tap the toggle to connect. The app will automatically configure the system‑wide VPN, so you won’t have to navigate the settings again.
5. Verify the Connection
Once connected, you can verify by checking the VPN icon in the status bar or by visiting a site like whatismyipaddress.com. If the displayed IP matches the VPN server’s location, the tunnel is active.
To test encryption, you can also run a DoH test or check for DNS leaks on dnsleaktest.com. A secure connection should hide your real DNS queries.
6. Troubleshooting Common Issues
If the connection fails, first double‑check your credentials. If the VPN still won’t connect, try switching the VPN type or using a different server. Some Android versions require the “VPN permission” to be granted in “Apps & notifications” before a VPN can activate.
You can also consult the official support page for the built‑in Android VPN feature: Enable a VPN on Android. This article offers step‑by‑step instructions and screenshots for various Android releases.
7. Understanding Geo‑Restrictions
Suppose you’re traveling to China or Russia, where many streaming services are blocked. By selecting a server in the United States or the United Kingdom, you can access Netflix, Hulu, or BBC iPlayer as if you were local. Conversely, if you need to appear local in India for a service that restricts certain content, choose an Indian server.
Some content providers employ advanced detection techniques that can recognize VPN traffic. If you encounter a “VPN detected” message, switch to a server using the OpenVPN protocol or enable the “Stealth” or “Obfuscation” features in your VPN app.
Tips
1. Use a Kill Switch – Most premium VPN apps provide a kill switch that cuts all internet traffic if the VPN drops, preventing accidental exposure.
2. Enable Auto‑Connect – Set your VPN app to automatically reconnect whenever you start the device or join an unsecured Wi‑Fi network.
3. Choose the Right Protocol – For the fastest speeds on high‑speed networks, use WireGuard or IKEv2/IPSec. For maximum compatibility, L2TP/IPSec is widely supported.
4. Check for DNS Leaks – Even with a VPN, some apps might still query the default DNS. A leak test ensures all traffic routes through the VPN.
5. Update Your VPN App – Keeping the app current ensures you receive the latest security patches and server optimizations.
Alternative Methods
Using iOS Devices
Apple’s iOS also supports native VPN connections. Navigate to Settings > General > VPN, tap “Add VPN Configuration,” and follow the prompts. The process is similar to Android, though the interface differs slightly.
Desktop Computers
On Windows or macOS, you can either use the built‑in VPN client or install a dedicated VPN application. For advanced users, the Windows VPN in computer network feature allows manual configuration of L2TP, SSTP, or IKEv2 connections.
On a Mac, open System Preferences > Network, click the plus button, and select VPN. Input the service details and connect.
Gaming Consoles
PlayStation 5 users can also benefit from VPN. The official guide on how to use VPN on PS5 shows how to set a VPN on the console’s network settings, allowing you to play games that might otherwise be region‑locked.
Smart TVs and Streaming Devices
For Samsung TVs, the where is vpn on my phone link is a useful resource because the TV’s OS shares many similarities with Android TV. Other smart TVs may require a router‑level VPN configuration.
Router‑Level VPN
Configuring a VPN on your home router ensures all devices in the network are protected. Refer to your router’s manual or the VPN provider’s instructions to set up the service. This is especially handy if you have multiple devices that do not support native VPNs.
Using a Third‑Party VPN App on Android
For those who prefer a different provider, most Android apps follow the same installation flow: download from the Google Play Store, sign in, pick a server, and connect. If you encounter errors, consult the app’s help center or the McAfee guide on setting up a VPN on Android for troubleshooting.
Mobile Device Management (MDM)
Enterprise users often deploy VPN profiles via MDM solutions. If you’re part of a corporate network, your IT department can push a VPN configuration that automatically connects whenever you access the corporate VPN.
Conclusion
Knowing where is vpn on my phone and how to set it up is no longer a mystery. Whether you’re a casual traveler, a streaming enthusiast, or a remote worker, a VPN protects your privacy and unlocks geo‑restricted content. By following the manual configuration steps, using a trusted VPN app, and applying the tips above, you can enjoy a secure browsing experience on Android.
Remember that how to enable vpn on android is straightforward once you locate the setting and choose the right provider. Keep your VPN app updated, enable kill switches, and test for leaks to ensure maximum security.
Whether you’re in the United States, India, Brazil, or anywhere else, the principles remain the same: connect to a reliable server, verify your IP, and enjoy uninterrupted, private internet access. Happy surfing!


