Introduction
In today’s connected world, a how do you setup a vpn on a mac has become a frequent question for anyone who values privacy and security. Whether you’re a student, a remote worker, or a traveler, understanding how to how do you setup a vpn on a mac ensures that your data remains encrypted, your browsing is anonymous, and you can bypass geo‑restrictions with ease.
Similarly, the phrase setup vpn on macbook appears in the support forums and online help sections, guiding users through the exact steps that Apple provides for securing their machines. By mastering setup vpn on macbook, you can take full advantage of macOS’s built‑in VPN capabilities.
These two keywords—how do you setup a vpn on a mac and setup vpn on macbook—serve as the cornerstone of this guide. We’ll walk you through the entire process, highlight common pitfalls, and provide regional examples for Spanish‑speaking users and those in other countries, ensuring the content feels locally relevant and globally useful.
Step‑by‑Step Instructions
Choosing a VPN Provider
Before diving into the technical setup, ask yourself: para qué sirve un vpn? The answer is multifaceted. A VPN shields your traffic from prying eyes, helps you maintain anonymity, and lets you bypass regional blocks. Pick a provider that offers a free trial, strong encryption, and a user‑friendly Mac app. A reputable source like NinjaOne’s guide can help you evaluate features before committing.
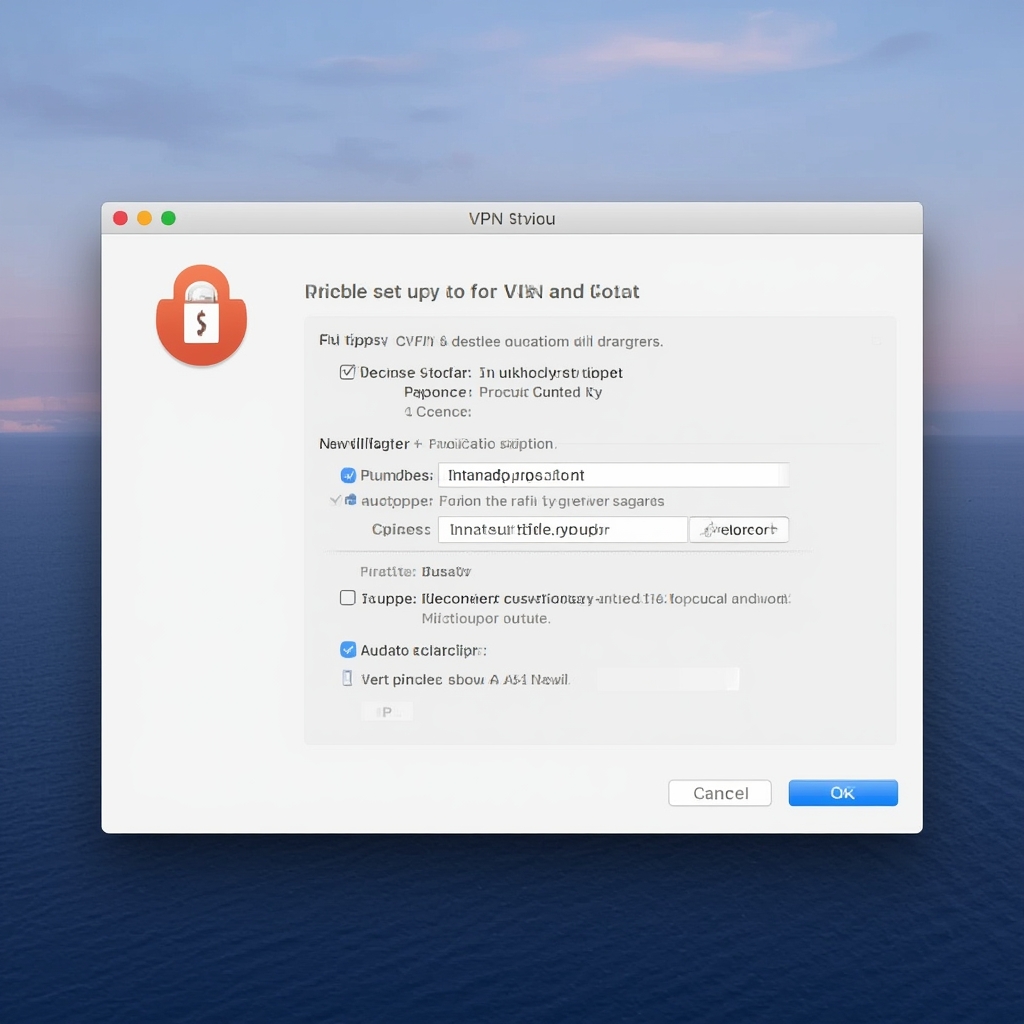
Downloading and Installing the App
Once you’ve selected your VPN, download the Mac installer. Open the downloaded file and drag the VPN icon into your Applications folder. Launch the app and sign in with your credentials. If you’re new to VPNs, you might wonder: how do you setup a vpn on a mac in the simplest way? The app’s onboarding wizard will guide you through selecting a server and adjusting settings.
For those who prefer the built‑in solution, setup vpn on macbook is also an option. This method involves configuring a VPN profile directly within System Preferences, which can be especially handy when you need to maintain multiple profiles for different networks.
Configuring the VPN Settings
Open the VPN client and navigate to the “Preferences” or “Settings” section. Most providers allow you to select a protocol (IKEv2, L2TP, or OpenVPN). IKEv2 offers fast speeds and automatic reconnection, while OpenVPN is widely compatible. If you’re uncertain, choose IKEv2 as the default and test your connection. Remember: the question “how do you setup a vpn on a mac” is often answered by choosing the simplest, most secure protocol available.
Next, choose a server location that best meets your needs. If you’re in Spain and want to access US‑only content, select a US server. If you’re traveling in Brazil and need to stay safe, pick a server in a neighboring country with a strong privacy policy. This is where the para que sirve el vpn becomes clear: it’s not just about security; it’s about flexibility.
Connecting to the VPN
Click “Connect” and wait for the status to turn green. Once connected, your IP address should change to match the server’s location. Test your connection by visiting a site like Security.org’s VPN test page to confirm your new IP. If you’re still curious about the process, search online for “how do you setup a vpn on a mac” and you’ll find step‑by‑step tutorials that match the interface you see.
Finally, remember the setup vpn on macbook option. It’s useful if you want to create a manual profile: open System Preferences, click Network, add a VPN service, and input the server details provided by your VPN provider. This method is ideal for advanced users or those who prefer native macOS functionality over a third‑party app.
Tips
Use Multi‑Hop Servers for Extra Privacy
Many premium VPNs offer multi‑hop servers that route traffic through multiple countries. This adds an additional layer of obfuscation, making it almost impossible for anyone to trace the original request back to you.
Enable Kill Switch and DNS Leak Protection
A kill switch stops all traffic if the VPN drops, ensuring your data never leaks. Similarly, DNS leak protection prevents your system from unintentionally querying your ISP’s DNS servers.
Regularly Update Your VPN App
Updates often patch security vulnerabilities and improve performance. Make sure your Mac’s VPN app is always on the latest version to keep your connection safe.
Choose a Server with Low Latency
If you’re streaming or gaming, latency matters. Most VPN clients show latency information next to each server; select the one with the lowest ping for the best experience.
Check Your IP After Connecting
Verify your new IP by visiting a site like IPLocation.net. This confirms that your traffic is indeed routed through the VPN and that the connection is secure.
Consider a Split‑Tunneling Option
Split tunneling lets you choose which apps use the VPN and which go directly to the internet. This is useful when you want to maintain speed for local services while still protecting sensitive data.
Alternative Methods
Using a Browser‑Based VPN Extension
If you only need to secure browsing, a browser extension like LiteVPN for Chrome offers an easy way to protect your traffic without installing a full client. Just click the extension icon, select a server, and you’re set.
Creating a VPN Using macOS’s Built‑In VPN Client
For users who prefer a zero‑dependency method, macOS’s System Preferences > Network > Add (+) > VPN allows you to manually input server details. This method works well with IKEv2 or L2TP/IPsec servers. You can find the exact steps on Apple’s support page: setup vpn on macbook.
Using a Hardware VPN Device
If you manage a small office or have multiple Mac devices, a hardware router with VPN support can protect all traffic on your network. Connect your Mac to the router and enable the VPN on the device’s firmware. This approach centralizes the connection and reduces the need to install software on each device.
Employing a Command‑Line VPN Client
Advanced users can use OpenVPN or WireGuard via the terminal. After installing Homebrew, run brew install openvpn and import your provider’s configuration file. This method offers granular control over routing and encryption settings.
Using a Free Public Wi-Fi with VPN Protection
When accessing public Wi‑Fi, always enable a VPN first. If your provider offers a mobile app, download it to your iPhone and connect to the VPN before connecting to the public network. Once connected, open Safari on your Mac and the VPN will automatically route your traffic through the secure tunnel.
Conclusion
Learning how do you setup a vpn on a mac is more than a technical skill; it’s a crucial part of digital self‑sufficiency. By following the steps outlined above, you’ll gain a reliable VPN connection that protects your privacy, lets you access geo‑restricted content, and keeps your data safe from surveillance.
Remember, setup vpn on macbook is a straightforward process once you understand the basics. Whether you prefer a dedicated VPN app, the built‑in macOS client, or an alternative method like browser extensions or hardware routers, each option offers its own advantages and trade‑offs.
Finally, keep in mind the broader context: para que sirve un vpn extends beyond privacy—it’s about freedom of information, business continuity, and the ability to navigate a digital world that is increasingly surveilled. Equip yourself with the knowledge and tools, and you’ll be ready to face any network challenge that comes your way.


