Introduction
In an era where privacy is paramount and digital surveillance is increasingly common, learning how to add NordVPN to your router has become a top priority for many internet users worldwide. Whether you’re in New York, London, Tokyo, or São Paulo, a VPN can protect your home network from eavesdroppers, keep your data safe from ISPs, and let you bypass geo‑restrictions on streaming services. By adding NordVPN to the router instead of individual devices, you create a single, unified shield that covers every device connected to your home network—including smart TVs, smartphones, laptops, and gaming consoles.
The process of how to add nordvpn to router may look intimidating at first glance, especially if you’re not tech‑savvy. However, by following a step‑by‑step guide and keeping a few best‑practice tips in mind, you can set up a secure, high‑performance VPN network in less than an hour. This article explains how to add NordVPN to router, dives into the configuration process, and offers alternative methods if your router model doesn’t support native OpenVPN. It also discusses how NordVPN performs for streaming, torrenting, and ad‑blocking across different regions.
Below, we’ll explore the entire journey—from initial research to final testing—so you can confidently decide how to add nordvpn to router without losing any of your data or speed. We’ll also cover why you might need to configure nordvpn on router rather than install it on each device, and what to do when you hit roadblocks.
Before diving in, let’s quickly touch on a few other aspects of NordVPN that might interest you: its overall security posture, performance on Netflix, ad‑blocking capabilities on YouTube, and suitability for torrenting. If you’re curious, you can read more about them in these internal resources:
To round out the picture, we’ll also point you toward resources on cloudflare’s learning portal and the Electronic Frontier Foundation for deeper insights into internet security.
Step‑by‑Step Instructions
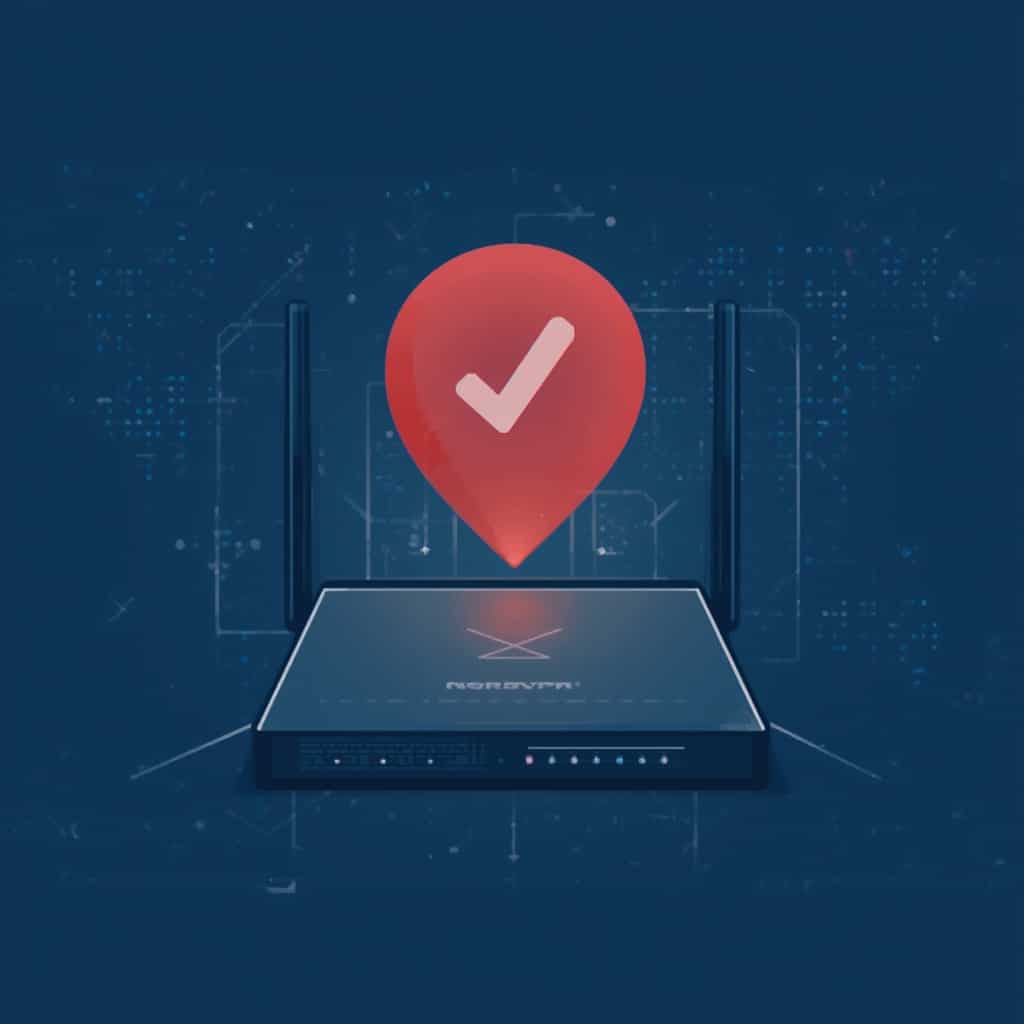
1. Verify Router Compatibility
Not all routers support VPN connections out of the box. Before you start the configuration, check if your router’s firmware allows you to install OpenVPN or PPTP clients. Many modern routers, such as the Asus RT‑AX86U, Netgear Nighthawk series, and TP‑Link Archer routers, come with native VPN support. For older devices, you may need to flash custom firmware like DD-WRT, OpenWRT, or Tomato.
2. Gather Your NordVPN Credentials
To how to add nordvpn to router, you’ll need the following information from your NordVPN account:
- Your NordVPN username and password.
- A server address or a static IP if you have a dedicated plan.
- The OpenVPN configuration file (.ovpn) which you can download from the NordVPN website.
3. Upload the OpenVPN Configuration File
Access your router’s admin panel (typically by typing 192.168.1.1 or 192.168.0.1 into a browser). Log in with your administrator credentials. Navigate to the VPN or Advanced Settings section, where you can usually find an option to import a .ovpn file. Upload the file you downloaded from NordVPN. If your router doesn’t allow file uploads, you can manually enter the settings by copying the configuration details.
4. Enter Your NordVPN Credentials
After the file is uploaded, the router will prompt you for the username and password. Enter the credentials you use on the NordVPN app. This step ensures the router can authenticate with NordVPN’s servers.
5. Choose a Server
When configuring the VPN on your router, you can either select a specific server from the list or use a “smart” option that automatically connects to the fastest or most secure server. If you’re in the US and want to access geo‑restricted content from Europe, select a European server like “Germany” or “France.” For the best streaming experience on Netflix or Disney+, you may want to pick a server specifically labeled for media streaming.
6. Enable the VPN Connection
Save your settings and reboot the router if necessary. Once the router restarts, it should automatically connect to the NordVPN server you selected. Most routers indicate the status with a VPN icon or a green light.
7. Test the VPN Connection
To confirm that how to add nordvpn to router has been successful, connect a device to your Wi‑Fi network and visit a site like https://www.cloudflare.com/learning/. Look for your new IP address and location. Additionally, you can use https://www.eff.org/ to verify that your IP is masked and your location matches the server you selected.
8. Verify Streaming and Torrenting Performance
Open your favorite streaming app or torrent client and check whether you can access content from different regions. NordVPN typically offers “Fastest Servers” for streaming and “Dedicated IP” options for torrenting. If you experience buffering, try switching to a server that’s physically closer to your location.
Tips
Use Static IP Addresses for Consistency
Some routers allow you to assign static IP addresses to specific devices. This feature is handy if you want certain devices to always use the VPN, while others bypass it. For example, a smart TV could be set to use the VPN, while your gaming console accesses the internet directly to reduce latency.
Enable Kill Switch on Your Router
Most routers don’t have a built‑in kill switch, but you can enable it by setting up a firewall rule that blocks all traffic unless the VPN tunnel is up. This prevents accidental data leaks if the VPN connection drops.
Optimize DNS Settings
Configure your router to use NordVPN’s secure DNS servers (208.67.222.222 and 208.67.220.220) to avoid DNS leaks. This step is especially important if you’re accessing sensitive accounts from devices that may otherwise rely on local ISP DNS servers.
Keep Firmware Updated
Regularly check for router firmware updates. Updated firmware can improve security patches, add new features, and fix known bugs that might affect VPN connectivity.
Monitor Bandwidth and Speed
Use built‑in router tools or third‑party network monitoring apps to keep an eye on your bandwidth. If you notice a drop in speed, try a different server or switch to a lower‑latency protocol like WireGuard if your router supports it.
Alternative Methods
1. Using Custom Firmware (DD‑WRT, OpenWRT, Tomato)
If your router’s native firmware doesn’t support VPN, flash a custom firmware. These open‑source platforms provide extensive VPN support, including OpenVPN and WireGuard. The process usually involves downloading the firmware, entering recovery mode, and following the flashing instructions. Once flashed, you can import NordVPN configuration files just like a commercial router.
2. Router‑Based VPN Using a PC as a Gateway
In cases where you can’t flash firmware or your router is too old, you can use a Windows, macOS, or Linux PC as a VPN gateway. Connect the PC to the NordVPN network, then set the router to use the PC’s Ethernet connection as its upstream internet source. This setup essentially turns the PC into a virtual router.
3. Cloud‑Based VPN Services
Some cloud providers offer VPN services that you can route traffic through. For example, you could set up a small instance on AWS or DigitalOcean, install NordVPN on it, and route your home router’s traffic through that instance using a VPN tunnel. This method is more technical but offers additional flexibility.
4. Using a Dedicated VPN Router
For the ultimate experience, consider purchasing a dedicated VPN router that comes pre‑configured with NordVPN or other VPN providers. These devices often include features like automatic failover, easy configuration wizards, and robust hardware acceleration for encryption.
Conclusion
Understanding how to add NordVPN to router is a game‑changer for anyone who values privacy, wants to stream content from around the world, or needs a secure connection for torrenting. By following the detailed steps above, you’ll be able to how to add nordvpn to router in minutes and enjoy a seamless, secure network for all your devices.
Remember that the key to a reliable VPN setup is choosing a server that matches your needs—whether that’s a fast streaming server in Germany for Netflix or a dedicated torrenting server in the US. If your router doesn’t support native VPN, consider the alternative methods we covered, such as custom firmware or a PC gateway. These options keep your network protected without sacrificing speed.
Finally, keep in mind that the VPN landscape evolves. Periodically check for updates on NordVPN’s own blog and stay informed through reputable resources like Cloudflare’s Learning Center and the Electronic Frontier Foundation. With a solid VPN configuration, you’ll maintain privacy and enjoy unrestricted content no matter where you are in the world.


