Introduction
How to change VPN location on iPhone is a common concern for travelers and privacy advocates alike. Learning how to change VPN location on iPhone boosts access to region‑locked content and keeps your browsing secure. If you struggle with how to change VPN location on iPhone, your iOS may be limiting you; understanding settings and alternatives is key. This guide also explores NordVPN’s free options for users on a budget.
Apple’s iPhone VPN settings allow basic server selection but can be unintuitive. Mastering iPhone VPN settings gives you control over encryption and location choice. For many, iPhone VPN settings are a necessary skill before installing a third‑party app.
With this playbook you’ll master how to change VPN location on iPhone and master iPhone VPN settings effortlessly. Throughout the article you will see hands‑on guidance, troubleshooting examples, and links to cheap flight deals via VPN and browser‑based VPNs.
Step‑by‑Step Instructions
Prepare Your VPN App
Before you dive in, ensure your VPN app is updated to the latest iOS version. Many apps auto‑detect and offer server lists. If you don’t see options, visit the official guide to align your profile.
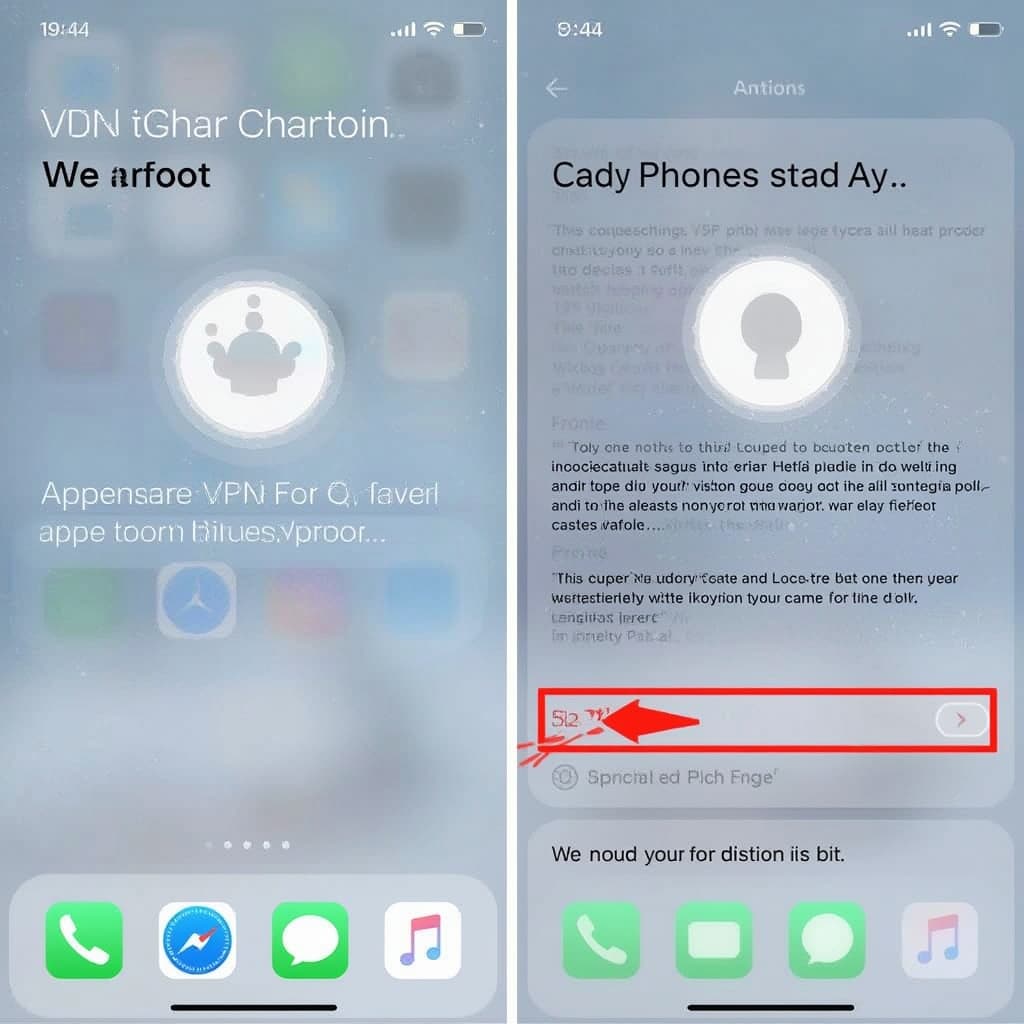
Access VPN Settings
Open Settings → General → VPN. Your VPN app should appear as a profile. Tap the name to open its configuration. Here iPhone VPN settings show server selection options.
Select a New Server
Within the profile, look for the “Server” dropdown. Choose a city or country. Popular choices like London or Tokyo offer high speed. This step directly addresses how to change VPN location on iPhone.
Activate the VPN
Toggle the switch next to the VPN profile to “on.” The status bar will show a shield icon. Verify your location change using online IP checkers. When the icon reappears, you are secured.
Confirm Location Change
Open a web‑based location map or search “where am I” to confirm. If the coordinates shift, your how to change VPN location on iPhone was successful. If not, try a different server or reset the profile.
Key Terms Revisited
To ensure mastery, remember that iPhone VPN settings are the starting point for all changes. Adjusting those settings is the most direct way to how to change VPN location on iPhone. Practice these steps until the toggle feels familiar.
Tips
- Auto‑Connect on Wi‑Fi: Enable “Connect On Demand” for seamless protection.
- Use Split Tunneling: Some apps allow only specific traffic to go through the VPN, conserving bandwidth.
- Check DNS Leak: Use tools like Private Internet Access to validate secure DNS.
Alternative Methods
Built‑In Settings Only
If you prefer not to purchase an app, you can input server addresses manually. This method requires the server’s IP, port, and encryption type. It’s handy for those who want full control without subscription fees.
Third‑Party Apps
Apps such as NordVPN and Opera GX’s VPN auto‑configure servers. They often offer free trials and easy server swipes.
Browser‑Based VPNs
Chrome, Safari, or Opera have built‑in VPN services for lightweight use. Tap the VPN icon in the address bar to toggle location. This works when you’re browsing only, not for all apps.
Smart DNS Services
Smart DNS bypasses region locks without encrypting traffic. Services like smart DNS flight search provide location spoofing for budget-conscious travelers.
Conclusion
Understanding iPhone VPN settings is the foundation for adapting your mobile experience. Once comfortable, you’ll handle iPhone VPN settings with confidence and quickly adapt how to change VPN location on iPhone for any need.
With the step‑by‑step guide, handy tips, and alternative approaches, you can optimize privacy, speed, and regional access on your iPhone. Whether you use the built‑in system or a premium app, these methods let you choose the perfect server, anytime, anywhere.
Now armed with this knowledge, explore the hidden corners of the web while keeping your data safe. Happy surfing!


