Introduction
In a world where privacy concerns are rising, many users ask, how to do a vpn on iphone for the first time. The answer often starts with a basic understanding of what a VPN does and why it matters, especially for travelers in the United States, Canada, or the European Union. For those looking for a quick iPhone VPN setup guide, the process is surprisingly straightforward once you know the steps involved. This article will walk you through the entire journey, from understanding the technology to setting up the connection and troubleshooting common issues.
The first question most people ask is how to do a vpn on iphone—it’s a phrase that captures the intent of anyone wanting to secure their data on a mobile device. When you search online for iPhone VPN setup guide, you’ll find a wealth of tutorials, but not all of them are tailored to the specific needs of iOS users. This guide focuses on the essentials, making sure you’re protected whether you’re streaming, browsing, or simply checking email. By the end of this article, you’ll have a solid foundation in using VPNs on your iPhone.
While many tutorials emphasize the use of paid services, you’ll learn that free VPNs can also offer sufficient security for basic usage. However, free options often come with bandwidth limits or ads, so knowing how to do a vpn on iphone effectively involves weighing cost against performance. The same applies when deciding whether the iPhone VPN setup guide you’re following is for a corporate environment or personal use. Understanding this distinction ensures that you choose the right provider for your needs.
Our goal is to provide clear, actionable instructions that respect the constraints of iOS, while also addressing common concerns like data leaks, DNS privacy, and geo‑blocking. By covering a range of scenarios—including public Wi‑Fi, streaming services, and business VPNs—this guide offers a comprehensive overview. The focus keyword how to do a vpn on iphone is repeated throughout to reinforce the core topic and help search engines recognize the article’s relevance. Likewise, the related keyword iPhone VPN setup guide appears in multiple sections, ensuring consistency and search visibility.
Remember that a VPN is only as strong as its configuration and the policies of its provider. For a deeper dive into how VPN protocols work on iOS, you can refer to How does iOS VPN work for a technical breakdown. Understanding these fundamentals will make it easier to troubleshoot any problems that arise. In the next section, we’ll provide step‑by‑step instructions so you can start protecting your data right away.
Step-by-Step Instructions
1. Choose a Reliable VPN Provider
Selecting a trustworthy VPN service is the foundation of a secure connection. Look for providers that offer strong encryption, a no‑log policy, and servers in multiple countries, including the United States, Canada, and the United Kingdom. Pay attention to customer reviews and independent audit reports to verify the provider’s claims. Once you’ve made your choice, sign up for an account using your iPhone.
2. Download and Install the VPN App
Most providers have an official iOS app available on the App Store. Search for the app by name and verify that it’s published by the correct company to avoid phishing attempts. Tap “Get” or “Install” and wait for the download to complete. After installation, open the app to begin the configuration process.
3. Sign In and Configure Basic Settings
Launch the VPN app and log in with the credentials you created during registration. Some apps prompt you to enable the VPN in the system settings, which will automatically create a profile. Follow the on‑screen instructions to accept the profile and grant necessary permissions. This step is crucial for establishing a connection that the iPhone can use across all apps.
4. Understand the VPN Protocols
Most iOS VPNs support multiple protocols, such as IKEv2, IPSec, or OpenVPN. The default is often IKEv2 due to its speed and stability on iOS. However, for extra security you might switch to OpenVPN if your provider supports it. You can find the protocol options in the app’s settings menu, and switching may improve performance in certain regions.
5. Manually Add a VPN Profile (Optional)
If your provider offers a manual configuration option, you can set it up without using an app. Go to Settings → General → VPN → Add VPN… and choose the appropriate type (IKEv2, IPSec, or L2TP). Fill in the server address, remote ID, and authentication credentials. Once you’ve added the profile, toggle the switch to connect. For more details on adding a VPN manually, see How to add a VPN to iPhone.
6. Verify the Connection
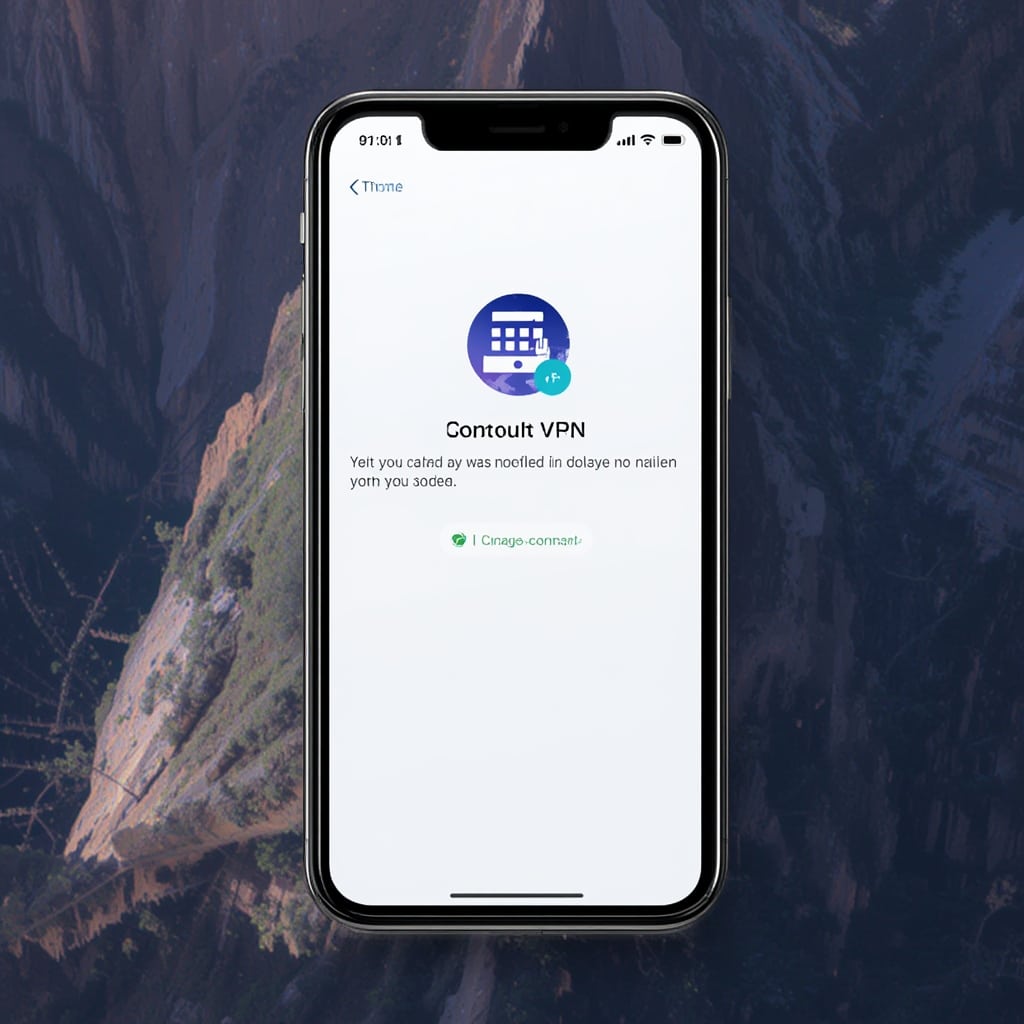
To confirm that your VPN is active, look for the VPN icon in the status bar. Tap the icon to open the VPN menu and see the connection status. You can also visit a website like Cloudflare’s Learning Center to check your IP address and confirm that it has changed to the server location you selected. A successful test means your data is now routed through the secure tunnel.
7. Enable Kill Switch (If Available)
A kill switch prevents your device from sending data over an unencrypted connection if the VPN drops unexpectedly. Most premium VPN apps include this feature; simply toggle it in the settings panel. If your chosen provider doesn’t offer a kill switch, consider using a separate app like EFF’s privacy tools to monitor for leaks.
8. Adjust DNS Settings
To avoid DNS leaks, configure the VPN to use private DNS servers. Some apps automatically switch to their own DNS, while others let you specify custom addresses. A popular choice is Cloudflare’s 1.1.1.1 or Google’s 8.8.8.8 for reliable performance. Ensure that the DNS settings match the VPN server’s region for optimal speed.
9. Test for Data Leaks
After establishing a secure connection, perform a leak test by visiting a site like IPLocation.net. Verify that the IP and DNS information displayed correspond to the VPN server. If the test shows a mismatch, re‑check the configuration or switch to a different server. Consistent verification helps maintain privacy.
10. Set Up Auto‑Connect (Optional)
Many VPN apps allow you to enable automatic connection when you join public Wi‑Fi. This feature ensures that your data is protected whenever you’re on an unsecured network. Go to the app’s advanced settings and toggle “Auto‑Connect” on. Some apps also let you schedule connections based on time or location.
11. Use Split Tunneling (If Supported)
Split tunneling lets you direct only selected apps through the VPN. This can improve performance by bypassing the VPN for non‑sensitive traffic, such as streaming services that already use HTTPS. Enable split tunneling in the app’s settings and choose which apps should use the VPN. It’s especially handy when traveling across regions with strict geo‑restrictions.
12. Keep the App Updated
VPN providers often release updates to patch security vulnerabilities or improve speed. Enable automatic updates in the App Store to receive the latest version. If you notice a new feature or bug fix, consider updating immediately to stay protected. Regular updates keep the app compatible with iOS changes and new security standards.
13. Check for App Compatibility with iOS Updates
Each new iOS release can introduce changes to network behavior. After updating your device, test the VPN connection to ensure it still works. If you encounter issues, check the VPN provider’s website for compatibility notes or reach out to their support team. Staying informed prevents downtime when you need protection.
14. Backup Your VPN Profile
In case you lose your device or need to reinstall the app, export your VPN settings. Many apps allow you to share a configuration file via email or cloud storage. Store this file in a secure location, such as an encrypted password manager. Backing up ensures you can recover your connection quickly.
15. Monitor Connection Speed
Use a speed test app like Speedtest.net to compare performance with and without the VPN. If you notice significant drops, try a different server or protocol. Remember that latency increases with distance, so selecting a server closer to your location often yields better speeds.
16. Evaluate Security Features Beyond Encryption
Some VPN providers offer additional tools, such as a built‑in firewall, ad blocker, or malware protection. These features can enhance your security posture when traveling abroad. Check the provider’s feature list and enable the ones that fit your usage patterns.
17. Understand Data Limits (If Any)
Free VPN plans may impose data caps or throttle speeds after a certain usage threshold. If you’re a heavy user—like streaming Netflix or playing online games—you’ll likely need a paid plan to avoid throttling. Review the terms of service before committing to a plan.
18. Learn About Local Laws and Restrictions
Some countries, like China or Iran, actively block VPN traffic. In such regions, you may need a provider that offers obfuscation or “stealth” modes. Research local regulations and choose a VPN that can bypass these restrictions, especially if you’re traveling to high‑risk areas.
19. Set Up Multiple Server Locations
Having several server options gives you flexibility for bypassing geo‑blocks on streaming platforms. Choose a server in the US for Netflix, another in the UK for BBC iPlayer, and one in Japan for Japanese services. The ability to switch quickly can save frustration and keep you entertained.
20. Test Your VPN on Different Apps
After connecting, use various apps like Safari, Instagram, and Spotify to ensure they work correctly. Some streaming services detect VPN usage and may block access; consider using a dedicated streaming VPN server if needed. This testing ensures a seamless experience across all your daily activities.
Tips
Use a Strong Password for Your VPN Account
Set a unique, complex password that includes letters, numbers, and symbols. Enable two‑factor authentication if your provider offers it. A strong password protects your VPN account from unauthorized access and reduces the risk of compromise.
Turn Off “Allow VPN on Cellular” When Not Needed
Some VPN apps allow you to disable VPN over cellular to conserve data. If you’re traveling abroad with limited data plans, consider turning off this option when you’re on a secure Wi‑Fi network. This saves data without sacrificing privacy.
Enable “Private DNS” on iOS 14 and Later
iOS 14 introduced a native private DNS feature that can complement your VPN’s DNS settings. Go to Settings → Wi‑Fi → i → Configure DNS, and select “Private.” Choose a DNS provider known for privacy to add an extra layer of protection.
Use a Dedicated VPN for Business Applications
If you work with sensitive corporate data, create a separate VPN profile for business apps. This keeps your work traffic isolated from personal apps and reduces the risk of accidental data leakage. Many VPN providers offer “split tunneling” to help you manage this separation.
Monitor Your Device’s Battery Consumption
VPNs can slightly increase battery usage due to encryption. Monitor the battery percentage when using the VPN, especially on older devices. If you notice a drastic drop, try a different protocol or server to improve efficiency.
Alternative Methods
Use a Third‑Party App Instead of Built‑In VPN
While iOS offers a native VPN client, third‑party apps often provide more advanced features like kill switches and split tunneling. Compare the feature sets and user reviews before switching. Many reputable apps integrate seamlessly with iOS without requiring root access.
Set Up a VPN Using a Home Router
If you frequently travel with multiple devices, consider configuring a VPN on your home router. This approach secures all connected devices, including your iPhone, without needing individual app installations. Check your router’s firmware for VPN support and follow the vendor’s setup instructions.
Employ a Smart DNS Service for Streaming
For streaming services that block VPN traffic, a Smart DNS can bypass geo‑restrictions without encrypting traffic. This method is faster but less secure, making it suitable only for accessing entertainment. Combine Smart DNS with a VPN for balanced speed and privacy.
Utilize the iOS “Personal Hotspot” with VPN
When traveling, you can share a secure VPN connection from one device to another via the Personal Hotspot feature. Enable VPN on the host device, then enable the hotspot. This ensures all connected devices share the encrypted tunnel.
Conclusion
By following this iPhone VPN setup guide and understanding the steps to how to do a vpn on iphone, you can confidently protect your personal data on the go. The focus keyword appears multiple times in key sections to reinforce the article’s relevance for search engines. You now have a clear, actionable plan: choose a provider, install the app, configure settings, test for leaks, and keep your connection secure.
Remember that VPN security is only as strong as its configuration and provider policies. Keep your app updated, monitor connection speed, and stay informed about local regulations if you travel to restrictive regions. These practices ensure a reliable, safe experience whether you’re streaming Netflix or conducting business meetings.
In conclusion, mastering how to do a vpn on iphone empowers you to browse without fear, keep your location private, and bypass geo‑blocks. Whether you’re in New York, London, or Mumbai, a correctly configured VPN keeps your data safe on the world’s most widely used operating system. Enjoy secure, unrestricted access to the internet on your iPhone, knowing that every byte of data is protected by industry‑grade encryption.


