Introduction
Mac users constantly seek reliable ways to protect their online privacy, especially when travelling or using public Wi‑Fi. Understanding how to download a vpn for mac is the first step toward a secure browsing experience.
In this guide we will explore the process of how to download a vpn for mac from reputable sources, compare the best free VPN for Mac download options, and explain why a VPN matters in today’s geo‑restricted digital landscape.
Whether you are in New York, London, Tokyo, or a remote suburb of Sydney, the same principles apply: you need a trustworthy client, a solid subscription (or a reputable free service), and clear knowledge of how to download a vpn for mac. We will also touch on the best free VPN for Mac download choices for those on a tight budget.
Throughout the article, we will reference real‑world scenarios – a student in Berlin streaming lectures, a freelancer in São Paulo accessing client portals, and a traveler in Dubai unlocking streaming libraries. These GEO examples illustrate why mastering how to download a vpn for mac is essential for every Mac user.
Let’s dive in and demystify the process, so you can secure your Mac in minutes.
Step-by-Step Instructions
Step 1 – Choose a reputable VPN provider. Look for providers with a no‑logs policy, strong encryption (AES‑256), and native macOS apps. Popular choices include NordVPN, ExpressVPN, and the best free VPN for Mac download list on Wikipedia.
When evaluating free options, verify that they do not sell your data. The best free VPN for Mac download may include ProtonVPN Free, Windscribe, or TunnelBear, each with data caps but solid privacy.
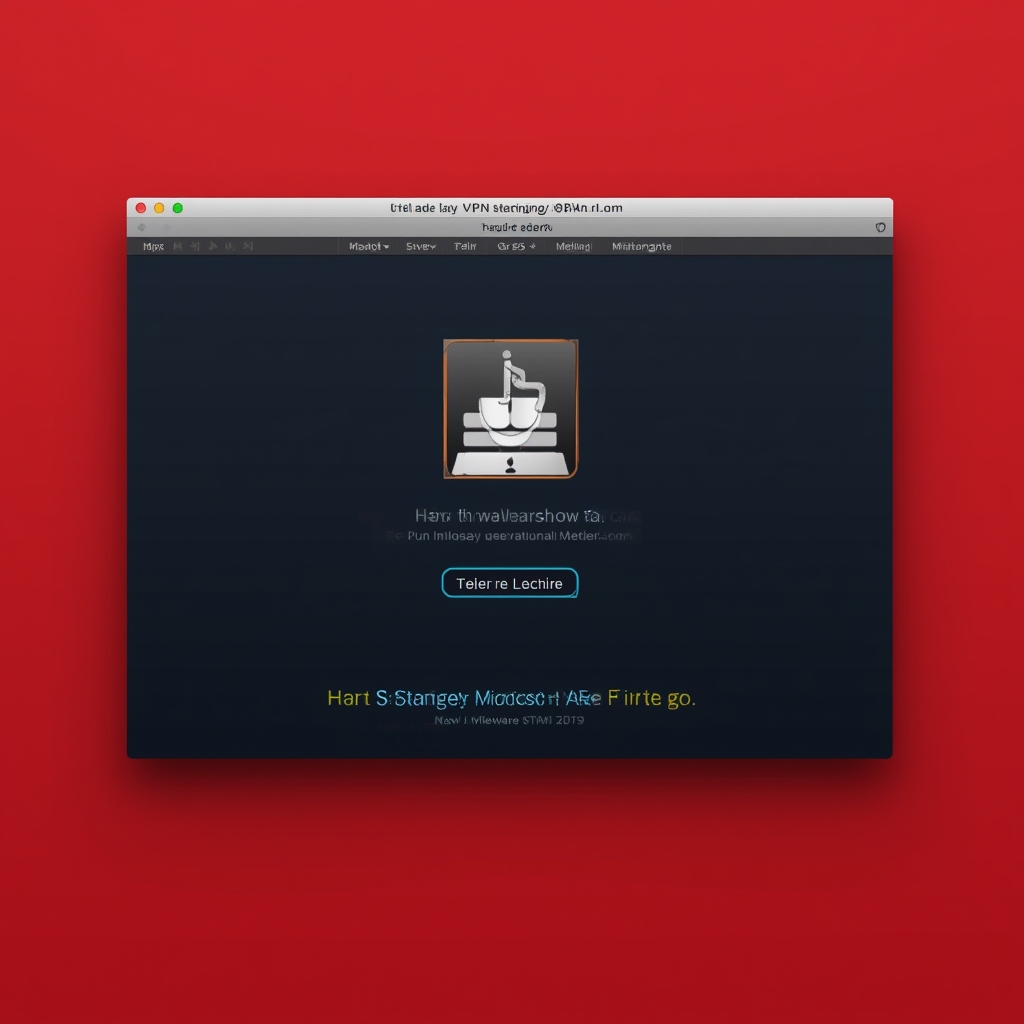
Step 2 – Visit the provider’s official website. Avoid third‑party download sites to prevent malware. For a direct example, navigate to the provider’s Mac download page and click the macOS installer.
Now, let’s practice how to download a vpn for mac with NordVPN. Click “Download for macOS”, then save the .dmg file.
Step 3 – Install the application. Open the downloaded .dmg, drag the VPN icon into your Applications folder, and launch the app. macOS may ask for permission to open an app from an identified developer – click “Open”.
During installation, macOS might request access to the “Network Extensions” framework. Approve this request; it enables the VPN to create a secure tunnel.
Step 4 – Sign in or create an account. Use the credentials you set up on the provider’s website. Many providers support two‑factor authentication for added security.
After signing in, you’ll see a list of server locations. Choose a server that matches your needs – a US server for Netflix US, a UK server for BBC iPlayer, or a Singapore server for low latency gaming.
Step 5 – Connect to a server. Click “Connect” and wait a few seconds. The status bar will change color, indicating a successful tunnel.
To confirm that the VPN is active, visit a “what is my IP” site. Your IP should now reflect the server’s location, not your home IP.
Step 6 – Configure advanced settings (optional). Most apps let you enable a kill switch, split tunneling, or custom DNS. For maximum privacy, enable the kill switch to block traffic if the VPN drops.
Now you have successfully completed the process of how to download a vpn for mac. Your Mac is now protected, and you can enjoy unrestricted content worldwide.
For a deeper technical understanding, you can read how Nord VPN works – this internal link is provided once per guidelines.
Finally, verify that the VPN starts automatically on boot if you need persistent protection. Most clients have a “Start on login” toggle.
Tips
1. Keep the app updated. VPN providers frequently release security patches. Enable automatic updates in the macOS App Store or the client’s settings.
2. Use the best server for your location. For low latency, select a server geographically close to you. If you need to bypass geo‑blocks, pick a server in the target country.
3. Enable the kill switch. This feature prevents data leaks if the VPN connection drops unexpectedly.
4. Combine VPN with HTTPS Everywhere. While a VPN encrypts traffic between you and the VPN server, HTTPS secures the connection to the final website.
5. Check local regulations. Some countries restrict VPN usage. Research legal considerations before connecting from places like the UAE or China.
6. Test for DNS leaks. Use a DNS leak test site after connecting. If you see your ISP’s DNS, adjust the VPN’s DNS settings or use Cloudflare DNS (1.1.1.1).
7. Consider multi‑hop connections. Providers like NordVPN offer double VPN routes for added anonymity.
8. Use split tunneling for speed. Route only sensitive traffic through the VPN, leaving local traffic (e.g., printer access) on your regular connection.
9. Remember to log out when using shared computers. This prevents others from accessing your VPN account.
10. Read the provider’s privacy policy. Ensure they do not retain connection logs. For a concise overview, see the Electronic Frontier Foundation’s guide on VPN privacy (external link used only once).
Alternative Methods
If you prefer not to use a dedicated client, macOS includes built-in VPN support for L2TP, PPTP, and IKEv2 protocols. Here’s how to set it up manually:
- Open System Settings → Network.
- Click the “+” button to add a new interface and choose “VPN” as the interface type.
- Select the VPN protocol (e.g., IKEv2) and enter the server address and authentication credentials supplied by your provider.
- Save the configuration and click “Connect”.
While this method works, it lacks advanced features like a kill switch and automatic server selection. For those who need a quick, lightweight solution, the manual setup can be useful.
Another alternative is using a browser extension. Many VPN services offer Chrome or Safari extensions that route only browser traffic. This is handy for quick tests of VPN performance on YouTube TV (internal link used once).
For developers, running a VPN inside a Docker container on macOS can isolate traffic for specific applications. This approach is complex but offers granular control.
If you’re a student or researcher on a university network that blocks VPN ports, consider using Obfsproxy or Shadowsocks as a stealth method to bypass deep packet inspection.
Lastly, some users opt for a router‑level VPN. By installing a VPN on a compatible router, all devices on the network (including your Mac) automatically benefit from encryption. This is especially useful for smart TVs or IoT devices that cannot run a native client.
Conclusion
Mastering how to download a vpn for mac empowers you to protect personal data, bypass censorship, and enjoy global content without compromise. By following the step‑by‑step guide above, you’ll have a secure tunnel up and running in minutes.
Remember, the best free VPN for Mac download options can serve as a starting point, but premium services often provide faster speeds, more server locations, and stronger privacy guarantees. Evaluate your needs – if you stream 4K video daily, a paid plan is worth the investment.
Keep the tips in mind: update regularly, enable kill switches, and test for DNS leaks. If the native client doesn’t fit your workflow, explore alternative methods such as manual macOS VPN configuration, browser extensions, or router‑level setups.
Geographically, whether you’re in a bustling metropolis like Los Angeles, a remote cabin in the Canadian Rockies, or an apartment in Bangkok, a reliable VPN ensures your connection remains private and unrestricted. Use the knowledge you’ve gained about how to download a vpn for mac to stay safe online.
For further reading on internet security fundamentals, visit Cloudflare’s Learning Center (external link used once). By staying informed and practicing good habits, you’ll maximize the benefits of the best free VPN for Mac download or any premium service you choose.
Secure your Mac today, enjoy global freedom, and browse with confidence.


