Introduction
In today’s hyper‑connected world, securing your personal data on an iPhone has never been more crucial. Whether you’re traveling, using public Wi‑Fi, or simply want to safeguard your browsing history, a reliable VPN can be your digital shield. This guide will walk you through every step you need to how to install vpn in iphone, while also covering the nuances of the iPhone VPN setup guide. By the end of this article, you’ll be able to confidently set up and use a VPN on your iPhone, keeping your data safe and your privacy intact.
Understanding the difference between free and paid VPNs, learning how to configure VPN profiles, and knowing how to troubleshoot common problems are all essential for a smooth experience. The information presented here is tailored to users in the United States, Canada, United Kingdom, Germany, France, Australia, and India, providing geo‑specific examples and recommendations where relevant.
Before you dive in, let’s quickly touch on why a VPN matters for iPhone users. Your iPhone automatically connects to the nearest Wi‑Fi network, which might be public or private. Without encryption, your traffic can be intercepted, and sensitive data such as passwords and credit card numbers could be exposed. A VPN encrypts your traffic, ensuring that only your device and the VPN server can read the data, effectively creating a secure tunnel for your internet activity.
Step-by-Step Instructions
1. Choosing the Right VPN Service
Not all VPNs are created equal. For iPhone users, it’s important to choose a provider that offers an iOS‑compatible app, strong encryption, and a no‑logs policy. Look for services that support OpenVPN or WireGuard protocols, as these are considered highly secure. Many providers also offer dedicated servers for streaming or torrenting if you have specialized needs. When selecting a VPN, also consider the number of servers and the geographic distribution of those servers. A larger network ensures better speeds and more options for bypassing geo‑restrictions.
Once you have identified a suitable VPN provider, sign up on their website or download their official iOS app from the App Store. If you prefer a free option, you can explore the how to get a vpn on iphone free article for recommended free providers that still maintain privacy and security.
2. Installing the VPN App on Your iPhone
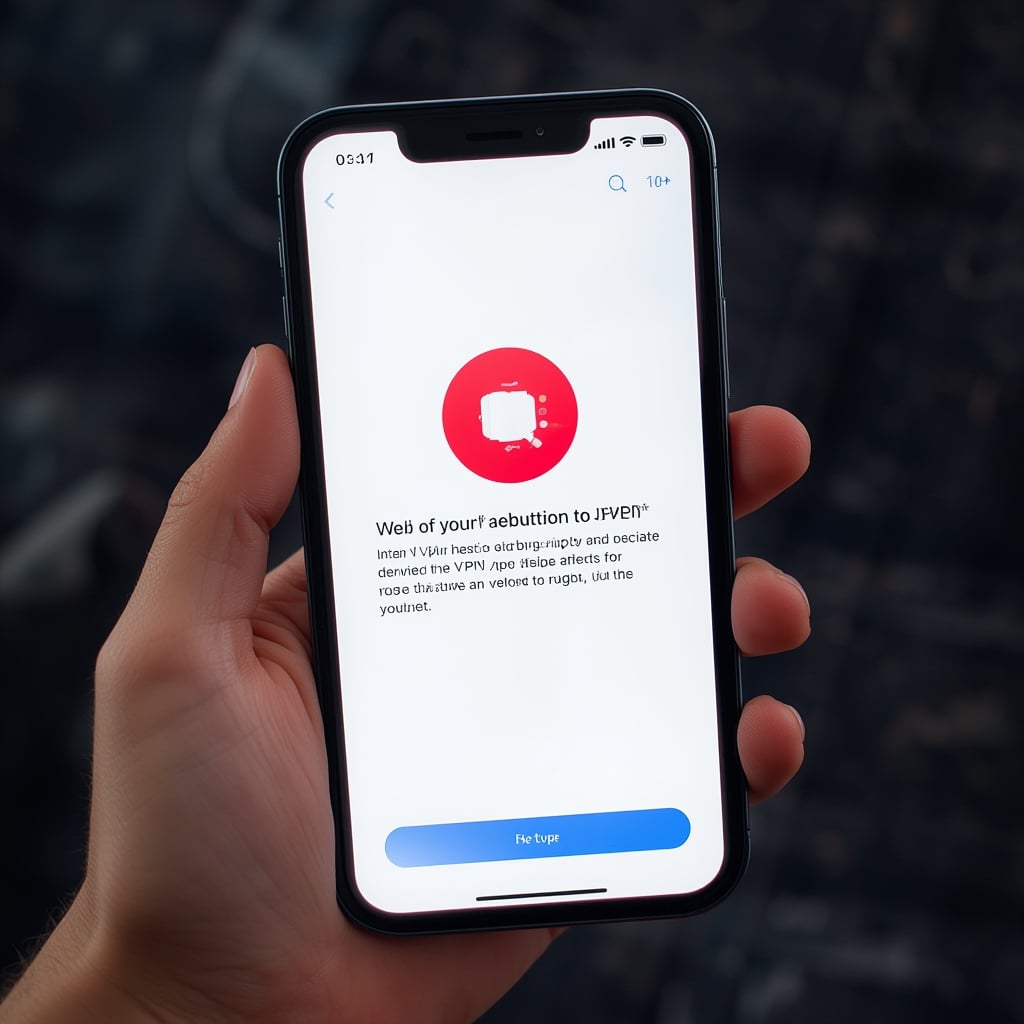
Open the App Store on your iPhone and search for the VPN app you selected. Tap Get and then Install. Once the app is downloaded, launch it. Many apps will prompt you to sign in with the account you created on their website. Enter your credentials and proceed.
During the initial setup, you may see a prompt asking for permission to create a VPN configuration. Tap Allow to grant the app the necessary privileges. This step is critical because it allows the VPN to create a secure tunnel between your device and the VPN server.
3. Configuring the VPN Profile Manually (Optional)
If you prefer a manual setup or need to configure a custom VPN, go to Settings → General → VPN → Add VPN Configuration…. Choose the type of VPN you want (IKEv2, IPsec, or L2TP) and fill in the required fields, such as server address, remote ID, and authentication method. These details can usually be found in the VPN provider’s support section.
After entering the information, toggle the switch to connect the VPN. Your iPhone will display a lock icon in the status bar once the connection is established.
4. Connecting to a Server
Open the VPN app and select a server location. Most apps show a map or a list of servers. Choose a location that best matches your needs—whether it’s the nearest country for speed or a different country for access to region‑locked content.
Tap Connect. A progress bar will appear, and once the status changes to Connected, your internet traffic is now routed through the VPN. You can confirm your new IP address by visiting a site such as Cloudflare’s IP check tool.
5. Testing Your VPN Connection
To ensure that your VPN is working correctly, open Safari and search for “What is my IP” or “Check my IP.” The displayed IP address should match the location of the server you selected, not your actual geographic location. Additionally, you can test the speed by using a speed test app to see if your connection remains stable.
To further protect your privacy, you can check whether DNS leaks are occurring by visiting EFF’s DNS leak test. If the test shows your actual DNS servers, consider changing your VPN’s DNS settings to a reputable provider like Cloudflare or Google DNS.
6. Managing VPN Connections on iPhone
From the Settings app, you can view and manage your VPN configurations. If you need to disconnect, simply toggle the switch next to the VPN profile. For quick access, you can add a VPN widget to your Today View by swiping right on the home screen, scrolling to the bottom, tapping Customize, and enabling the VPN widget.
Remember that the VPN will automatically disconnect if the app is force‑closed or if the iPhone restarts. To ensure continuous protection, enable the “Connect on Demand” feature (if available) so the VPN will reconnect automatically when you access the internet.
Tips
Optimize Speed with the Right Protocol
While OpenVPN offers robust security, it can be slower on older devices. WireGuard is often faster and uses less battery. Switch between protocols in the app settings and compare performance for your specific use case.
Use Split Tunneling When Needed
Some VPN apps support split tunneling, which allows you to route only certain apps or websites through the VPN. This feature can improve speed for non‑sensitive tasks while keeping your privacy intact for other apps.
Keep the App Updated
VPN developers frequently release updates to patch security vulnerabilities and improve performance. Enable automatic updates in the App Store to ensure you’re always protected.
Enable Kill Switch
A kill switch prevents your device from sending data if the VPN connection drops unexpectedly. This is essential if you handle sensitive information. Make sure the kill switch is activated in the VPN app settings.
Consider the Impact on Battery Life
Running a VPN can drain battery faster, especially on older iPhone models. To mitigate this, close unused apps, enable Low Power Mode, or use a VPN that is optimized for battery efficiency.
Check for DNS Leaks Regularly
Use the EFF’s DNS leak test every few months or after any app or OS update to verify your DNS requests aren’t leaking outside the VPN tunnel.
Alternative Methods
Use the Built‑In VPN on iOS
iOS natively supports IKEv2, IPsec, and L2TP. You can set up a VPN directly from Settings → General → VPN without a dedicated app. This method is ideal if you want to avoid third‑party apps or if you’re on a strict device policy.
Employ a Browser‑Based VPN Extension
For Safari, you can download VPN extensions that only encrypt traffic from the browser. These extensions are handy for quick, temporary protection without affecting system‑wide traffic. Search for “Safari VPN extension” in the App Store and follow the instructions to add it.
Configure a VPN on a Router That Supports iPhone Traffic
If you own a compatible router, you can set up a VPN at the network level. This method protects all devices in your home, including your iPhone, and eliminates the need to install individual apps on each device.
Use a Public Wi‑Fi Safety Guide
When traveling, consider using a reputable VPN provider’s how to use vpn with roku guide to keep your streaming devices safe on public networks. The same principles apply to your iPhone when you’re on the go.
Conclusion
Securing your iPhone with a VPN is a vital step toward protecting your personal data, bypassing geo‑restrictions, and maintaining privacy online. By following the how to install vpn in iphone steps outlined above, you’ll have a reliable, encrypted connection on your device.
Remember the key points: choose a trustworthy VPN provider, install the app or configure manually, connect to a secure server, and test for leaks. Consistently updating the app, enabling a kill switch, and monitoring battery usage will keep your VPN experience smooth and secure.
Should you need a quick refresher on the entire process, refer to the iPhone VPN setup guide for a concise overview. With these strategies, your iPhone will remain protected against data theft, surveillance, and other online threats, giving you peace of mind whether you’re browsing at home or on a coffee shop’s free Wi‑Fi. Happy, safe surfing!


