Why Use a VPN on Your iPhone? The Ultimate Privacy Boost
Learning how to install VPN on iPhone is essential for anyone serious about digital privacy. Whether you’re browsing public Wi-Fi at cafés, accessing region-locked content, or protecting sensitive work data, a VPN acts as your first line of defense. With over 1.46 billion active iPhone users worldwide, cybercriminals increasingly target iOS devices. Studies show 40% of public Wi-Fi networks lack basic encryption, leaving your data exposed.
Installing a VPN encrypts all traffic between your iPhone and the internet, masking your IP address and location. This prevents ISPs, advertisers, or hackers from tracking your activities. Even if you’re wondering “do I need a VPN?”, the answer hinges on these risks. Proper VPN configuration iPhone setups also help bypass censorship when traveling and secure financial transactions.
Step-by-Step Guide: How to Install VPN on iPhone (3 Methods)
Method 1: Using a Dedicated VPN App (Recommended)
This streamlined approach works for trusted providers like ExpressVPN, NordVPN, or ProtonVPN:
- Step 1: Subscribe to a VPN service. Compare VPN pricing models before choosing
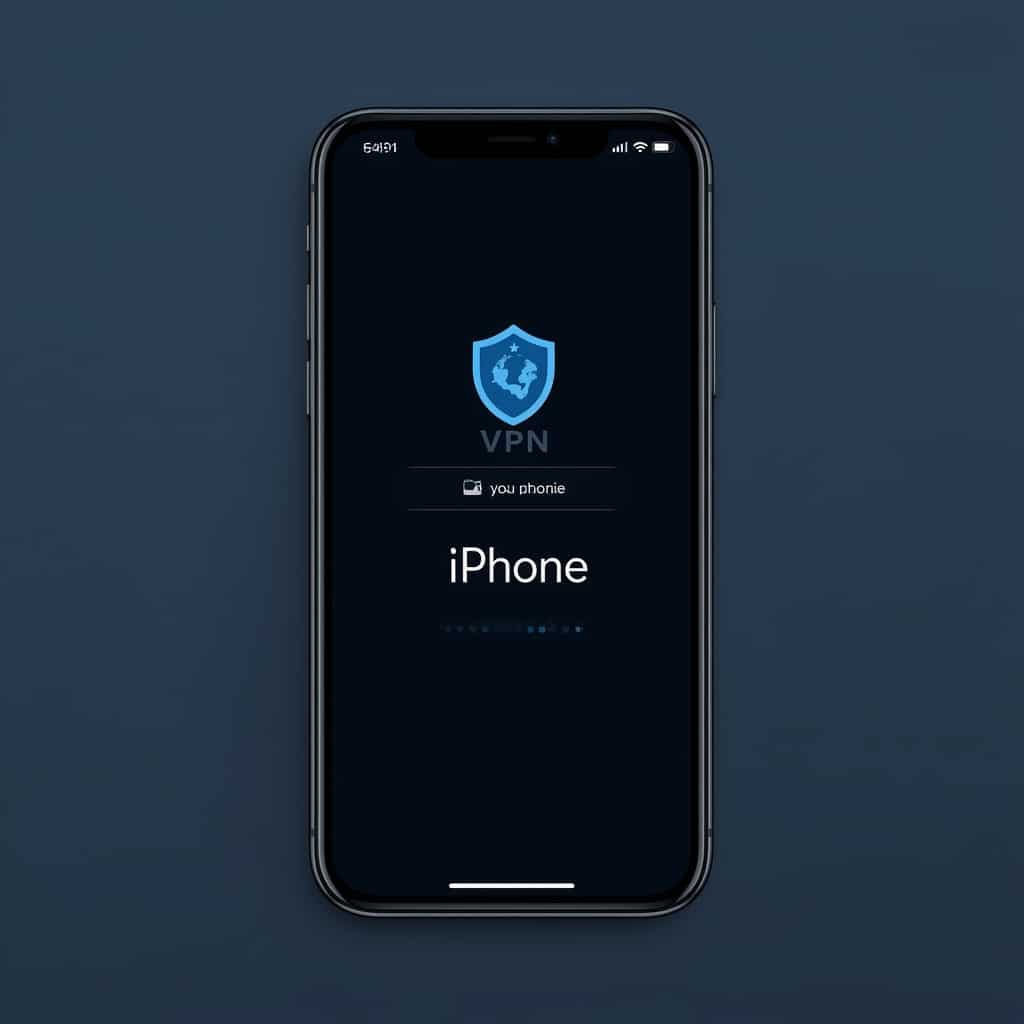
- Step 2: Open the App Store, search for your VPN’s iOS app, and download
- Step 3: Launch the app, log in with your credentials
- Step 4: Tap “Connect” — most apps auto-configure settings
- Step 5: Verify the connection by checking your IP at vpnx.blog/am-i-using-a-vpn

Pro Tip: Enable Auto-Connect in app settings to ensure protection on untrusted networks. Norton’s guide details advanced usage scenarios.
Method 2: Manual VPN Configuration iPhone Setup
Useful for enterprise or protocol-specific needs (IKEv2, L2TP, etc.):
- Go to Settings → General → VPN & Device Management
- Tap VPN → Add VPN Configuration
- Select type:
- IKEv2 (best speed/security balance)
- L2TP (older protocol)
- IPSec (for corporate networks)
- Enter server info from your VPN provider
- Input authentication details (username/password or certificate)
- Toggle Send All Traffic for full encryption
- Save and toggle VPN Status to ON
For troubleshooting failed connections, Apple’s support thread offers solutions.
Method 3: Integrating Smart DNS for Streaming Only
When speed matters more than encryption (e.g., 4K streaming):
- Grab Smart DNS addresses from your VPN provider
- Settings → Wi-Fi → [Network Name] → Configure DNS
- Switch to Manual and enter DNS servers
- Note: Doesn’t encrypt data — use only for geo-unblocking
Industry-Leading VPN Features to Enable Post-Installation
Maximize iPhone security with these options:
- Kill Switch: Blocks internet if VPN drops (Surfshark, ProtonVPN)
- Split Tunneling: Route only selected apps through VPN
- Protocol Selection: Optimal balance via WireGuard® or OpenVPN
- Auto-Connect Rules: Activate VPN when joining cellular/unknown Wi-Fi
Test your setup at vpnx.blog/is-my-vpn-working — it audits IP/DNS/WebRTC leaks across servers.
Advanced: Configure VPN Per Network
Prioritize security without battery drain:
- Download Shortcuts app (Apple’s automation tool)
- Create new automation: When iPhone connects to [Specific Wi-Fi]
- Add action: Connect to [VPN Name]
- Disable Ask Before Running for auto-execution
VPN Installation Alternatives Worth Considering
Option 1: Router-Level Configuration
Protect all devices (including iPhones) by configuring your Wi-Fi router:
- Log into router admin panel (usually 192.168.0.1)
- Navigate to VPN settings (OpenVPN client support required)
- Upload OVPN config files from your provider
- Save settings — all connected devices now use VPN
Option 2: Enterprise Mobile Device Management (MDM)
Companies like Jamf or Cisco Meraki centralize corporate VPN deployments:
- IT admin pushes VPN profiles to enrolled iPhones
- Employees authenticate via SSO (Okta, Azure AD)
- Always-on enforcement policies with activity logging
Common VPN Configuration iPhone Errors — Solved
| Issue | Fix |
|---|---|
| “VPN Failed to Connect” | Reinstall profiles → Update iOS → Try different protocol |
| Slow speeds | Connect to physically closer servers → Use WireGuard protocol |
| App-specific blockages | Enable Split Tunneling → Bypass VPN for banking apps |
| Battery drain | Disable unnecessary always-on connections → Reduce encryption level |
The Verdict: Simple Setup, Lasting Protection
Mastering how to install VPN on iPhone takes under 5 minutes but delivers years of security. Whether using one-click apps or complex manual VPN configuration iPhone setups, prioritize services with AES-256 encryption and zero-logs policies. Test for leaks monthly via tools on our VPN diagnostics page.
Remember: Free VPNs often monetize data — invest in providers with transparent pricing like those in our cost breakdown guide. Enable VPN automatically on unsecured networks, and you’ve essentially bulletproofed your iPhone against 99% of digital threats.


