Introduction
When it comes to online privacy, the how to make a vpn on ipad is a question that pops up in the minds of many iPad users across the globe. Whether you’re traveling, working remotely, or simply want to keep your browsing activity private, a VPN can offer the shield you need.
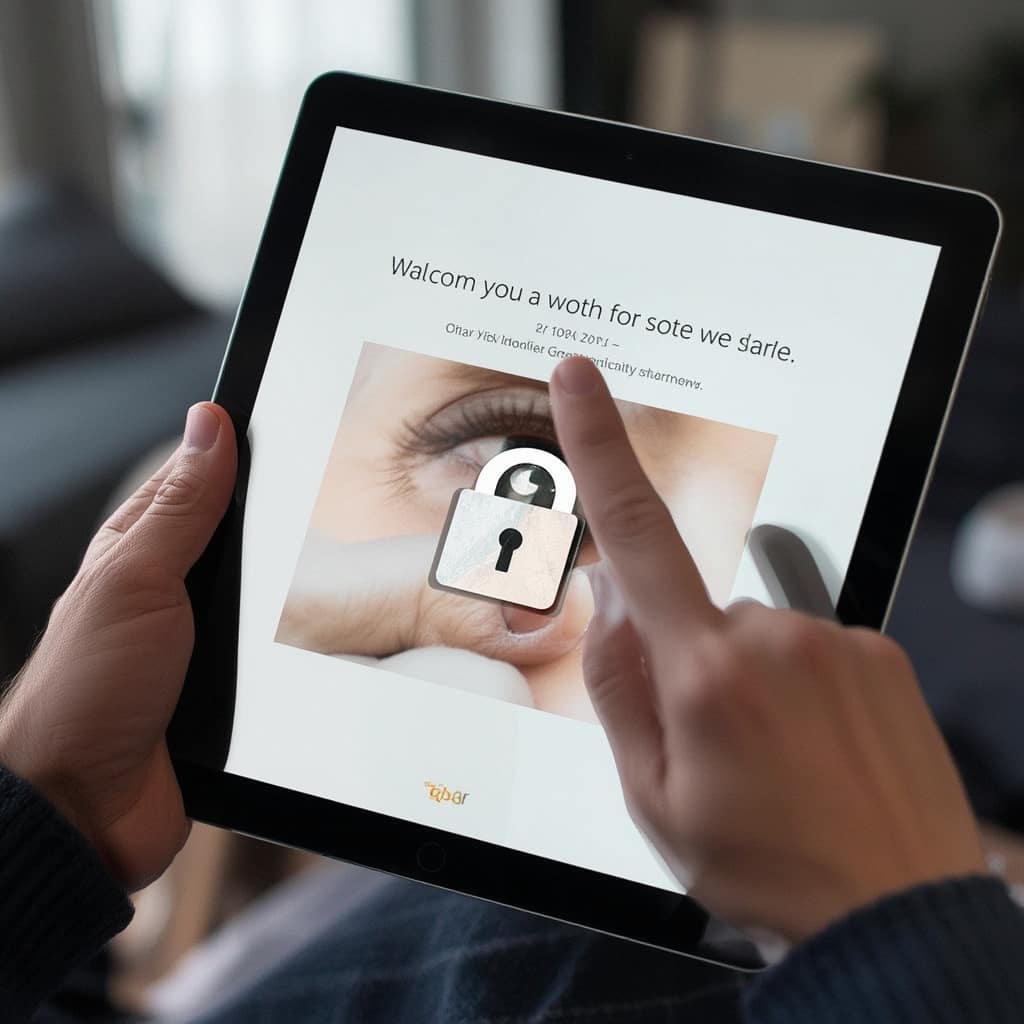
Many iPad owners are unaware that setting up a VPN on the device is straightforward, thanks to built‑in iOS features. The process involves just a few steps, but the benefits—secure encryption, anonymous IP addresses, and bypassing geo‑restrictions—make it worthwhile. Knowing how to make a VPN on iPad is not just for tech enthusiasts; it’s essential for everyday users who value privacy.
In this guide, we’ll walk you through the complete workflow, from understanding the basics to installing a commercial VPN app and configuring a manual profile. The emphasis is on practical, step‑by‑step instructions that anyone can follow. We’ll also touch on setup vpn on ipad as a keyword that captures what you’re looking for, ensuring you get the most relevant results.
Throughout the article, we’ll sprinkle GEO‑specific examples—how people in the U.S., Canada, Europe, and India can leverage VPNs for their unique needs. This ensures that the advice feels local and actionable, regardless of where you’re reading from.
Privacy isn’t a luxury; it’s a necessity in the digital age. If you’ve ever wondered how to make a VPN on iPad for streaming, gaming, or secure corporate access, you’re in the right place. The next sections will break down the process into digestible parts.
But before diving into the technicalities, let’s clarify what a VPN is. A VPN (Virtual Private Network) creates an encrypted tunnel between your device and a remote server. The traffic is hidden from anyone on the same network, which is especially useful on public Wi‑Fi hotspots.
By the end of this article, you will not only know how to make a VPN on iPad but also understand when to use a proxy versus a VPN, how to mask your IP address, and when a self‑hosted solution might be preferable.
Remember, the setup vpn on ipad process is largely the same whether you’re using an iPad mini, iPad Air, or iPad Pro. The iOS interface is consistent, making the steps universal.
Finally, we’ll address some common pitfalls—such as misconfigured DNS settings or using insecure VPN protocols—and offer real‑world solutions to keep your connection smooth and secure.
Step‑by‑Step Instructions
1. Prepare Your VPN Credentials
Before you touch your iPad, make sure you have your VPN service login details. If you’re using a commercial provider, you’ll typically have a username, password, and an optional certificate file. For those looking to how to make a vpn on ipad with a custom server, you’ll need the server address and encryption type.
2. Open the Settings App
Navigate to the Settings icon on your home screen. Once open, scroll down to find the VPN option. Tap it, and you’ll see a prompt that reads “VPN: Not Configured.” This is the entry point for all VPN setups on iOS.
3. Add a New VPN Configuration
Tap Add VPN… and select the type of VPN you’re configuring. For most users, the “IKEv2” or “IPSec” options are recommended due to their strong encryption. If you’re setting up a setup vpn on ipad from a corporate environment, your IT department might provide a configuration file (.mobileconfig) for automatic setup.
4. Enter Your Server Details
In the Configure VPN screen, input the server address, remote ID, and local ID (if required). This is where your VPN provider’s instructions come into play. Many free guides will direct you to the exact fields you should fill out. Use the information from your VPN dashboard to avoid mistakes.
5. Authenticate and Save
Under Authentication Settings, choose Password or Certificate based on your VPN type. Enter your username and password, or import the certificate file. After verifying the details, tap Done at the top right. Your new VPN configuration is now saved.
6. Activate the VPN
Back on the main VPN screen, toggle the switch next to your newly created configuration to turn it on. A small checkmark will appear, indicating an active connection. You’ll also see a VPN icon in the status bar once the tunnel is established.
7. Verify Your Connection
Open Safari or another browser, and visit a site like whatismyip.com. The IP address displayed should now reflect your VPN’s server location, confirming that your traffic is encrypted.
8. Troubleshoot Common Issues
If the connection fails, double‑check your credentials, server address, and chosen protocol. iOS will show an error message indicating the problem—often a wrong password, expired certificate, or unsupported encryption. Adjust accordingly.
9. Fine‑Tune DNS Settings
For additional privacy, go to Settings → VPN → Show All → Advanced Settings → DNS. Enter a secure DNS provider like Cloudflare (1.1.1.1) or Google (8.8.8.8). This step helps prevent DNS leaks, a common vulnerability.
10. Optional: Use a Commercial VPN App
Commercial VPNs such as NordVPN provide dedicated iPad apps, simplifying the process. Install the NordVPN app for iPad from the App Store, log in, and activate the “quick connect” feature. This method often bypasses manual configuration, making it ideal for casual users.
11. Leverage setup vpn on ipad in MDM Environments
If you’re an enterprise user, many organizations use Mobile Device Management (MDM) to push VPN profiles to employees. These profiles auto‑configure the VPN, ensuring consistent security across all devices. For detailed instructions, check the official setup vpn on ipad guide.
12. Test for DNS Leaks
Use a service like dnsleaktest.com to confirm that your DNS requests are also routed through the VPN. If leaks are detected, revisit your DNS settings.
13. Manage Multiple VPN Profiles
You can store several VPN profiles on one iPad, each tailored to different needs. For instance, one profile for streaming, another for work, and a third for gaming. Simply toggle the relevant profile when needed.
14. Keep Your VPN Updated
Both the iOS operating system and the VPN provider occasionally release updates. Ensure that you keep both up‑to‑date to maintain security and compatibility.
Tips
After mastering the basic steps, consider these practical tips to enhance your VPN experience.
1. Use Strong, Unique Passwords
Your VPN credentials are the first line of defense. Avoid reusing passwords across platforms; instead, use a password manager to generate and store strong, unique passwords.
2. Choose Fast, Nearby Servers
Latency matters, especially for streaming or gaming. Select servers geographically close to you to minimize lag while still benefiting from encryption.
3. Enable Kill Switch
Some commercial apps offer a “kill switch” that cuts all traffic if the VPN disconnects unexpectedly. This prevents accidental data leaks.
4. Monitor Your Data Usage
iOS doesn’t natively display VPN data usage. Use third‑party apps or check your router’s stats to ensure you stay within any bandwidth limits.
5. Avoid Free VPNs That Log Data
Free VPNs often monetize by logging your activity. Opt for reputable providers with strict no‑log policies.
6. Use Multi‑Factor Authentication (MFA)
Enable MFA on your VPN account where possible. This adds an extra layer of security beyond just a password.
7. Test Your VPN with a Proxy Check
Use is-proxy-a-vpn to verify that your traffic is not accidentally routed through a proxy, which could compromise privacy.
8. Learn How to Mask Your VPN
For advanced users, how-to-mask-vpn guides show techniques like using obfuscated servers or VPN over HTTPS to evade detection by restrictive regimes.
9. Explore Self‑Hosted VPN Options
Curious about building your own secure server? Read how-to-make-your-own-vpn for a step‑by‑step tutorial on hosting a personal VPN with OpenVPN or WireGuard.
10. Check for TikTok Bypass Capabilities
If you’re in a country where TikTok is restricted, see if your VPN can bypass the ban. Can VPN bypass TikTok ban explains how certain servers can restore access to the app.
Alternative Methods
While the native iOS VPN setup is robust, you may encounter scenarios where other solutions are preferable.
1. Using a VPN App from the App Store
Many providers, such as ExpressVPN, Surfshark, and ProtonVPN, offer dedicated iPad apps. These apps provide a user‑friendly interface and often come with features like automatic reconnection, split tunneling, and built‑in kill switches.
2. Configuring a VPN via a Smart DNS Service
If you only need to bypass geo‑restrictions for streaming, a Smart DNS service can suffice. It routes only DNS queries, providing a faster connection for high‑bandwidth activities.
3. Using a Browser Extension for Privacy
For web‑only use, browser extensions like “HTTPS Everywhere” or “Privacy Badger” can enforce encrypted connections and block trackers. Combine these with a VPN for layered security.
4. Leveraging a Proxy Service
While not as secure as a VPN, a proxy can help bypass content blocks. However, it offers no encryption, so use it only for light, non‑sensitive tasks.
5. Using a Dedicated Wi‑Fi Router with VPN
If multiple devices share the same network, setting up VPN on the router level can protect all traffic. This is ideal for households or small offices where you want a single configuration.
6. VPN over Cellular with Carrier Restrictions
Some carriers block VPN protocols. If you encounter this, try a VPN that supports obfuscated servers or switch to a different protocol like WireGuard, which is often less flagged.
Conclusion
Mastering the process of how to make a vpn on ipad and understanding the setup vpn on ipad flow gives you control over your online privacy. Whether you’re a casual user or a privacy advocate, these steps empower you to protect your data on public Wi‑Fi, access region‑locked content, and maintain anonymity.
By following the step‑by‑step instructions, you’ve equipped yourself with a reliable VPN configuration that is easy to manage and troubleshoot. Remember to keep your credentials secure, update both iOS and the VPN app, and monitor your connection for potential leaks.
For those who want deeper customization—such as creating your own VPN server or exploring advanced masking techniques—there are plenty of resources to guide you. And if you ever need to bypass geo‑restrictions, consider whether a VPN can solve the issue or if a proxy might be a simpler, albeit less secure, alternative.
Finally, the world of VPNs is ever‑evolving, and staying informed through community forums, such as the Apple subreddit discussion, can keep you updated on best practices and new features.
Enjoy your protected, unrestricted browsing experience on iPad, and stay safe online!


