Introduction
When you’re traveling abroad, working from a coffee shop, or simply want to keep your data private, you’ll often hear the question: how to put vpn on iphone. For many Apple users, this is a common concern because iOS is known for its built‑in security, yet the need for an additional VPN layer persists. Understanding how to put vpn on iphone isn’t just about technical steps; it’s about protecting your location, browsing habits, and personal data from prying eyes.
In the United States, Canada, the UK, Australia, and India, VPN usage has surged as people look to bypass geo‑restrictions on streaming services or corporate firewalls. Many of you might wonder how to put VPN on iPhone in a way that’s quick, reliable, and secure. By following a structured approach, you’ll be able to how to put vpn on iphone without compromising device performance.
This article will walk you through the entire how to put vpn on iphone process, share tips tailored to different user scenarios, and explore alternative methods if the default settings don’t fit your needs. We’ll also discuss why you might prefer a VPN for work, gaming, or simply staying anonymous online.
By the end, you’ll know exactly how to how to put vpn on iphone and how to setup vpn on iphone with confidence, even if you’re new to VPN technology.
Step-by-Step Instructions
1. Choose a Reliable VPN Provider
First, select a reputable provider that offers an iOS app or supports OpenVPN/ IKEv2. Look for providers with strong encryption, no‑logging policies, and servers in the regions you frequent. Popular choices include ExpressVPN, NordVPN, and ProtonVPN.
2. Download the VPN App from the App Store
Open the App Store, search for your chosen VPN’s name, and tap Get followed by Install. Once the installation completes, tap Open to launch the app.
3. Sign In or Create an Account
Most VPN apps will require you to sign in with your credentials or create a new account. If you have a subscription key, enter it here. This step ensures you’re authenticated to access the VPN servers.
4. Configure Connection Settings
Within the app, you can usually pick a server location or let the VPN automatically select the fastest one. Some providers also allow you to choose protocol options (IKEv2, L2TP, OpenVPN). For maximum compatibility with iPhone, IKEv2 is recommended.
5. Add VPN Manually if Needed
If your VPN provider doesn’t have a dedicated app, you can add it manually. Go to Settings → General → VPN → Add VPN Configuration. Select the type (IKEv2, IPSec, or L2TP) and fill in the required fields: description, server, remote ID, local ID, username, and password.
6. Install a Configuration Profile (Optional)
Some VPNs deliver a profile that you can download from their website. Open the link in Safari, tap Allow when prompted, and then tap Install in the Settings app to apply the profile. This simplifies the manual setup process.
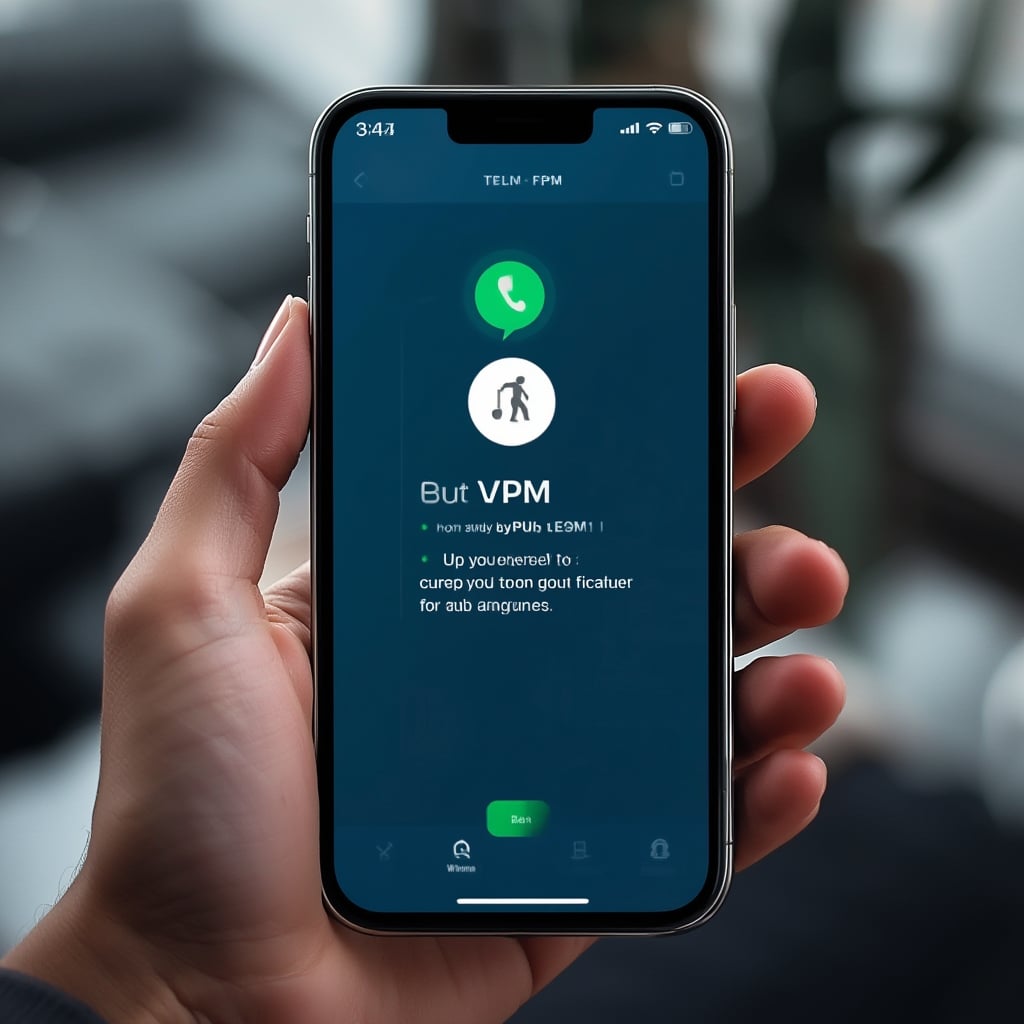
7. Turn On the VPN in iOS Settings
After the configuration is saved, toggle the VPN switch in Settings → VPN. Once activated, you’ll see a VPN icon in the status bar, indicating that your traffic is now routed through the secure tunnel.
8. Test Your Connection
Open Safari and visit whatismyipaddress.com. Verify that your IP address and location match the server you selected. You can also use McAfee’s guide for advanced troubleshooting.
9. Enable VPN on Wi‑Fi Networks
For automatic VPN usage on specific Wi‑Fi networks, open the VPN app and enable the On Demand feature. This ensures that whenever you connect to a particular network, the VPN activates without manual intervention.
10. Manage VPN Profiles
If you need multiple VPN profiles (e.g., one for work and another for personal use), add them as separate configurations in Settings → General → VPN. You can switch between them quickly by toggling the respective profiles.
11. Keep Your App Updated
VPN providers regularly release updates that patch vulnerabilities and improve performance. Enable automatic updates for your VPN app to stay protected.
12. Understand What VPN Protects You From
Visit what does VPN protect you from to learn the specifics of data interception, local network tracking, and ISP throttling. This knowledge helps you choose the right level of encryption and server speeds.
13. Explore VPN Connections and Protocols
Read what are VPN connections for a deeper dive into OpenVPN, IKEv2, and L2TP. Understanding the difference allows you to troubleshoot performance issues more effectively.
14. Verify No Leaks
After setting up, use DNS leak test to confirm that all DNS requests are routed through the VPN. This step ensures that your real IP address isn’t exposed.
15. Contact Support When Needed
If you encounter any issues, most providers offer 24/7 chat support. Use the in‑app help feature or email their support team for assistance.
16. Consider Router‑Based VPN for All Devices
For households that want a blanket protection, how to connect a VPN router allows you to route all connected devices through the VPN without individual configuration.
17. Use the VPN on Mac or iPad
If you own multiple Apple devices, you can mirror the same configuration on your Mac or iPad by exporting the VPN profile from iPhone Settings and importing it elsewhere.
18. Manage Bandwidth and Speed
When streaming or gaming, select servers that are geographically closer to minimize latency. Some apps provide a speed test feature to help you pick the optimal server.
19. Disable VPN for Specific Apps (Split Tunneling)
While iOS doesn’t natively support split tunneling, some third‑party VPN apps offer this feature. You can route only selected apps through the VPN, preserving local network speed for other tasks.
20. Secure Your Device with Strong Passcode
A VPN protects data in transit, but a compromised device can still be vulnerable. Enable a strong passcode or biometric lock to add an extra layer of security.
Tips
1. Choose Fast Servers: If you’re streaming Netflix or playing online games, pick a server in the same region as the content provider to reduce buffering.
2. Use IKEv2 for Stability: IKEv2 automatically reconnects when you switch networks or lose connectivity, making it ideal for mobile usage.
3. Enable Kill Switch: Many apps offer a kill switch that stops all traffic if the VPN disconnects. This prevents accidental data leaks.
4. Check the Kill Switch on the Settings App: Some VPNs allow you to enable this feature directly in the Settings > VPN configuration.
5. Regularly Test for DNS Leaks: Use online tools like dnsleaktest.com after each update or server change.
6. Use the Same Server for Work and Personal Use if your VPN allows it, to maintain a consistent IP for business tools while keeping your personal browsing private.
7. Disable Background App Refresh for high‑security scenarios to prevent apps from sending data outside the VPN.
8. Update iOS Regularly: iOS updates often include security patches that can affect VPN connectivity.
9. Learn About VPN Protocols by reading the article what are VPN connections to choose the best for your use case.
10. Explore Browser VPN Options: Some browsers, like Brave, have built‑in VPN or proxy features. Check does Brave use a VPN to see if it suits your needs.
Alternative Methods
For users who prefer a manual setup, you can configure a VPN using OpenVPN Connect. After downloading the .ovpn file from your provider’s portal, import it into the app and sign in with your credentials. This method offers greater control over the encryption settings.
Another method is to use a third‑party app that supports multiple VPN protocols, such as OpenVPN, WireGuard, or IPSec. These apps often provide additional customization options, including split tunneling and advanced encryption settings.
For those in enterprise environments, the Apple Business Manager or Apple School Manager can push VPN profiles to all devices in the organization. Refer to setup vpn on iphone for a step‑by‑step guide on device management.
Some users find VPN routers to be the easiest solution. By configuring the VPN once on the router, every device connected to your home network automatically benefits from encryption. Check how to connect a VPN router for detailed instructions.
If you’re on a tight budget, consider free VPNs with limited bandwidth. However, remember that free services may log your activity or display ads. Always read the privacy policy before choosing.
In certain regions, local ISPs block VPN usage. In such cases, you might need to use a shadowsocks or socks5 proxy configured within iOS. Though not a true VPN, this can bypass local restrictions.
Conclusion
Understanding how to put vpn on iphone is essential in today’s digital landscape, where data privacy concerns are growing worldwide. By following the detailed setup vpn on iphone steps above, you’ll secure all your internet traffic, whether you’re streaming in Canada, working remotely in Germany, or browsing from a café in Tokyo.
Remember to test for DNS leaks, choose the right server for your needs, and keep your VPN app updated. If you run into any complications, consult your provider’s support or the official Reddit thread for community advice.
By mastering how to put vpn on iphone and mastering the process of setup vpn on iphone, you empower yourself to browse freely, securely, and without interruption, regardless of where you are in the world.
Stay safe, stay private, and enjoy the full benefits of a VPN on your iPhone.


