Introduction
For many iPhone users, a Virtual Private Network (VPN) offers extra privacy, bypasses regional restrictions, and keeps data encrypted. Yet there are times when you need to turn off that VPN—whether you’re troubleshooting connectivity issues, conserving battery, or simply want to return to your device’s native IP address. This guide covers everything you need to know about how to remove vpn on iphone, as well as how to disconnect the VPN on iPhone with step‑by‑step instructions, tips, and alternative methods.
We’ll walk through the built‑in VPN settings, the VPN app’s own disconnect feature, and even deeper system overrides. You’ll also learn why some people keep their VPN on, how VPNs affect ads, and whether a VPN is truly necessary for everyday use. By the end of this article, you’ll master how to remove vpn on iphone and how to disconnect vpn on iphone quickly and safely.
Step-by‑Step Instructions
1. Check Your Current VPN Connection
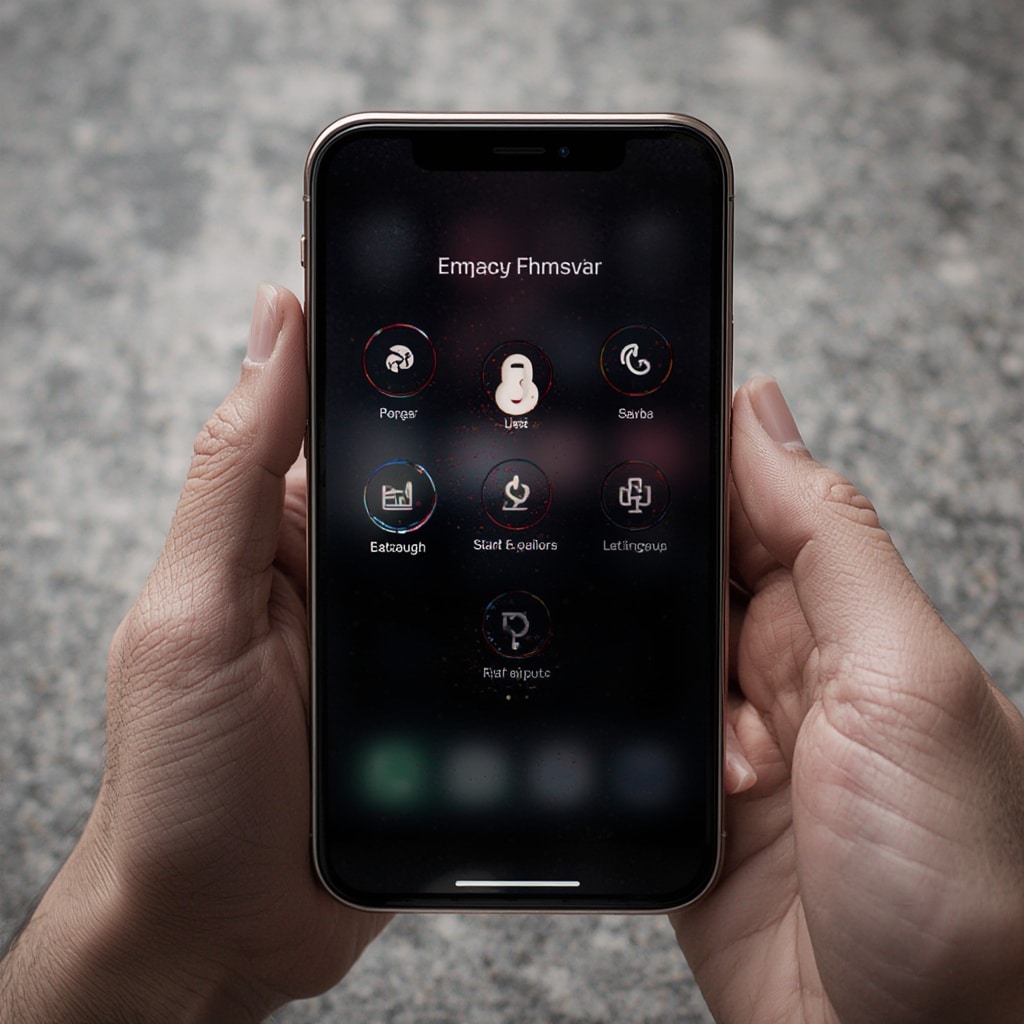
Before you can turn off a VPN, it’s helpful to confirm that it’s active. Open the Settings app, scroll to the VPN option, and look for a status indicator that reads “Connected.” This confirms you’re indeed behind a VPN tunnel.
2. Disable the VPN Using the Settings App
Once you’ve confirmed the VPN is running, toggle the switch next to the profile name to turn it off. This action disconnects the VPN immediately and restores your device’s original IP address.
Remember, if you have multiple VPN profiles, you’ll need to disable each one individually. The toggle appears on the same screen as the profile list.
3. Disconnect via the VPN App’s Built‑In Feature
Many users install a dedicated VPN app rather than using the system’s built‑in service. In that case, open the app’s main dashboard. Most apps will display a prominent Disconnect button. Tap it to shut down the VPN.
After disconnecting, verify the status again in Settings → VPN to ensure it reads “Not Connected.”
4. Use the Control Center Quick Toggle
If you frequently toggle your VPN on and off, you can add it to the Control Center for quick access. Go to Settings → Control Center, scroll to “More Controls,” find your VPN, and tap the plus icon.
Now you’ll see the VPN icon in the Control Center. Simply tap the icon to toggle the connection status.
5. Confirm Your IP Address Has Resolved
To ensure the VPN has been fully removed, check your IP address on a site like whatismyip.com. Your public IP should match the one assigned by your cellular carrier or Wi‑Fi network, not the VPN provider’s IP.
If the IP still reflects the VPN, double‑check that all VPN profiles are disconnected and that no background apps are reconnecting automatically.
6. Address Any Automatic Reconnect Settings
Some VPN apps include an auto‑reconnect feature. If you’re unable to stay offline, open the app’s settings and disable “Auto‑Reconnect” or similar options. This prevents the VPN from starting again on its own.
7. Verify No VPN Profiles Are Left in Settings
Back in Settings → VPN, scroll to the bottom. If you see any unused profiles, consider removing them by swiping left and selecting Delete.
This keeps your device clean and reduces the chance of accidental reconnection.
Tips for a Smooth VPN Removal
Use Apple’s Official Support Guides
Apple’s own iPhone Settings guide is a reliable source for troubleshooting VPN issues. It includes screenshots and troubleshooting tips for most common problems.
Consider Battery Implications
VPNs consume additional battery because they encrypt data and route traffic through external servers. Turning off the VPN can improve battery life, especially during extended periods of use.
Check for Regional Restrictions
In certain regions—such as the European Union, China, or the Middle East—VPN usage may be regulated or restricted. Always be aware of local laws before enabling or disabling a VPN.
Clear Browser History After Disconnection
When you disconnect, your browsing history might still be logged under the VPN’s IP. Clear your browser’s cache or history to ensure no traces remain.
Alternative Methods for VPN Removal
1. Reset Network Settings
As a last resort, you can reset all network settings, which will wipe saved VPN configurations. Navigate to Settings → General → Transfer or Reset iPhone → Reset → Reset Network Settings.
Be aware that this action deletes Wi‑Fi passwords and cellular settings, so use it only when necessary.
2. Disable VPN via Shortcuts App
Apple’s Shortcuts app can automate VPN toggling. Create a new shortcut, add the “Set VPN” action, and set it to “Off.” Then add this shortcut to the home screen for one‑tap disconnecting.
3. Use a Third‑Party Management App
Apps such as Cloudflare WARP or other privacy-focused tools provide additional controls, including scheduled disconnects or VPN bypass rules.
Why Is a VPN Necessary? And What Happens When You Remove It?
If you’re wondering whether a VPN is truly necessary for daily tasks, the Is VPN Necessary? guide explains the trade‑offs between privacy and speed. For some users, VPNs block ads and trackers, but this is not always the case.
The Does a VPN Block Ads? article clarifies that most VPNs don’t inherently block ads; you need a dedicated ad‑blocking service for that.
When you disconnect a VPN, you may see an increase in ads or tracking, especially if you were previously bypassing regional ad restrictions. Conversely, you’ll gain a more natural browsing experience aligned with your local network.
What Is a VPN on a Cell Phone?
A VPN on a cell phone encrypts data traffic between your device and the internet, masking your IP address. This is particularly useful on public Wi‑Fi or when traveling. For deeper context, check out What Is VPN on a Cell Phone? to learn about the underlying technology and best practices.
Conclusion
Mastering how to remove vpn on iphone is essential for anyone who relies on VPNs for privacy, security, or regional access. Whether you use the Settings app, a dedicated VPN app, or a quick toggle in the Control Center, the steps above will help you disconnect smoothly.
Remember the key takeaways: verify your VPN status, disable all active profiles, and check that your public IP has changed. If you encounter automatic reconnects or persistent IP changes, adjust your app’s settings or reset your network settings.
With these skills, you’ll have full control over your iPhone’s connectivity—ready to switch between privacy and speed whenever you need.


