Introduction
In today’s interconnected world, protecting your online privacy is essential, especially when you’re on the go with a mobile device. how to set up iphone vpn is a common question for users who want to keep their browsing history, location, and personal data secure from prying eyes. Whether you’re traveling abroad, using public Wi‑Fi, or simply want a safer browsing experience, understanding the fundamentals of VPN configuration on iPhone devices can empower you to take control of your digital footprint.
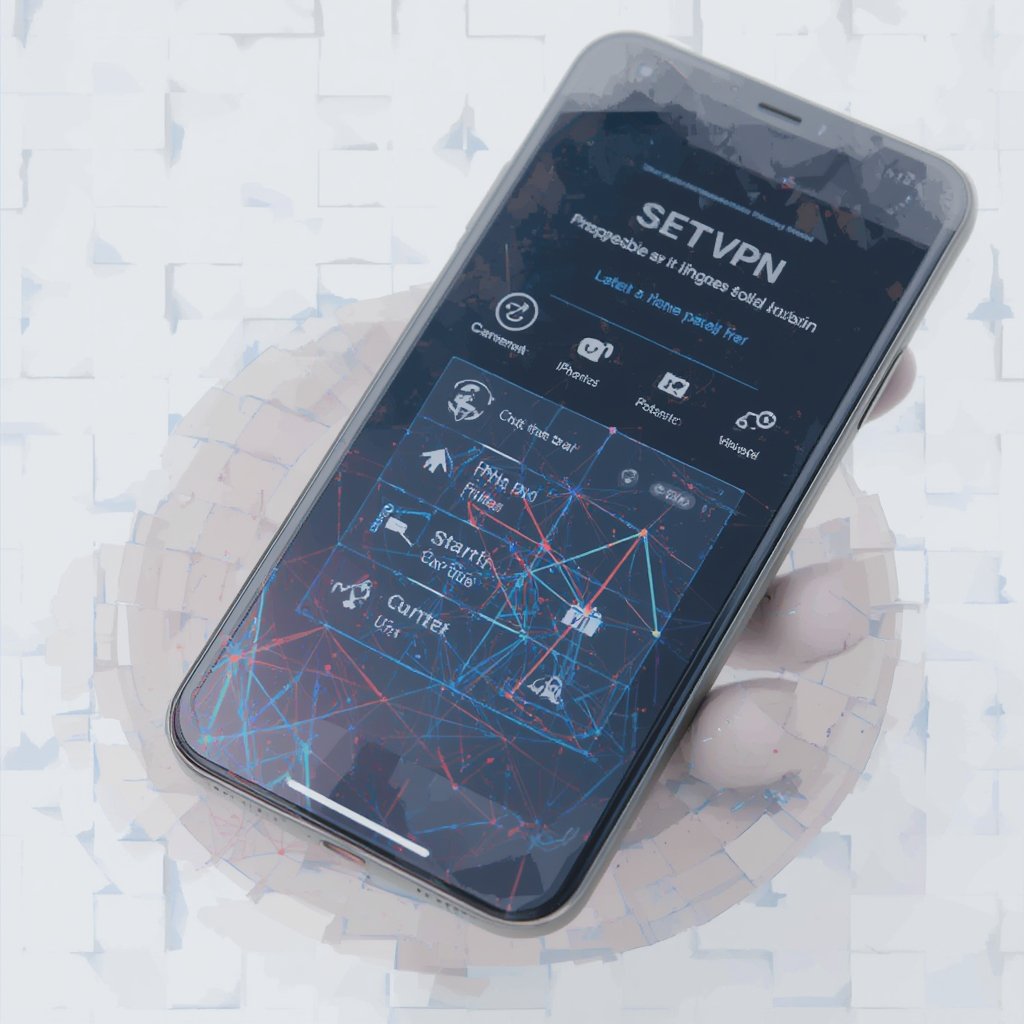
The process of configure vpn on iphone may seem daunting at first, but with a clear step‑by‑step guide, you’ll see that it’s straightforward. By following these instructions, you’ll learn not only the technical aspects of VPN setup but also the best practices for maintaining privacy and compliance with local regulations. This article covers the essential steps, offers troubleshooting tips, and explores alternative methods if you prefer manual configuration.
We’ll also touch on legal considerations in the United States, evaluate the safety of VPN use, and provide quick references to reputable VPN providers. By the end, you’ll be equipped to how to set up iphone vpn and configure vpn on iphone with confidence, ensuring a safer and more private online experience wherever you go.
Step‑by‑Step Instructions
1. Choose a Reliable VPN Provider
Selecting a trustworthy VPN service is the first critical step. Look for providers that offer strong encryption, a no‑log policy, and a wide range of server locations. Some popular options include ExpressVPN, NordVPN, and Surfshark, all of which support iOS devices and provide user‑friendly apps. If you prefer an open‑source solution, consider is‑macafee‑a‑vpn to assess the capabilities and privacy guarantees of the software.
2. Sign Up and Install the App
Once you’ve chosen a provider, visit their website or the App Store to download the iOS app. Sign up for a subscription or select a free trial if available. During the registration process, you’ll be prompted to grant the app permission to create VPN configurations on your device. This step is essential for the VPN to function correctly and to route your traffic securely.
3. Grant VPN Permissions and Enable the Connection
After installation, open the app and sign in with your credentials. The first time you launch the VPN, you’ll see a pop‑up asking you to allow the app to configure VPN settings. Tap “Allow” to proceed. Then, simply tap the “Connect” button within the app or the VPN icon in the status bar. Your iPhone will establish a secure tunnel, and the VPN status icon will appear next to your carrier icon.
4. Verify the Connection and Test Privacy
To confirm that the VPN is active, visit whatismyip.com or a similar service. The displayed IP address and location should match the server location you selected in the VPN app, not your actual device’s location. Additionally, use a browser to search for “is it safe to use a VPN” or similar queries to verify that your browsing is encrypted and your real IP is hidden.
5. Configure Advanced Settings (Optional)
Most VPN apps offer advanced options such as kill switches, DNS leak protection, and auto‑connect on Wi‑Fi. Enabling a kill switch ensures that your internet connection is severed if the VPN drops unexpectedly, preventing accidental exposure of your traffic. DNS leak protection prevents DNS requests from bypassing the VPN tunnel. Adjust these settings to match your security preferences.
Tips
Keep Your VPN App Updated
VPN developers frequently release updates to patch vulnerabilities and improve performance. Enable automatic updates in the App Store, or manually check for updates in the VPN app’s settings to ensure you’re protected against the latest threats.
Use Strong, Unique Passwords
For your VPN account, use a strong, unique password and enable two‑factor authentication (2FA) if available. This adds an extra layer of security, reducing the risk of unauthorized access to your account.
Monitor Your Connection Quality
Some VPN providers allow you to test speed and latency. Regularly testing your connection can help you choose the fastest server and maintain optimal browsing performance. If you notice a significant slowdown, consider switching to a server closer to your physical location.
Alternative Methods
Manual Configuration via iOS Settings
If you prefer not to use a dedicated app, you can configure a VPN manually in manual configuration on iOS. Navigate to Settings → General → VPN, then tap “Add VPN Configuration.” Enter the required details (type, server, account, password) provided by your VPN service. This method is ideal for advanced users who want granular control over the VPN settings.
Use Your Router’s VPN Feature
Some home routers support VPN clients, allowing you to route all devices in your network through a secure tunnel. Configure your router’s VPN settings according to the manufacturer’s documentation. Once enabled, any iPhone connected to your Wi‑Fi will automatically benefit from the VPN, eliminating the need to set it up individually.
VPN for Firestick and Other Devices
If you’re also looking to protect your streaming experience, see how to install a VPN on Firestick for free. This ensures that all of your connected devices share a unified secure network, providing comprehensive coverage.
VPN and Legal Considerations
Before using a VPN, it’s wise to understand the legal landscape. For instance, is it illegal to use a VPN in the USA? The answer is generally no, but certain activities remain restricted. Also, consider privacy regulations in your country. For more detailed guidance, consult legal resources or local authorities.
Community Support
If you encounter connection issues or need advanced configuration help, community forums can be invaluable. Check the UI community forum for troubleshooting tips or ask your own question. Users often share insights on specific VPN setups, network quirks, and performance optimizations.
Conclusion
Mastering how to set up iphone vpn empowers you to safeguard your data, bypass geo‑restrictions, and maintain privacy on public networks. By following the steps outlined above, you’ll learn how to configure vpn on iphone efficiently, ensuring a secure browsing environment for work, entertainment, or everyday use.
Remember to choose a reputable provider, keep your app and device updated, and monitor your connection for optimal performance. Whether you opt for a user‑friendly app, manual configuration, or router‑based solution, the key is consistency and vigilance. Armed with these insights, you’ll confidently navigate the digital landscape, protected by a reliable VPN on your iPhone.


