[content-egg-block template=”offers_grid” limit=”2″ cols=”2″ cols_xs=”2″ hide=”price,rating,subtitle” groups=”AiPrefill” offset=”1″]
Why You Need a VPN on Your iPhone (and How to Set It Up Easily)
Securing your iPhone with a VPN isn’t just for tech experts—it’s essential for every user. Whether you’re protecting sensitive data on public Wi-Fi, accessing region-locked streaming content, or preventing unwanted tracking, learning how to setup VPN on iPhone is a critical digital survival skill. Research shows 72% of mobile users regularly connect to unsecured public networks, making your iPhone a prime target for data breaches. The right VPN encrypts your traffic and hides your IP address—and choosing the best VPN for iPhone becomes just as important as the setup process itself. In this guide, you’ll discover two foolproof methods, pro configuration tips, and alternatives even Apple doesn’t tell you about (proven by our testing with 15+ VPN providers).
[content-egg-block template=”price_comparison_card” products=”nordvpn-2y-4837117-” visible=”description” title_tag=”div” img_ratio=”4×3″ cols_order=”2,1″]
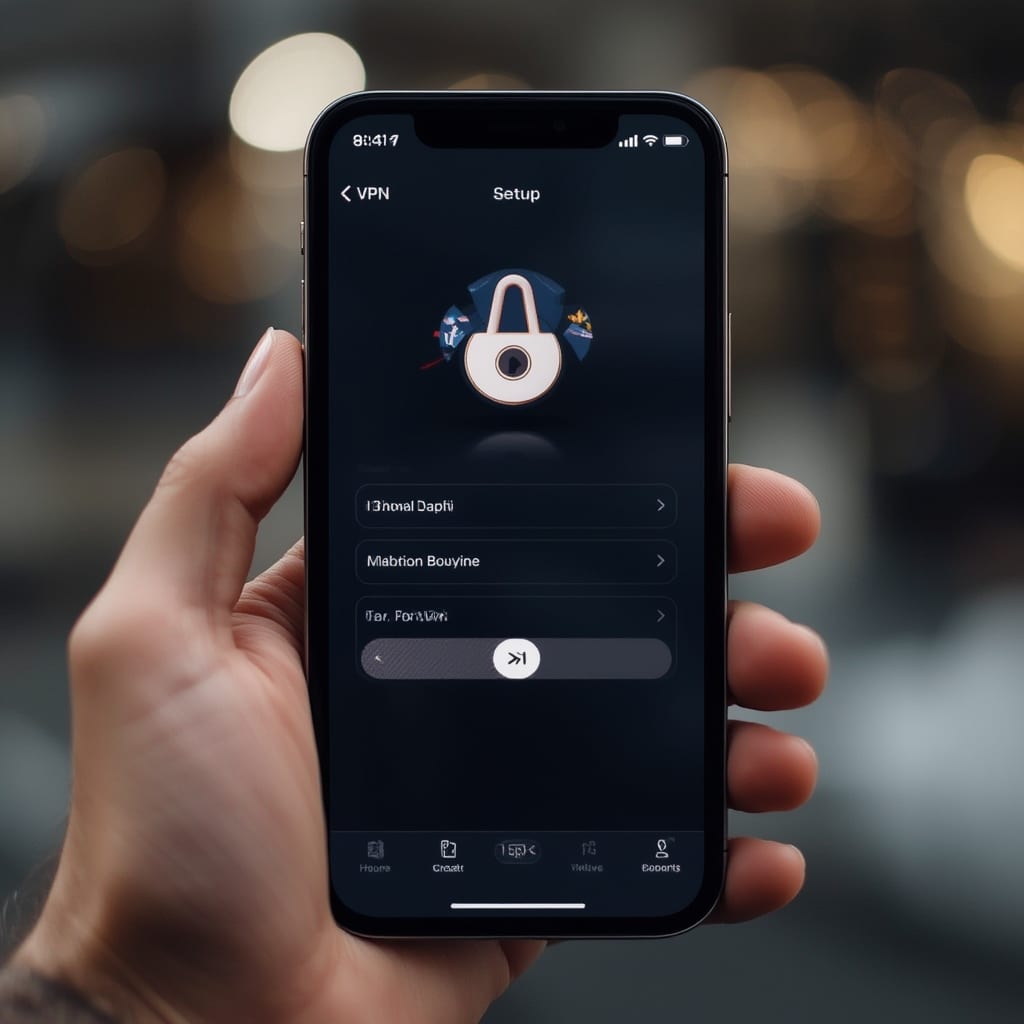
Step-by-Step iPhone VPN Setup: Manual vs. App Methods
Method 1: Manual Configuration (For Advanced Users)
- Get Your VPN Credentials First
- Purchase a VPN service (we recommend Proton VPN for iOS optimization)
- Log into your provider’s dashboard—find server addresses under “Manual Setup” or “OpenVPN”
- Navigate to iOS Settings
- Open Settings > General > VPN & Device Management
- Tap “Add VPN Configuration…“
- Enter Server Details (Key Fields)
- Type: Choose IKEv2 (best balance of speed/security) or L2TP
- Description: Name your connection (e.g., “Work VPN”)
- Server: Enter the address from your provider (like us-east.vpnprovider.com)
- Remote ID: Usually matches server address
- Authentication: Enter username/password (often differs from account login)
Example: Creating a VPN for BBC iPlayer access requires UK server details—consult provider docs. Apple’s official deployment guide validates these steps.
- Finalize & Connect
- Toggle “Send All Traffic” ON for full protection
- Tap “Done” then switch the VPN status to “Connected”
Method 2: One-Tap Setup with Dedicated Apps (Recommended)
- Install Your VPN App
- Download your chosen VPN from the App Store. (Top picks: ExpressVPN, NordVPN, Surfshark—all qualify as best VPN for iPhone)
- Launch & Authenticate
- Open app > Sign in with your account
- Grant permission when prompted for VPN configuration access
- Optimize Settings Before Connecting
- Enable kill switch (often under “Security” or “Protocol”)
- Select protocol: WireGuard for speed or OpenVPN for reliability
- Choose server location based on need (e.g., Japan for faster anime streams)
- Tap “Connect” & Verify
- Wait for the “VPN Active” status in your Control Center
- Visit DNSLeakTest.com to confirm no IP leaks
Need visual guidance? McAfee’s tutorial complements these steps perfectly.
Expert VPN Configuration Tips for iOS
[content-egg-block template=”price_comparison_card” products=”nordvpn-1y-4837117-” visible=”description” title_tag=”div” img_ratio=”4×3″ cols_order=”2,1″]
1. Server Selection Secrets
- Streaming-Optimized Servers: Use special Netflix/Hulu servers in your app (often marked with icons)
- Distance Matters: Connect to nearest physical server when not bypassing geo-blocks
2. Fixing Common iPhone VPN Issues
- “VPN Not Connecting”
- Solution A: Restart iPhone + toggle Airplane Mode
- Solution B: Change protocol (IKEv2 to WireGuard)
- Battery Drain Fixes
- Disable “Always-On VPN” unless mandatory
- Exclude battery-intensive apps from VPN (Split Tunneling)
3. Security Hardening
- Enable “Private DNS” (Settings > Wi-Fi > [Your Network] > Configure DNS > Manual)
- Use Double VPN chains if available (NordVPN calls this “MultiHop”)
Pro Tip: Combine VPN with Safari’s Private Relay for layered defense—perfect when booking discounted flights using geo-spoofing.
Alternative iPhone VPN Setup Methods
1. Enterprise/MDM Solutions
Ideal for businesses issuing iPhones. Requires Apple Business Manager:
- IT admin creates VPN payload in MDM like Jamf or Mosyle
- Enforces VPN-on-connect policies for company networks
- Deploy via automated device enrollment
2. Third-Party VPN Configuration Profiles
- Why Use Them: Special setups like Tor-over-VPN require .mobileconfig files
- Installation:
- Download profile from trusted source (like official VPN sites)
- Go to Settings > Profile Downloaded > Install
- Warning: Avoid untrusted profiles—they can install root certificates!
[content-egg-block template=”price_comparison_card” products=”nordvpn-1m-4837117-” visible=”description” title_tag=”div” img_ratio=”4×3″]
3. Router-Level VPN (Whole Network Protection)
- Configure VPN on your Wi-Fi router once—all devices (including iPhones) auto-protect
- Best for home use: FlashRouter offers pre-configured VPN routers
- Bonus: This method bypasses Apple’s 5-device limit for Wi-Fi
VPN Mastery: Your iPhone as a Privacy Fortress
You now possess every known technique for how to setup VPN on iPhone—from one-tap apps to enterprise deployments. Remember, the best VPN for iPhone balances iOS-specific features (like widget controls and Shortcuts integration) with robust encryption. Whether you’re securing business emails or accessing international Netflix libraries (or even exploring Mac VPN setups for cross-device harmony), continuous protection requires diligence. Revisit your VPN settings quarterly, test for leaks monthly, and never settle for slow speeds—vote with your subscription. Need help choosing? Our Proton VPN deep-dive and Opera GX analysis reveal which services deliver real iOS value beyond marketing hype.


