Introduction: Why VPN on iPhone Matters in 2025
In 2025, data privacy has become a top priority for users worldwide. A VPN on iPhone not only keeps your browsing history private but also protects you from local network snoops, especially on public Wi‑Fi in cities like New York, London, Mumbai, and Toronto. If you’ve ever wondered how to turn on vpn iphone to secure your streaming or online banking, you’re in the right place.
Many iPhone owners ask how to enable secure connections on their device, so you’ll learn the exact steps to enable vpn on iphone settings in this guide. The process is straightforward, and with the right configuration you can enjoy encrypted traffic across all apps, including social media, news, and gaming. Whether you’re traveling for business or leisure, a VPN on iPhone is an essential tool for safeguarding sensitive data.
Remember that the how to turn on vpn iphone depends on the VPN provider’s app or iOS’s built‑in VPN framework. The method described below will guide you through both approaches. We’ll also cover how to enable vpn on iphone settings manually, which can be handy if you prefer to use a custom configuration or a corporate VPN. By following this article, you’ll be able to navigate the iPhone’s VPN settings confidently.
In the next sections, we’ll dive into the step‑by‑step process, share practical tips for common issues, and explore alternative methods if the default approach doesn’t suit your needs.
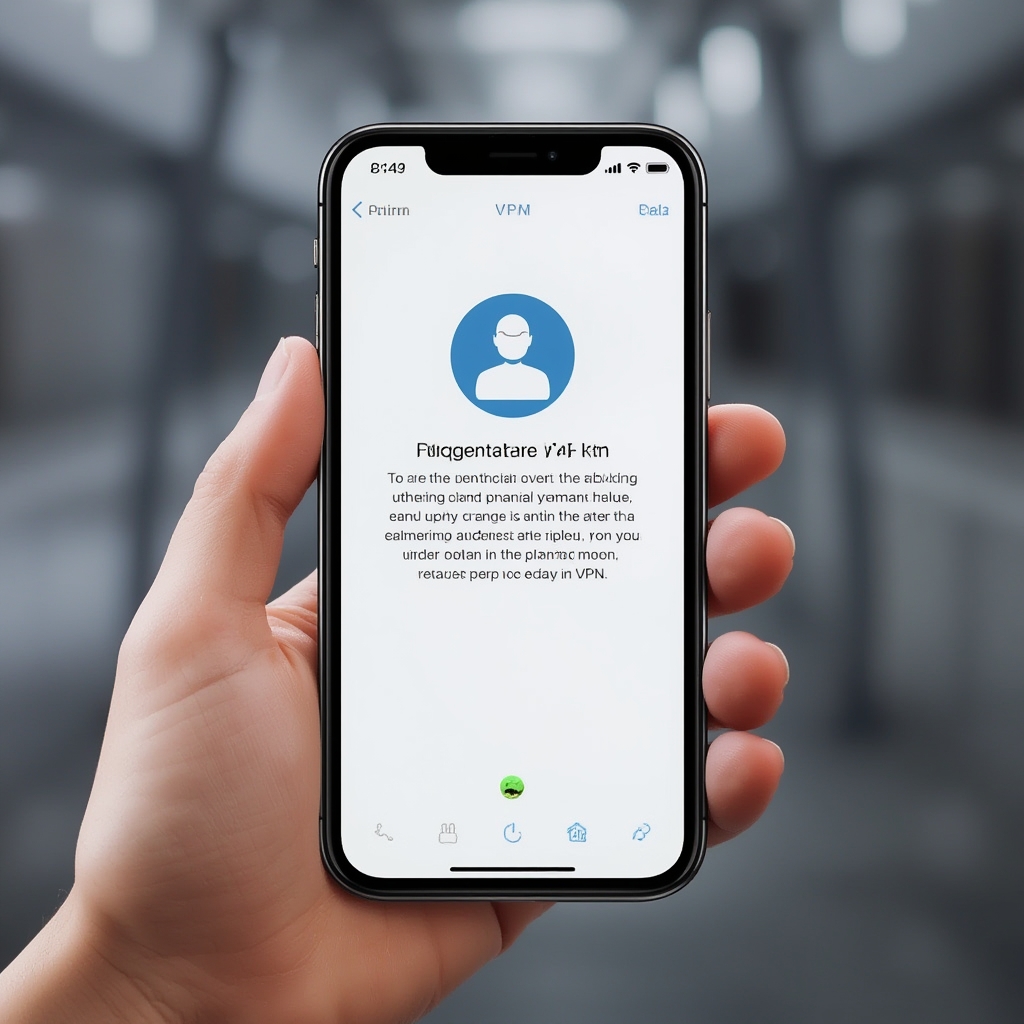
Step‑by‑Step Instructions: How to Turn on VPN on iPhone
1. Choose a Reliable VPN Provider
Start by selecting a VPN service that offers an iOS app with a user‑friendly interface and strong encryption protocols. Many providers support multiple protocols such as IKEv2/IPSec, OpenVPN, or WireGuard. Ensure the service is available in your country and has servers in regions you frequently visit.
2. Install the VPN App from the App Store
Open the App Store on your iPhone and search for your chosen VPN. Download and install the official app. When the installation completes, tap Open to launch the application.
3. Sign In and Create a VPN Profile
Log into your account or create a new one. The app will prompt you to add a VPN configuration to your device. This step typically involves granting permission to install a VPN profile under Settings > General > VPN > Add VPN. The profile will contain the server address, authentication credentials, and security settings.
4. Enable the VPN Connection
Once the profile is installed, navigate to Settings > General > VPN > On to activate the VPN. The status bar will display a green VPN icon indicating a secure tunnel is active. You can also toggle the VPN in the Control Center by swiping down from the top‑right corner (iPhone X or later) or up from the bottom (iPhone 8 or earlier).
When the VPN is on, all traffic, including background app refresh and location services, will pass through the encrypted tunnel. To ensure your VPN is always active, enable the “Connect on Demand” or “Always On” option if available in your provider’s app.
5. Verify the Connection is Secured
Open a web browser or any network‑dependent app and check your IP address on a site like VPNX. If the displayed location matches the server you selected, the connection is successfully encrypted. This step confirms you’ve mastered how to turn on vpn iphone.
6. Troubleshooting Common Issues
- VPN Not Connecting: Ensure you have a stable internet connection and that the VPN app is updated to the latest version. Some carriers block VPN traffic; consider switching to a different server.
- Apps Not Using VPN: Certain apps have built‑in VPN bypass settings. In your iOS Settings > General > VPN > VPN page, tap Configure VPN and choose “On” for all apps.
- Battery Drain: VPNs consume power. Opt for the “Always On” feature only when necessary or schedule the VPN to activate during specific hours.
By following these steps, you’ll learn how to enable vpn on iphone settings with ease and secure all your device’s traffic.
Alternative VPN Configurations for Advanced Users
If you prefer a manual setup, download the configuration files (usually .mobileconfig or .ovpn) from your provider’s website. Import the file via Settings > General > VPN > Add VPN, then enter your credentials manually. This method is especially useful for corporate VPNs requiring custom certificates.
Tips: Making the Most of VPN on iPhone
1. Use the Built‑In VPN Feature for Simplicity
For users who don’t want to install a third‑party app, iOS offers a built‑in VPN interface. Navigate to Settings > General > VPN > Add VPN and select IKEv2 or IPSec. Input the server address, remote ID, and local ID provided by your VPN service. Once configured, toggle the VPN to turn it on. This method provides a native experience and is ideal for simple encryption needs.
2. Optimize Battery Life
Activate the “Connect on Demand” feature to limit VPN usage to specific apps or network changes. Additionally, turn on “Wi‑Fi Assist” under Settings > Cellular to allow the iPhone to switch between Wi‑Fi and cellular only when the signal is weak, preventing unnecessary VPN connections.
3. Use Split Tunneling for Efficiency
Some VPN apps support split tunneling, letting you route only certain traffic through the VPN while leaving other apps on your local network. This can reduce latency for gaming or streaming while keeping sensitive data protected.
4. Keep Your VPN App Updated
Regular updates patch security vulnerabilities and add new protocols. Check the App Store for updates or enable automatic updates under Settings > App Store.
5. Manage Multiple VPN Profiles
If you travel between regions, create separate VPN profiles for each country. Use the “On” toggle to switch between them quickly. You can also set up “Always On” for a single profile if you prefer constant protection.
Alternative Methods: When the Default Approach Doesn’t Work
1. Install a VPN on Android Devices
Many users have multi‑device households. Check out our guide on how to put VPN on Android to secure your Android phone, tablet, or laptop.
2. Secure Windows Laptops with Built‑In VPN
If you use a Windows laptop, does Windows have a built‑in VPN and how to configure it. The native VPN client supports L2TP, SSTP, and IKEv2 protocols.
3. Use VPN on Gaming Consoles
Gaming consoles like the PS5 also support VPNs. Learn if you can get a VPN on PS5 and how to set it up: can you get a VPN on PS5. Secure your gaming sessions and prevent DDoS attacks.
4. Deploy VPN Device Management for Enterprise
Organizations can push VPN profiles to iOS devices via Mobile Device Management (MDM). Refer to Apple’s documentation on VPN device management settings overview for advanced deployment.
5. Community Support and Discussions
When encountering edge‑case issues, the Apple discussion forums can be invaluable. For example, a recent thread on Apple Discussions covers troubleshooting VPN connection drops on iOS 17.
Conclusion: Secure Your iPhone Today
Mastering how to turn on vpn iphone is essential for protecting personal data in an increasingly interconnected world. By following the steps outlined above, you’ll know how to enable vpn on iphone settings quickly and reliably. Whether you opt for a premium VPN app or the native iOS VPN feature, you can enjoy encrypted traffic on all apps, safeguarding against hackers, advertisers, and government surveillance.
Remember to keep your VPN software up to date, monitor battery usage, and take advantage of split tunneling if needed. If you run into challenges, explore the alternative methods or consult the Apple MDM guide for enterprise solutions. With the right configuration, your iPhone will remain secure, private, and ready for any situation—whether you’re streaming in Seoul, working remotely in São Paulo, or browsing in any city worldwide.
Take the first step toward safer connectivity today by installing a trusted VPN and turning it on. Your privacy is worth the effort.


