Introduction
Whether you travel from New York to London or work remotely in Sydney, managing a VPN on your MacBook Air is essential for both security and performance. This guide walks you through how to uninstall vpn on macbook air and the broader process of remove VPN profile macOS. You’ll learn why you might need to uninstall a VPN, such as after a subscription ends or when troubleshooting network issues.
Understanding how to uninstall vpn on macbook air is especially important for users in regulated industries like finance in Toronto or healthcare in Berlin, where corporate policies may require a clean slate. Likewise, knowing how to remove VPN profile macOS ensures no leftover configurations linger, which could expose you to accidental data leaks.
In this article we’ll cover the step‑by‑step method, useful tips, alternative techniques, and the legal and privacy landscape highlighted by organizations like the Electronic Frontier Foundation. By the end, you’ll confidently perform how to uninstall vpn on macbook air and remove VPN profile macOS without leaving traces.
Step‑By‑Step Instructions
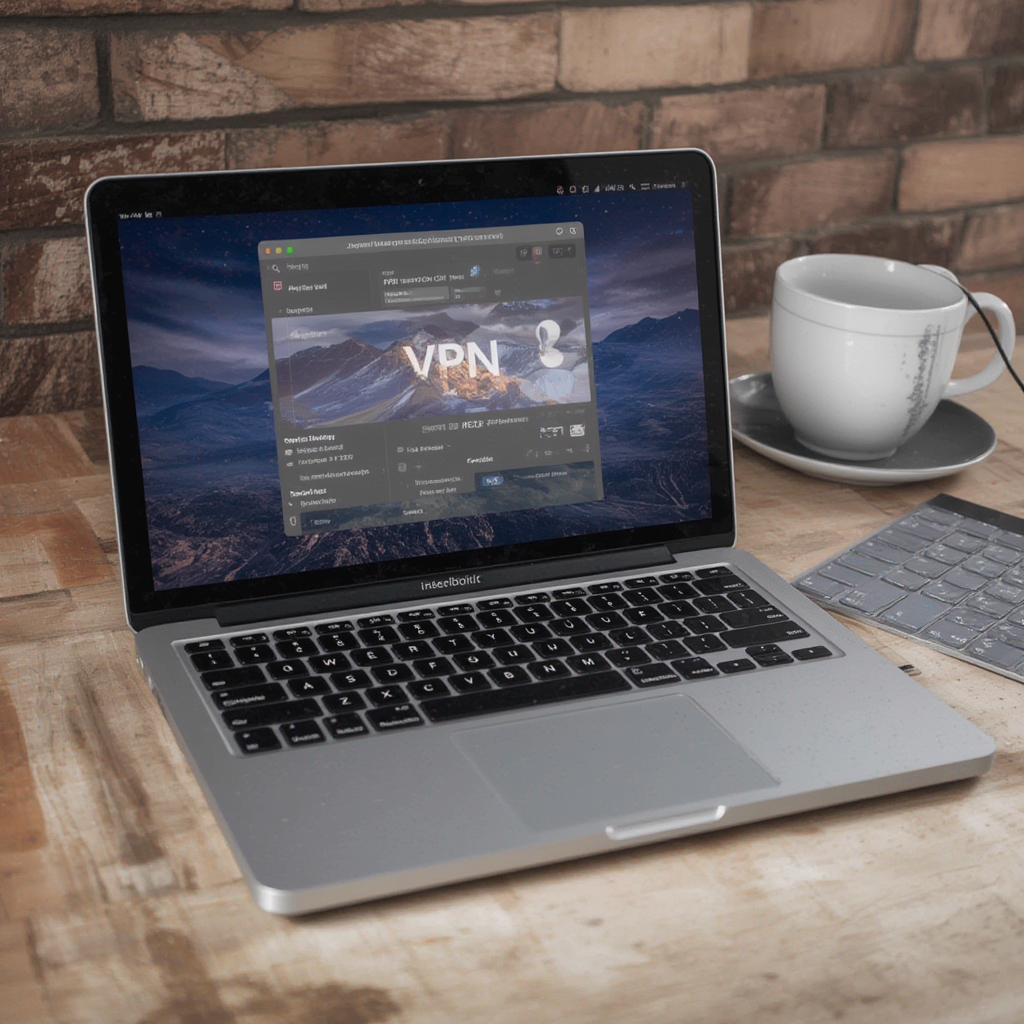
1. Locate the VPN Application
Open the Applications folder via Finder or the Launchpad. Look for the VPN client you installed – it could be NordVPN, ExpressVPN, or a corporate‑issued app. This is the first step in how to uninstall vpn on macbook air.
If you’re using a custom configuration file, you might not see a dedicated app. In that case, proceed to the Network Preferences panel to remove VPN profile macOS.
2. Drag the App to the Trash
Click and hold the VPN icon, then drag it to the Trash Bin on the Dock. Empty the Trash to complete the removal of the executable files. This action directly contributes to how to uninstall vpn on macbook air.
Remember, some VPNs also install helper tools. After dragging the main app, open /Library/Application Support and delete any folders named after the VPN provider to fully remove VPN profile macOS.
3. Delete Associated Preference Files
Open ~/Library/Preferences and look for files like com.vpnprovider.plist. Removing these ensures the system no longer retains settings that could auto‑connect. This is a crucial part of how to uninstall vpn on macbook air.
Clearing these files also helps you remove VPN profile macOS completely, preventing ghost connections after a reboot.
4. Remove the VPN Profile from Network Settings
Go to System Settings → Network (or System Preferences → Network on older macOS versions). Select the VPN connection in the left sidebar and click the minus (-) button to delete it. This step finalizes the remove VPN profile macOS process.
After you click Apply, the profile disappears, and you have successfully completed how to uninstall vpn on macbook air.
5. Verify No Residual Services Are Running
Open Activity Monitor and search for any process that contains the VPN’s name. If you find one, select it and click the stop button. This ensures that no background service is still active, cementing the remove VPN profile macOS outcome.
Running networksetup -listallnetworkservices in Terminal can also confirm that the VPN service no longer appears, confirming you’ve fully executed how to uninstall vpn on macbook air.
6. Optional: Clear DNS Cache
Some VPNs alter DNS settings. To revert to default, open Terminal and type sudo dscacheutil -flushcache; sudo killall -HUP mDNSResponder. Flushing the DNS cache helps you remove VPN profile macOS remnants that might affect browsing speed.
This final tweak completes the comprehensive guide on how to uninstall vpn on macbook air.
Tips for a Smooth Uninstallation
Backup Before You Delete
Before you start, export any custom VPN configuration files you might need later. Save them to an external drive or iCloud. This precaution is useful if you ever need to remove VPN profile macOS and reinstall the same service.
Use Built‑In macOS Tools
macOS provides the profiles command-line utility for enterprise‑managed VPNs. Running sudo profiles -D -p com.vpncompany.profile can quickly remove VPN profile macOS without manually navigating the GUI.
Check for Subscription Reminders
If you paid for a VPN subscription, remember to cancel the subscription before uninstalling. Otherwise you may continue to be billed even after you’ve completed how to uninstall vpn on macbook air.
Leverage Cloud Learning Resources
For deeper insights into networking concepts, visit Cloudflare Learning. Understanding DNS, IP routing, and encryption can help you better remove VPN profile macOS and avoid future conflicts.
Geographic Considerations
If you frequently switch between regions—say, accessing US‑based services from Tokyo—consider keeping a lightweight VPN app on a secondary device instead of constantly reinstalling on your MacBook Air. This reduces the need to repeatedly follow how to uninstall vpn on macbook air steps.
Alternative Methods
Using Third‑Party Uninstaller Apps
Apps like AppCleaner or CleanMyMac can automate the removal of applications and their hidden files. After dragging the VPN app into the uninstaller, the tool will also target the associated remove VPN profile macOS files.
Terminal‑Only Approach
For power users, a pure Terminal method works well:
# Remove app bundle
sudo rm -rf /Applications/VPNApp.app

rm ~/Library/Preferences/com.vpnapp.plist
sudo rm -rf /Library/Application\ Support/VPNApp

sudo networksetup -removenetworkservice "VPN (VPNApp)"
Running these commands accomplishes how to uninstall vpn on macbook air while also ensuring the remove VPN profile macOS step is fully covered.
Reinstall to Reset
If you encounter stubborn leftovers, reinstall the VPN client, then use its built‑in “Uninstall” feature. Many commercial VPNs include a cleanup wizard that handles both how to uninstall vpn on macbook air and remove VPN profile macOS in one go.
Mobile Companion Method
Sometimes the easiest way to keep a clean MacBook Air is to move your VPN usage to your phone. Learn how to add VPN to Android and use it as a hotspot, eliminating the need to remove VPN profile macOS altogether.
Conclusion
Mastering how to uninstall vpn on macbook air empowers you to maintain optimal system performance, respect corporate policies, and avoid unwanted charges. By following the detailed steps—locating the app, deleting preference files, removing the network profile, and flushing DNS—you ensure that the remove VPN profile macOS process is thorough and irreversible.
Remember to back up any essential configuration, cancel subscriptions via the dedicated link, and use trusted resources like the Electronic Frontier Foundation for privacy best practices. Whether you’re in San Francisco, Paris, or Cape Town, these guidelines adapt to any geo‑context, keeping your MacBook Air clean and ready for the next secure connection.
With the alternative methods and tips provided, you now have a versatile toolbox to handle any VPN removal scenario—whether through built‑in macOS utilities, third‑party cleaners, or a simple Terminal script. Stay informed, stay secure, and enjoy a VPN‑free MacBook Air whenever you need it.
“`


