Introduction
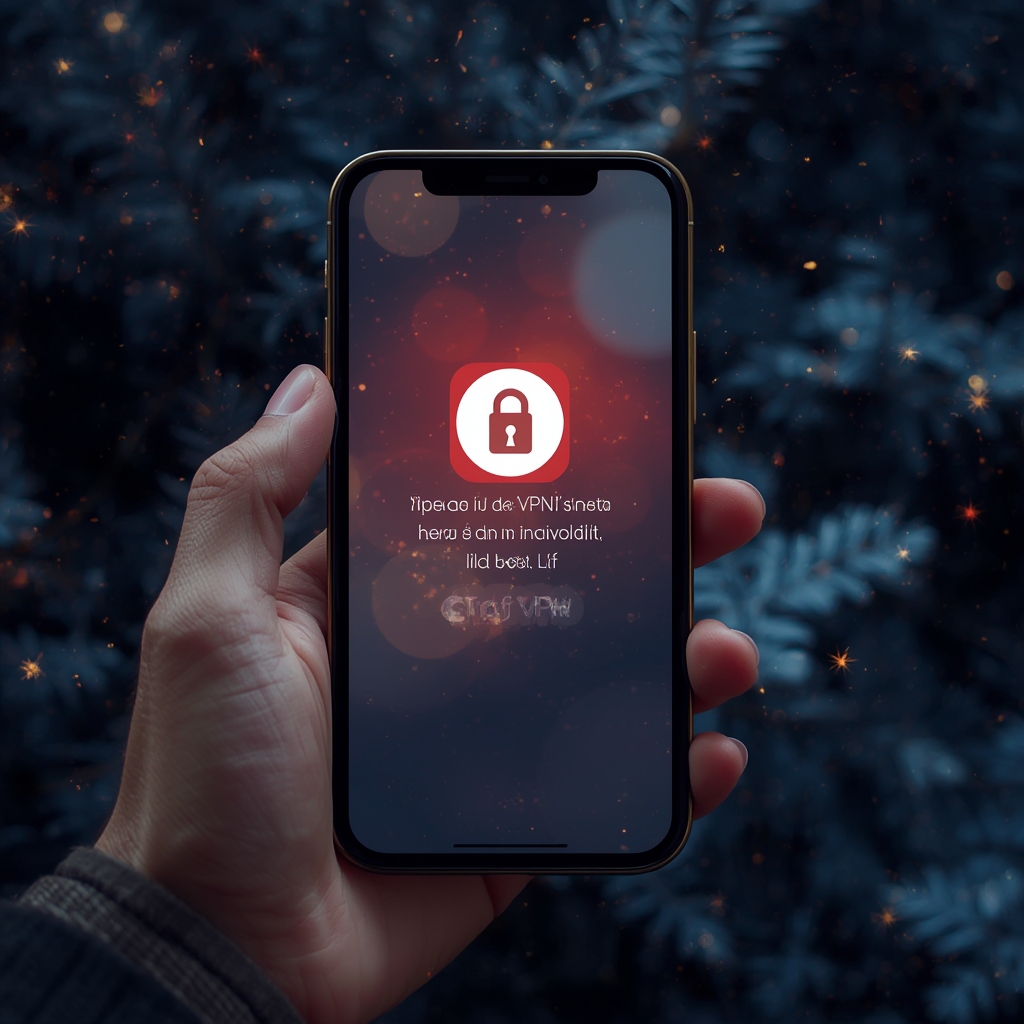
For many iPhone users, the phrase how to use iphone vpn has become a daily question, especially when trying to access region‑locked content. In this guide we will answer that question by showing you the exact steps to setup vpn on iphone and use it safely and effectively. We’ll also explore why a VPN is essential for privacy, streaming, and business use, and how you can tailor it to your local environment, whether you’re in New York, Tokyo, or Lagos.
Understanding how a VPN works on an iPhone is not only about bypassing geo‑restrictions. It also protects you from public Wi‑Fi eavesdroppers, masks your IP address, and keeps your browsing history private from ISPs and advertisers. By learning how to use an iPhone VPN, you empower yourself with digital security and entertainment freedom.
In the sections that follow, we will dive into the step‑by‑step setup, share useful tips for optimal performance, outline alternative methods for advanced users, and recap the key takeaways. Whether you’re new to VPNs or a seasoned pro, this article will give you clear, actionable steps.
Step‑by‑Step Instructions
1. Choose a Reliable VPN Provider
Selecting a reputable VPN service is crucial. Look for providers that offer strong encryption, a no‑log policy, and fast servers worldwide. Popular choices for iPhone users include ExpressVPN, NordVPN, and Surfshark. If you’re on a budget, you can also check for free trials or discounts.
2. Install the VPN App from the App Store
Open the App Store on your iPhone and search for the VPN app you chose. Tap “Get” and authenticate with Face ID, Touch ID, or your Apple ID password. Once installed, open the app and follow the onboarding prompts to create an account if you haven’t already.
3. Configure the VPN Settings
In the VPN app’s settings, you’ll usually find options for server locations, protocols, and advanced features such as kill switch and split tunneling. For most users, the default settings provide a good balance between speed and security. If you need to fine‑tune, explore the advanced tab to adjust protocols like IKEv2, IPSec, or WireGuard.
4. Enable VPN in iPhone Settings
Go to Settings > General > VPN > Add VPN Configuration…. The app may automatically populate these fields. Choose the type (IKEv2, IPSec, or L2TP) that matches your provider, and fill in the server, remote ID, and local ID if required. Then tap Done to save the profile.
5. Connect to a VPN Server
Back in the Settings app, toggle the VPN switch to “On”. If you have multiple servers, you can select the one you want from the VPN list. Once the connection is established, a VPN icon will appear in the status bar at the top of your screen.
6. Verify Your IP Address
Open a web browser and visit a site like https://www.whatismyip.com to confirm that your IP address and location match the server you selected. If the IP changes to a different country, you’re successfully using a VPN on your iPhone.
7. Test Streaming and Browsing
Try streaming from a platform that you previously couldn’t access, such as Netflix or Hulu. If the stream loads without a regional error, the VPN is working as intended. Also test browsing to ensure all traffic is routed through the VPN by checking your IP on several sites.
8. Disconnect and Reconnect as Needed
You can turn the VPN off from Settings or from the app itself. For quick toggling, enable the “Connect On Demand” option in the VPN profile so the iPhone automatically reconnects when you go online.
Common Troubleshooting
- Connection Drops: Ensure you have a stable internet connection and try switching servers.
- No Access to Content: Some streaming services detect VPNs. Try a different server or enable the “Smart DNS” feature if available.
- App Crashes: Restart the VPN app or your device. Reinstalling the app may resolve persistent issues.
Key Takeaway
By following these steps, you’ve now mastered the basics of how to use iphone vpn for secure browsing and content access. The process is simple once you understand the workflow: install the app, configure the settings, and connect.
Tips for Optimizing Your iPhone VPN Experience
Choose the Right Server Location
Pick a server close to your physical location to minimize latency. For example, if you’re in San Francisco, select a U.S. West Coast server. If you’re in São Paulo, a Brazil server will often provide better speeds.
Enable Kill Switch for Extra Security
A kill switch blocks all traffic if the VPN disconnects unexpectedly. Most VPN apps offer this feature; enable it in the app’s settings to prevent accidental data leaks.
Use Split Tunneling for Specific Apps
Split tunneling allows you to route only certain apps through the VPN while others use the regular internet. This is handy if you need to keep high‑bandwidth services like gaming or streaming local, while protecting sensitive apps.
Keep the App Updated
VPN providers frequently release updates with new features and security patches. Enable automatic updates or check for updates in the App Store regularly.
Check Your Connection with Speed Tests
Run a speed test before and after connecting to the VPN. Many VPN apps have built‑in speed tests, or you can use sites like Speedtest.net. This helps ensure you’re not sacrificing too much bandwidth.
Turn Off Unnecessary Background Services
Reduce battery drain by disabling background app refresh for non‑essential apps while the VPN is active. This keeps the VPN running smoothly without draining your phone.
Use a Strong Password and Two‑Factor Authentication
Secure your VPN account with a unique, complex password and enable two‑factor authentication (2FA) if your provider supports it. This adds an extra layer of protection against account theft.
Monitor Your Device’s Security Settings
Regularly review Settings > General > VPN to ensure your VPN configuration remains intact. Remove any unused or suspicious VPN profiles to keep your device clean.
Know Your Legal Landscape
While VPNs are legal in most countries, some regions restrict or prohibit their use. Research local regulations to avoid legal pitfalls.
Use VPN Profiles for Different Situations
Create separate VPN profiles for business, streaming, or gaming. This allows you to quickly switch to the most appropriate profile without manual reconfiguration.
Alternative Methods for Advanced Users
1. Configuring a VPN via iOS Device Management
For enterprise users or advanced iPhone owners, setting up a VPN through the Apple Device Management system offers centralized control. This is especially useful for companies that need to enforce VPN usage across multiple devices.
2. Manual VPN Configuration with IKEv2 or IPSec
Advanced users can manually configure VPN protocols in Settings > General > VPN. This involves entering server addresses, authentication methods, and certificates manually. It’s a good way to test custom VPN setups.
3. Using a Third‑Party App to Switch Between VPNs
Some users prefer a single app that can manage multiple VPN profiles from different providers. This is handy if you subscribe to several services for redundancy.
4. Setting Up a Home VPN Server
If you’re tech‑savvy, you can set up a VPN on a Raspberry Pi or home server and connect to it from your iPhone. This gives you complete control over your encryption and privacy.
5. Employing a Cloud‑Based VPN Service
Services like McAfee’s VPN provide a cloud‑hosted solution that can be managed via a web console. This is useful for users who prefer a no‑maintenance approach.
6. Using DNS‑Based Privacy Tools
Some VPNs offer DNS protection. Alternatively, you can use a privacy‑focused DNS provider like Cloudflare DNS to prevent DNS leaks when the VPN is not connected.
7. Exploring “Smart DNS” Services
Smart DNS reroutes only DNS traffic, allowing you to bypass geo‑restrictions without encrypting all traffic. This is ideal for high‑bandwidth streaming where full encryption is unnecessary.
8. Leveraging “Tor” for Anonymous Browsing
For maximum anonymity, consider using the Tor browser on your iPhone. While it is not a VPN, it offers a different approach to privacy and can be combined with a VPN for layered security.
9. Using a VPN Extension in Safari
Safari on iOS supports VPN extensions that can be installed from the App Store. This can be handy if you want to protect only browser traffic without a full device VPN.
10. Combining VPN with a Personal Firewall App
For advanced threat protection, you can pair a VPN with a firewall app that monitors network activity and blocks suspicious connections.
Conclusion
Learning how to use iphone vpn is more than just installing software; it’s about securing your digital footprint, unlocking content, and maintaining privacy in a connected world. By following our step‑by‑step instructions and applying the optimization tips, you can enjoy fast, reliable VPN connections on your iPhone.
Remember that setup vpn on iphone is a straightforward process that, once mastered, allows you to tailor your online experience to your needs. Whether you’re streaming a Hollywood blockbuster in Brazil, protecting your business data in Hong Kong, or simply browsing safely on a public Wi‑Fi spot in London, a VPN gives you the freedom to stay connected without compromise.
Use the resources linked throughout this guide, keep your app updated, and stay informed about regional VPN regulations. By doing so, you’ll remain ahead of potential threats and enjoy uninterrupted access to the digital content you love, wherever you are in the world.


