Introduction
With streaming platforms becoming more restrictive and privacy concerns on the rise, many viewers ask: how to use nordvpn on tv. Whether you own a Smart TV, a streaming stick, or a game console, securing your online activity while enjoying your favorite shows is essential. This guide walks you through a detailed how to use nordvpn on tv and covers all the nuances of a nordvpn smart tv setup.
We’ll dive into the practical steps, share expert tips, discuss alternative methods, and finish with a comprehensive conclusion. Along the way, you’ll find links to unsubscribe, get NordVPN for free, connect to a router, or cancel a free trial, all while keeping your device secure in a global context.
By the end, you’ll know how to keep your TV content unfiltered and your personal data private, no matter where you’re located.
Step-by-Step Instructions for Using NordVPN on Your TV
1. Choosing the Right Device
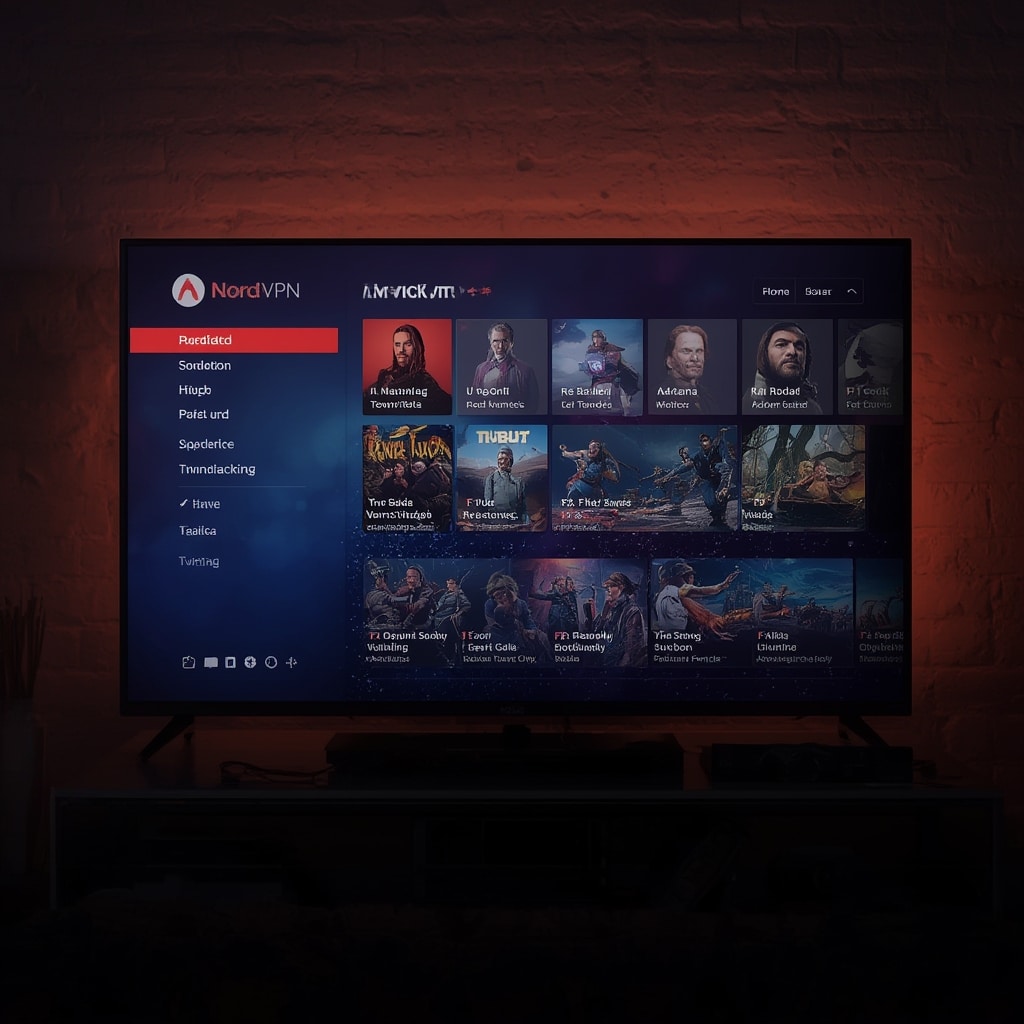
The first step in a nordvpn smart tv setup is to identify the device you’re using. If you own a native Smart TV running Android TV, Fire TV, or Roku, you can install the NordVPN app directly. For other TVs without app stores, consider a streaming device like an Amazon Fire Stick or Apple TV, which provides the most straightforward integration.
Also, if you’re in a region where streaming services block VPNs (e.g., Russia, China), make sure to pick a server in a country that offers the best performance for that service.
2. Installing the NordVPN App
On Android TV or Amazon Fire TV, open the nordvpn smart tv setup app store. Search for “NordVPN” and tap “Install.” The app is free to download but requires a paid subscription. If you’re curious about the subscription, check how to get NordVPN for free for special promotions.
For Apple TV, download the NordVPN app from the App Store. If you’re using a device that doesn’t have a built‑in store, you may need to use a compatible media player like a smart box that runs Android.
3. Logging In and Selecting a Server
Once the app opens, sign in with your NordVPN credentials. You’ll see a map and a list of servers. For a nordvpn smart tv setup, choose a server in a country that hosts your streaming library. For example, if you’re in the UK, pick a US server for Netflix, or an Indian server for Hotstar.
Tap “Connect.” The app will establish a secure VPN tunnel. You can verify your new IP address by opening a browser on your TV and visiting a site like Cloudflare Learning to see your location change.
4. Streaming Without Restrictions
Open your streaming app (e.g., Netflix, Disney+, Hulu). If you notice “region‑locked” messages, simply change the server in the NordVPN app. Most services detect VPN usage after a few minutes, so switch to a different server in the same region if necessary.
Enjoy unlimited access and improved privacy. Your traffic is encrypted end-to-end, protecting you from hackers and ISPs alike.
5. Customizing Settings for Optimal Performance
Navigate to the settings within the NordVPN app. Turn on “Kill Switch” to stop traffic if the VPN connection drops. Enable “CyberSec” to block malicious sites and ads. If you’re gaming, disable “Smart Play” for a low‑latency connection.
For a how to use nordvpn on tv configuration that works globally, keep your firmware updated. Most Smart TVs come with automatic updates, but some older models require manual checks through the Settings menu.
6. Using a Router for Multiple Devices
If you prefer a universal solution, connect your router to NordVPN. Visit how to connect NordVPN to router for step‑by‑step instructions. Once the router is protected, every device on your network—including your TV—benefits from the VPN without installing an app.
Tips for a Smooth Experience
Choose Fast Servers in Your Target Region
NordVPN offers a “Speed Test” feature. Run it to find the fastest server for your location. Prioritize servers labeled “Fast” or “Gaming.” This reduces buffering during live streams.
Leverage Split Tunneling When Needed
Some streaming services block VPNs. Use split tunneling to route only non‑streaming traffic through the VPN, while leaving the streaming app on your native IP. This can help bypass detection.
Keep the App Updated
Regular updates include security patches and new features like “CyberSec.” A fresh app version guarantees a smooth connection and reduced lag.
Use a Wired Connection for the Router
If you’re setting up a router‑level VPN, a wired connection to your modem offers better stability. This is crucial for uninterrupted streaming and gaming.
Consider a Dedicated Streaming Device
A Fire Stick or Chromecast with Google TV provides an excellent balance between performance and ease of use. These devices allow you to install the NordVPN app directly, eliminating the need to modify your Smart TV’s firmware.
Geofencing Awareness
Streaming services like Disney+ and BBC iPlayer enforce strict geofencing. Always test a few servers to find the one that grants the best access with minimal latency.
Alternative Methods to Use NordVPN on TV
1. Use a Mobile Device as a Hotspot
Install the NordVPN app on your smartphone, connect to a server, then share that connection as a Wi‑Fi hotspot. Point your TV to this network. It’s a quick workaround if the TV itself can’t install the app.
2. Virtual Private Server (VPS) Proxy
Set up a VPS in a country with a strong streaming library. Use the NordVPN app on the VPS and stream via a remote desktop to your TV. This method is more technical and may involve higher costs.
3. Use a Smart DNS Service
NordVPN offers a “SmartDNS” feature that can help unblock streaming services without a full VPN. Activate SmartDNS in the app and use the provided DNS settings on your Smart TV. However, it doesn’t encrypt traffic.
4. Manual Router Configuration Without VPN App
For advanced users, you can manually add NordVPN’s OpenVPN or WireGuard configurations to your router’s firmware (e.g., DD-WRT or Tomato). This bypasses the need to install the app on your TV entirely.
Managing Your Subscription and Security
Unsubscribing and Canceling
If you decide to cancel NordVPN, follow how to unsub from NordVPN. The process is straightforward: log in, navigate to “Account,” and click “Cancel.” For those who signed up for a free trial, see how to cancel NordVPN free trial.
Secure Your Login Credentials
Use a password manager to store your NordVPN credentials. If you’re using a router, store your OpenVPN files securely. Regularly change your password for an added layer of protection.
Follow Best Practices for Privacy
Learn more about privacy at EFF.org. NordVPN provides an excellent baseline for privacy, but staying informed about encryption protocols and data collection practices is essential.
Free Trial Options
Want to test the service? Check out how to get NordVPN for free for temporary access. This allows you to try streaming and see if the how to use nordvpn on tv works for you before committing to a subscription.
Conclusion
Setting up NordVPN on your TV is a straightforward way to enjoy a global streaming library while keeping your browsing private. By following the detailed how to use nordvpn on tv steps above, you’ll experience a smoother, more secure viewing experience. The nordvpn smart tv setup is not limited to a single device; using a router or a mobile hotspot extends the protection to all devices in your household.
Remember to stay updated on the latest server recommendations, use the kill switch for peace of mind, and keep an eye on your subscription status. If you ever need to cancel, unsubscribe, or explore a free trial, the internal links provided guide you through each process efficiently.
With the knowledge from this guide, you’re now equipped to make the most of NordVPN, no matter where you’re streaming from. Enjoy unlimited content, uncompromised privacy, and the convenience of a seamless smart TV experience worldwide.


