Introduction
how to use opera gx vpn on iphone is a question many iPhone users ask when they want to protect their privacy or bypass geo‑restrictions. This guide will walk you through each step of the process, from downloading the Opera GX browser to verifying your connection is secure.
First, let’s clarify that the opera gx mobile vpn setup guide covers not only the VPN itself but also the unique features that set Opera GX apart from other browsers. By following this how to use opera gx vpn on iphone tutorial, you’ll learn how to keep your browsing anonymous, unlock streaming content, and maintain a fast connection.
Many users mistakenly think a free VPN will meet all their needs. Before we dive into the steps, consider reading what is a good free VPN to understand the pros and cons of free services, and keep that knowledge handy as you set up opera gx mobile vpn setup guide.
Remember, this how to use opera gx vpn on iphone process is designed for iPhones running iOS 15 or later. If you’re on an older version, you may need to update your OS first.
By the end of this article you’ll know exactly how to how to use opera gx vpn on iphone, troubleshoot common issues, and explore alternatives if you prefer a different approach. Let’s get started.
Step‑by‑Step Instructions
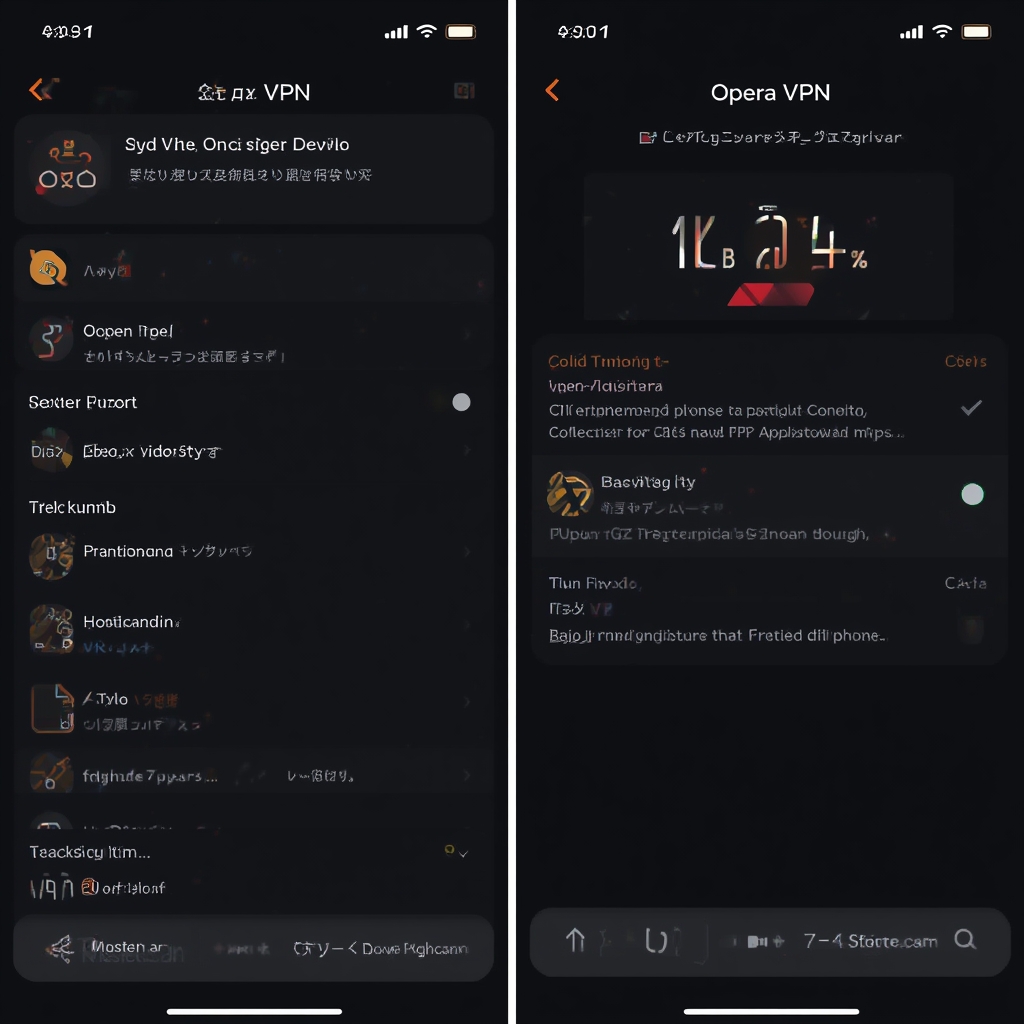
1. Download and Install Opera GX
Open the App Store on your iPhone and search for “Opera GX.” Download the official browser, then tap Open to launch it. The first launch may ask for location permissions; you can deny this if you prefer not to share your whereabouts.
Once installed, you’ll see the Opera GX icon on your home screen. Tap it to start the setup process.
2. Enable the Built‑In VPN
Inside Opera GX, tap the three‑dot menu at the bottom right corner. Navigate to Settings → VPN to reveal the VPN toggle. Switch the slider to “On” to activate the VPN feature.
When prompted, grant the app permission to create a VPN tunnel. This step is essential for enabling opera gx mobile vpn setup guide and ensuring your traffic is routed securely.
3. Choose a VPN Server
The Opera GX VPN automatically selects a server for you, but you can also specify a location. Tap the globe icon, then browse the list of available countries. Selecting a server in the United States or Germany, for example, can help bypass geo‑blocks on streaming platforms.
After selecting your desired region, tap Connect. The VPN will establish a secure tunnel before you can start browsing.
4. Verify Your Connection
To confirm the VPN is active, visit a site like Cloudflare Learning that shows your current IP address. If the IP has changed to the server’s location, you’ve successfully how to use opera gx vpn on iphone.
For an extra layer of confidence, open the Settings app → General → VPN & Device Management and check that Opera GX is listed as the active VPN.
5. Manage VPN Settings
Back in Opera GX, you can customize your VPN experience by turning on the “Always On” mode. This forces all traffic through the VPN even if you switch to another app.
If you wish to exclude specific sites, enable the Bypass list under the VPN settings and add URLs manually. This can improve speed for sites that don’t need encryption.
Finally, remember to log out of any accounts you don’t want to share your real IP address with.
Tips
Keep Your Browser Updated
Opera GX frequently releases updates that enhance security and performance. Enable automatic updates in the App Store to stay protected without manual intervention.
Use Strong Passwords and Two‑Factor Authentication
Even with a VPN, weak credentials can expose you. Create unique passwords and enable 2FA on the services you access through Opera GX.
Monitor Your Data Usage
The built‑in VPN may increase data consumption. Check your cellular or Wi‑Fi usage in Settings → Cellular to avoid unexpected charges.
Check for DNS Leaks
Occasionally, the VPN may fail to mask DNS requests. Use a site like EFF’s DNS Leak Test to ensure your queries are fully encrypted.
Alternative Methods
Use a Dedicated VPN App
If you prefer a standalone VPN, download a reputable provider such as ExpressVPN or NordVPN. These apps offer additional features like kill switches and split tunneling.
Once installed, sign in, select a server, and activate the VPN. The connection will cover all apps, not just Opera GX.
Enable iOS’s Native VPN Configuration
Go to Settings → General → VPN & Device Management → Add VPN Configuration. Choose the type (IKEv2, IPSec, or L2TP) and enter the credentials provided by your VPN service.
After enabling, toggle the VPN switch to connect. This method works across all browsers and apps on your iPhone.
Use a Smart DNS Service
For streaming, a Smart DNS can bypass regional restrictions without encrypting traffic. Sign up with a provider, add the Smart DNS details to Settings → Wi‑Fi, and connect to the desired network.
Note that Smart DNS does not provide privacy protection; it only masks your location.
Conclusion
By following this guide, you now know how to how to use opera gx vpn on iphone to secure your browsing, unblock geo‑restricted content, and keep your personal data private. You also have the knowledge to troubleshoot common issues, apply advanced settings, and consider alternatives such as dedicated VPN apps or iOS’s native VPN support.
Remember to keep your Opera GX browser and VPN configurations up to date, and always verify your IP and DNS settings to ensure the tunnel remains active. For those seeking a free alternative, review what is a good free VPN before committing to a paid service.
Finally, if you need to remove a VPN from your iPad, consult the guide at how to delete a vpn on ipad. Whether you’re using Opera GX or another VPN solution, staying informed about privacy tools will help you enjoy a safer, more flexible internet experience.


