Introduction
If you’re looking to protect your privacy while surfing the web or streaming content, knowing how to use the VPN on iPhone is essential. By understanding the basics of VPN technology, you can keep your data encrypted and avoid unwanted surveillance. The process is surprisingly simple, and this guide will walk you through each step in plain language.
Many users ask, “What are the best steps for how to use the VPN on iPhone?” The answer lies in selecting a reliable provider, configuring the built‑in iOS settings, and mastering the app interface. We’ll cover the entire journey, from initial setup to troubleshooting common issues. By the end, you’ll be comfortable mastering how to use the VPN on iPhone for any scenario.
In addition to privacy, a VPN on iPhone can unlock geo‑restricted services like Netflix or Disney+. Whether you travel for work or want to stream a show from another country, the ability to how to use the VPN on iPhone effectively is a powerful skill. Let’s dive into the details and get you connected securely.
To achieve a seamless experience, you’ll need to know how to use the VPN on iPhone in different contexts—whether you’re at home, in a coffee shop, or on a foreign flight. The same principles apply, though the steps differ slightly for built‑in settings versus third‑party apps. Our guide will address both approaches.
Finally, mastering how to use the VPN on iPhone also means understanding when a VPN is truly necessary. Not every situation requires encryption, but having a VPN ready gives you peace of mind. Let’s start with the basics before moving into the specifics.
Step-by-Step Instructions
Prerequisites: Choose a Reliable VPN Service
Before you configure your iPhone, choose a reputable provider that offers robust encryption and fast speeds. Look for a service with a no‑log policy and servers in the regions you need. A good provider will also provide clear setup guides tailored to iOS devices.
When selecting a VPN, consider whether you want a subscription plan or a pay‑per‑use option. Many providers offer flexible monthly plans that fit different budgets. Ensure the service supports the OpenVPN or WireGuard protocols for maximum compatibility.
Remember that the VPN’s performance will directly affect your browsing and streaming experience. A fast, low‑latency connection reduces buffering, especially when streaming 4K content on the iPhone’s screen. Testing a few trial accounts can help you compare speeds.
Once you’ve chosen a provider, register an account and locate the “iOS” or “Apple” section of their website. Most companies provide downloadable configuration files or a dedicated app for iPhone users. The next steps will show how to use those resources.
Choosing a provider that offers a dedicated iOS app simplifies the process of how to use the VPN on iPhone and ensures you benefit from automatic updates and enhanced security features.
Using Built‑in iOS VPN Settings
iOS has a native VPN configuration that supports IKEv2, IPSec, and L2TP. If your provider offers a configuration file, you can import it directly into your device. This method keeps the VPN within the system settings, giving you a unified experience across all apps.
To import a configuration file, save the .mobileconfig file to your iPhone’s Files app. Tap the file, then select “Install” and follow the on‑screen instructions. Your iPhone will ask you to trust the developer; confirm to proceed. Once installed, the VPN profile will appear in Settings > General > VPN.
In the VPN menu, toggle the switch to turn the VPN on or off. The status bar will show a small VPN icon, indicating that your traffic is now encrypted. You can also set “Connect On Demand” to keep the VPN active whenever you access specific domains.
Using the built‑in VPN is useful if you prefer not to download third‑party apps. It also works well for corporate environments that require device management settings. The next section covers using a dedicated app for a smoother workflow.
This process is a key part of how to use the VPN on iPhone without any additional downloads. For many users, the native settings provide a straightforward, system‑integrated solution.
Using a Dedicated App
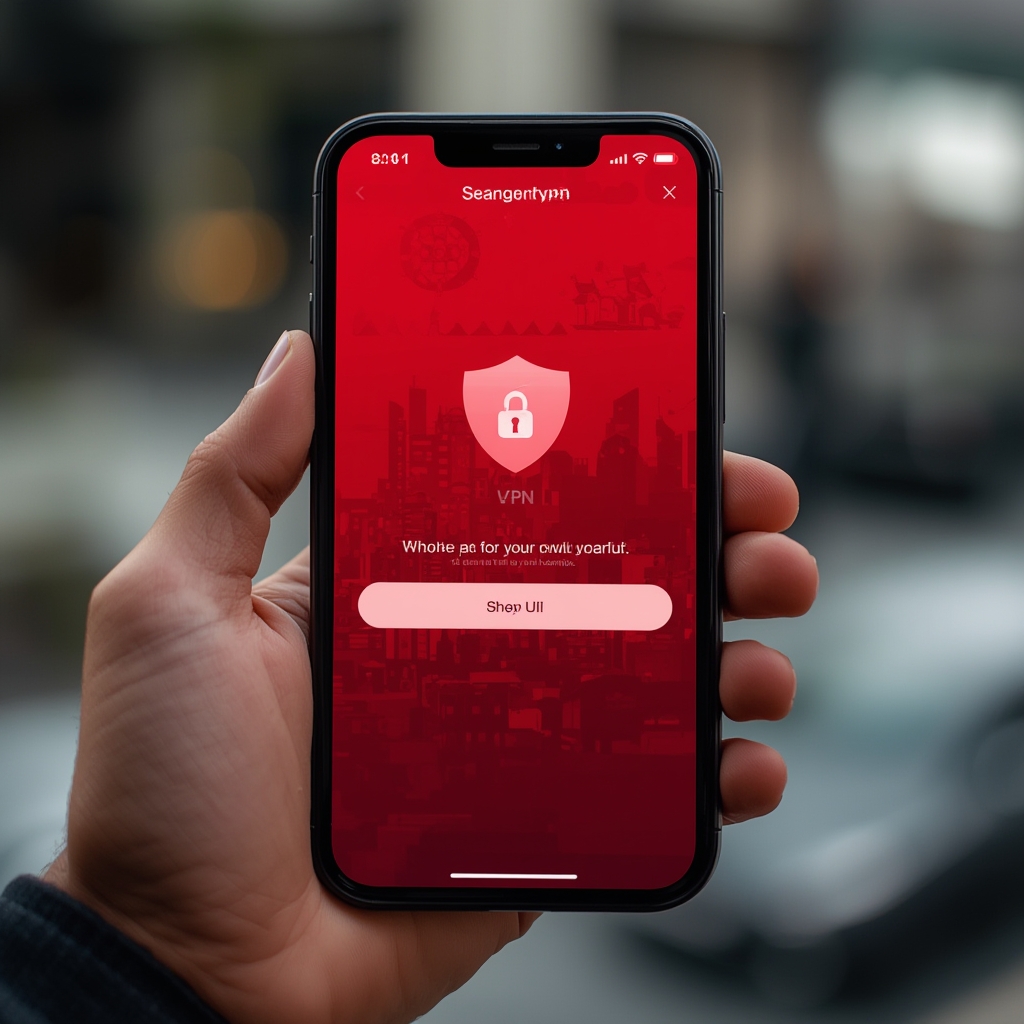
Most premium VPN providers offer a dedicated iOS app that simplifies the setup. The app typically includes one‑tap connections, server selection, and advanced features like kill switches and split tunneling. Download the app from the App Store and log in with your account credentials.
After signing in, the app will prompt you to grant permissions for VPN configuration and network changes. Accept these permissions; the app will automatically install the necessary profile. Once installed, the VPN icon will appear in the status bar.
The app’s user interface often includes a button labeled “Connect.” Tapping it establishes a secure tunnel to the selected server. You can switch servers by tapping the server list or using the app’s auto‑choose feature based on your location.
Dedicated apps also allow you to toggle features like “Stealth Mode,” “Kill Switch,” and “DNS Leak Protection.” These options add an extra layer of security, especially in public Wi‑Fi networks or when traveling abroad.
Mastering the app’s interface is part of how to use the VPN on iPhone effectively, giving you flexibility and control over your encrypted connection.
Troubleshooting Common Issues
Sometimes, the VPN may fail to connect or cause your internet to stop working. If you’re experiencing “VPN connection failed” errors, first check that the VPN profile is installed and active. Restarting the device can also resolve transient glitches.
If your VPN disconnects while using a streaming service, it could be a DNS leak or a server overload. Switching to a different server or enabling DNS leak protection can mitigate the issue. Checking your provider’s help center may reveal known compatibility problems.
For detailed troubleshooting steps, refer to the official support page from your provider. Many companies have FAQ sections that cover the most common pitfalls and solutions. If you need external help, consider community resources like Reddit discussions.
When the VPN appears to block your internet entirely, it may be due to a misconfigured profile. Verify that the server address matches the one provided by your VPN service. In some cases, deleting the profile and reinstalling it solves the problem.
Use McAfee’s guide for a step‑by‑step visual walkthrough. Their instructions cover both iOS configuration and common troubleshooting scenarios. This resource is especially useful for beginners.
Remember to keep the VPN app updated. Outdated versions may have bugs that interfere with connections. Regular updates ensure you receive the latest security patches and performance improvements.
Tips
Optimizing Performance
To minimize latency, choose a server close to your physical location. For example, if you’re in New York, connecting to a server on the East Coast will yield faster speeds than a distant European server. Many apps provide a “Smart Connect” feature that automatically selects the best server.
Use a wired connection or a high‑quality Wi‑Fi network to reduce packet loss. Cellular data can be slower and less stable, but a strong LTE or 5G connection can still provide solid VPN performance. Switching between data networks may help you find the most reliable path.
Some VPN providers offer split tunneling, allowing you to route only certain apps through the VPN. This reduces overall bandwidth usage and can improve performance for high‑bandwidth apps like video games or streaming services.
When streaming international content, choose a server that matches the region you want to access. For instance, to watch Netflix UK, connect to a UK server. This approach reduces buffering and ensures compliance with regional licensing.
For users who frequently switch networks, enable “Connect on Demand” in the system VPN settings. This feature ensures the VPN activates automatically when you join a public network, maintaining continuous protection.
Security Best Practices
Enable the kill switch feature if your provider offers it. A kill switch blocks all traffic if the VPN connection drops unexpectedly, preventing accidental data leakage. This is crucial when you’re handling sensitive information.
Use a strong, unique password for your VPN account, and enable two‑factor authentication (2FA) if available. 2FA adds an extra layer of security, reducing the risk of unauthorized access. Update your password regularly to stay protected.
Keep your iPhone’s operating system updated to the latest iOS version. Apple patches security vulnerabilities with each update, and many VPN providers rely on these updates for compatibility. Updating also ensures the best performance for the VPN app.
Disable “Allow VPN on Demand” for public networks if you don’t want the VPN to auto‑connect. Some users prefer manual control over when the VPN is active, especially if they want to conserve battery life.
Regularly check your VPN provider’s privacy policy to ensure they do not log your activity. A true no‑log policy means no records of your online behavior, preserving your anonymity.
Geolocation Tricks
Many streaming services use geolocation to restrict access. By connecting to a server in the desired region, you can bypass these restrictions. For example, connecting to a Canada server can give you access to Canadian Netflix, even if you’re in the US.
To double‑check your IP location, visit a website like When Should I Use a VPN. These sites display your current IP address and location, confirming that the VPN is functioning.
Be aware of “geo‑blocking” laws and regulations in certain countries. Using a VPN in some jurisdictions may violate local laws, so research local regulations before proceeding. Many providers offer a “Legal” disclaimer for users in restricted regions.
For travelers, consider a VPN that offers dedicated servers in popular destinations. These servers often have better performance and lower latency for local services, making them ideal for roaming.
When you need a quick fix, use the “Smart Connect” feature to let the VPN automatically choose the fastest server based on your location. This ensures you maintain optimal speed without manual server selection.
Alternative Methods
Third‑Party Configurations
If your VPN provider does not offer an iOS app, you can use the third‑party OpenVPN or WireGuard client. Both clients support .ovpn configuration files, allowing you to import settings manually. The OpenVPN Connect app is available on the App Store.
After downloading the client, open the app and choose “Import.” Locate the .ovpn file in the Files app and import it. Follow the prompts to add the profile to your device, then enable the VPN from Settings > General > VPN.
Using a third‑party client requires a bit more technical knowledge, but it offers flexibility if your provider only supports certain protocols. Many users prefer WireGuard for its speed and simplicity.
When setting up a custom VPN profile, ensure the server address and credentials match exactly. Typos can cause connection failures, leading to a stalled network. Double‑check the settings before finalizing the profile.
Some corporate environments require a VPN profile to be installed via MDM (Mobile Device Management). If you’re in a business setting, your IT department may provide a configuration file that automatically sets up the VPN.
Using OpenVPN or WireGuard Protocols
OpenVPN is a widely supported, open‑source protocol that offers strong encryption. It’s compatible with most devices, including iPhones. However, it may be slightly slower than newer protocols due to its higher overhead.
WireGuard is a modern VPN protocol known for its speed and low latency. Many providers now support WireGuard for iOS, and the official WireGuard app is available in the App Store. The protocol is easy to configure and highly efficient.
To use WireGuard, download the official app from Apple. Import your configuration file, then enable the VPN. WireGuard automatically manages the tunnel, ensuring a smooth connection with minimal configuration.
When choosing between OpenVPN and WireGuard, consider your use case. For secure browsing, both are excellent. For streaming or gaming, WireGuard’s speed advantage may make it preferable.
Always keep your VPN client updated, as updates often contain critical security patches and performance improvements. This is especially important for protocol‑based clients.
Conclusion
Recap and Final Thoughts
Learning how to use the VPN on iPhone opens up a world of possibilities, from secure browsing to accessing geo‑restricted content. By following our step‑by‑step guide, you’ve mastered the essential steps to connect, configure, and troubleshoot.
Remember that setup VPN on iPhone is a recurring process. Whether you choose the built‑in settings or a dedicated app, the core principles remain the same. Always keep your iPhone and VPN app updated to maintain optimal security.
When you’re ready to take your VPN usage to the next level, explore advanced features like split tunneling, kill switches, and DNS leak protection. These tools ensure that your data remains private, even in challenging network environments.
For additional resources, you can revisit our internal guides on When does Google end VPN or read about what is a good VPN for Android to broaden your knowledge across platforms.
Finally, mastering how to use the VPN on iPhone empowers you to protect your online presence and enjoy content worldwide. Stay informed, stay secure, and enjoy the freedom a reliable VPN provides.
Take Action
Start by selecting a trusted VPN provider and installing their iOS app. Use the built‑in settings for a quick, system‑wide solution, or dive into protocol‑based clients for more flexibility. As you gain confidence, explore advanced features to tailor the VPN to your specific needs.
Keep an eye on your connection speed and data usage, especially if you stream high‑definition video. Adjust server locations and tweak settings until you find the perfect balance between speed and security.
With the knowledge gained from this guide, you’re now equipped to how to use the VPN on iPhone in any situation—from public Wi‑Fi hotspots to international travel. Your data, privacy, and freedom are now in your hands.


