Introduction
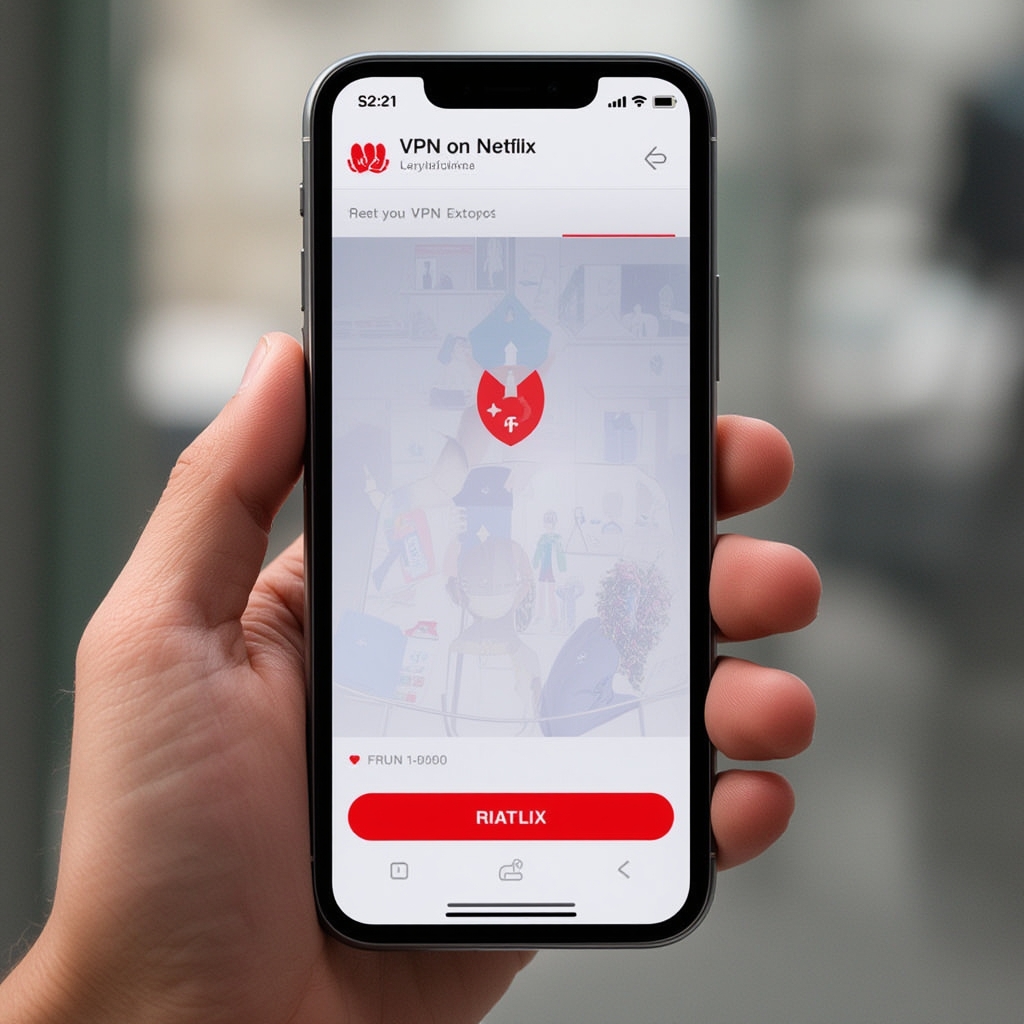
Streaming Netflix on an iPhone while traveling abroad can feel like trying to unlock a treasure chest without the right key. That’s where the How to use VPN on Netflix iPhone guide becomes essential. By masking your IP address, a VPN lets you appear as if you’re browsing from a region where the content you crave is freely available.
In this article we’ll also reference the Netflix VPN iPhone setup guide to give you a broader understanding of the technology behind the scenes. Whether you’re watching the latest drama from the United States while in Europe, or you want to revisit a regional exclusive series from your home country, the process is surprisingly straightforward.
We’ll walk through each step, sprinkle in practical tips, and explore alternative methods for those who prefer built‑in iOS features or third‑party DNS services. By the end, you’ll be confident in your ability to answer the burning question: How to use VPN on Netflix iPhone without missing a beat.
Before diving in, remember that Netflix constantly updates its detection algorithms. That’s why the Netflix VPN iPhone setup guide emphasizes using servers optimized for streaming, regularly rotating IP addresses, and selecting VPN providers with a proven track record against Netflix’s VPN blocks.
Finally, we’ll touch on legal and ethical considerations, using reputable services that respect privacy—think of the Electronic Frontier Foundation for guidance on digital rights, and the Cloudflare Learning Center for technical background on how traffic routing works.
Step‑by‑Step Instructions
1. Choose a reliable VPN provider
The first pillar of a successful How to use VPN on Netflix iPhone is selecting a provider that offers dedicated streaming servers. Look for features like “Netflix‑ready” servers, no‑log policies, and high‑speed connections that can handle 4K streams.
Many users start with popular options, but it’s wise to read up on the Netflix VPN iPhone setup guide to understand why some services are blocked while others slip through Netflix’s detection mechanisms.
2. Sign up and download the iOS app
After choosing a provider, create an account and head to the App Store. Download the official iOS app—this ensures you get the latest security patches and server updates that are critical for the How to use VPN on Netflix iPhone experience.
During installation, grant the necessary permissions for “Add VPN Configurations” when prompted. iOS will ask you to allow the app to create a VPN profile; accept this to enable seamless connections.
3. Configure the VPN for Netflix
Open the app and locate the list of servers. Most top‑tier VPNs label servers that work with Netflix as “Streaming” or “Netflix.” Choose a server in the region where the show you want is available—United States for most original content, United Kingdom for British series, etc.
According to the Netflix VPN iPhone setup guide, selecting a server that is physically close to the target region reduces latency and improves playback quality.
4. Connect and verify your IP
Tap “Connect.” Once the VPN shows a green status, verify your new IP address. You can use free tools like “whatismyip.com” or the built‑in iOS “Network” diagnostics. Confirm that the displayed country matches the Netflix library you intend to access.
This verification step is crucial because Netflix sometimes allows connections from VPN IPs that are already blacklisted. By checking your IP, you ensure the How to use VPN on Netflix iPhone method is truly effective.
5. Open Netflix and enjoy streaming
Launch the Netflix app (or Safari if you prefer the web version). Your VPN will make the service believe you’re browsing from the selected region, unlocking the desired catalog. If you encounter a “Netflix is not available in your region” error, try switching to a different server within the same country or select another nearby country.
Remember to keep the VPN active for the entire viewing session; some iOS power‑saving settings may pause background apps, which can unintentionally drop the VPN connection.
6. Troubleshooting common issues
If you see a “VPN detected” message, clear the Netflix app cache, restart the app, or reboot your iPhone. Occasionally, Netflix updates its block list, so checking the provider’s status page for “Netflix compatibility” is recommended.
For a deeper dive into troubleshooting, see the How to turn off VPN on Netflix guide, which explains when temporarily disabling the VPN can help identify if the issue lies with the app or the VPN server.
Tips for a Smooth Experience
Use a wired connection when possible. While iPhones are wireless by nature, connecting to a trusted Wi‑Fi network reduces latency compared to public hotspots, which can be throttled.
Enable “Private DNS” on iOS. Go to Settings → General → VPN & Device Management, then set a custom DNS that supports encrypted DNS over TLS (DoT). This adds an extra layer of privacy and can improve DNS resolution speed.
Rotate servers regularly. Even the best VPNs may have an IP flagged after heavy use. Switching servers every few days keeps your streaming smooth and prevents Netflix from flagging your IP.
Check regional release dates. Some content appears earlier in specific markets. For instance, a new documentary might debut in Canada a week before the US. Use the Can I use VPN to watch Netflix in other countries article to see which regions get first releases.
Optimize video quality settings. If you notice buffering, lower Netflix’s playback quality from “Auto” to “High” or “Medium.” This reduces bandwidth demand and works better on slower VPN connections.
Alternative Methods
While the standard How to use VPN on Netflix iPhone approach covers most users, there are alternative strategies for those with specific constraints.
Smart DNS Services
Smart DNS reroutes only the DNS queries related to geo‑restricted content, leaving the rest of your traffic untouched. This can result in faster streaming but provides no encryption. If privacy isn’t a primary concern, a Smart DNS can be a lightweight alternative. Learn more in the How to use VPN for Netflix on Smart TV article, which outlines similar DNS setups for TV platforms.
iOS “Private Relay” (Apple’s built‑in privacy feature)
Apple introduced Private Relay in iOS 15, which masks your IP from websites. However, it does not currently support changing your apparent country, so it won’t bypass Netflix geo‑locks. It’s still worth enabling for added privacy when browsing other sites.
Using a Mobile Hotspot from a VPN‑enabled device
If you have a secondary device (like an Android phone) that runs a VPN successfully, you can share its connection via a mobile hotspot. Connect your iPhone to this hotspot, and the VPN traffic will be tunneled through the other device. This method mirrors the steps in the How to use VPN on Netflix Android guide, but with the iPhone acting as a client.
Browser‑based extensions (Safari)
Safari now supports certain VPN extensions that can be toggled per tab. While not as robust as a full‑system VPN, these extensions can quickly switch your browsing location for quick Netflix checks, though they may still be blocked for full‑length streaming.
Conclusion
Mastering the How to use VPN on Netflix iPhone process opens a world of global entertainment at your fingertips. By following the detailed steps above, referencing the comprehensive Netflix VPN iPhone setup guide, and applying the practical tips, you can bypass regional locks, protect your data, and enjoy a seamless viewing experience wherever you travel.
Remember to keep your VPN app updated, rotate servers regularly, and stay aware of Netflix’s evolving detection methods. Combining a reliable VPN with the right geo‑specific server—guided by the Can I use VPN to watch Netflix in other countries resource—ensures you’re always one step ahead of content restrictions.
Finally, respect the terms of service of both Netflix and your VPN provider. Using a VPN responsibly not only enhances your streaming freedom but also aligns with broader digital‑rights principles championed by organizations like the Electronic Frontier Foundation. Happy streaming!
“`


