Introduction
Every iPhone user knows the thrill of accessing geo‑restricted content, whether it’s a show that’s only available in the U.S., a music catalog in Europe, or a news app that blocks certain regions. To do this, you need to how to use vpn to change location on iphone quickly and securely. This guide will walk you through that exact process and also show how to change location on iphone using vpn for gaming, browsing, and streaming. By following these steps, you’ll gain access to services that were once out of reach and keep your privacy intact.
In many U.S. states, like California and Florida, users are increasingly turning to VPNs to bypass regional restrictions imposed on streaming platforms such as Netflix, Hulu, and Disney+. In Europe, people in the UK or Germany often use VPNs to access U.S. apps, while residents in China look for ways to stay connected to the global internet. Understanding how to change your location on iPhone is crucial for both everyday users and tech enthusiasts who want to test geo‑specific apps.
We’ll cover everything from selecting a trustworthy VPN provider to verifying that your device’s IP address has truly changed. We’ll also share handy tips, alternative methods, and a quick troubleshooting checklist. Ready to get started? Let’s dive in.
Step-by-Step Instructions
1. Choose a Reliable VPN Service
Your first task is to pick a VPN that offers fast servers in the country you want to emulate. Look for providers that have a dedicated iPhone app, strong encryption, and a clear no‑logs policy. While free VPNs can be tempting, they often throttle speeds or display intrusive ads. For the best balance between cost and performance, consider a paid plan with a 30‑day money‑back guarantee. If you’re new to VPNs, the link how to use vpn to change location on iphone provides a good starting point for beginners.
Remember, a robust VPN should let you switch between countries with a single tap. When searching for a provider, verify that the iPhone app supports VPN on an iPad as many features carry over to the iPhone platform.
2. Install the VPN App on Your iPhone
Open the App Store on your iPhone and search for the VPN’s official app. Tap Get and follow the on‑screen prompts to download. Once installed, open the app and sign in with your credentials. Many VPNs ask for permission to create a VPN configuration on your device; tap Allow to grant the necessary system permissions.
During the initial setup, most VPN apps will ask for your device’s location. This is required to route your traffic correctly. Accept the prompt to enable location services.
3. Connect to a Server in Your Desired Country
In the app’s main screen, you’ll see a world map or a list of countries. Tap the country you want to emulate. If you’re targeting a specific city (e.g., Los Angeles for Netflix US), look for an option that lists cities. After selecting, tap Connect. The app will show a connection animation, and once completed, a green checkmark will indicate an active VPN tunnel.
At this point, you’re ready to verify that the change is real. Keep an eye out for any red flags—if you can’t load local sites, your VPN may not be functioning correctly.
4. Verify Your New IP Address and Location
Open Safari or any web browser and go to whatismyipaddress.com. The IP address displayed should match the country you selected. For example, if you connected to a UK server, the page should show “United Kingdom” as your location.
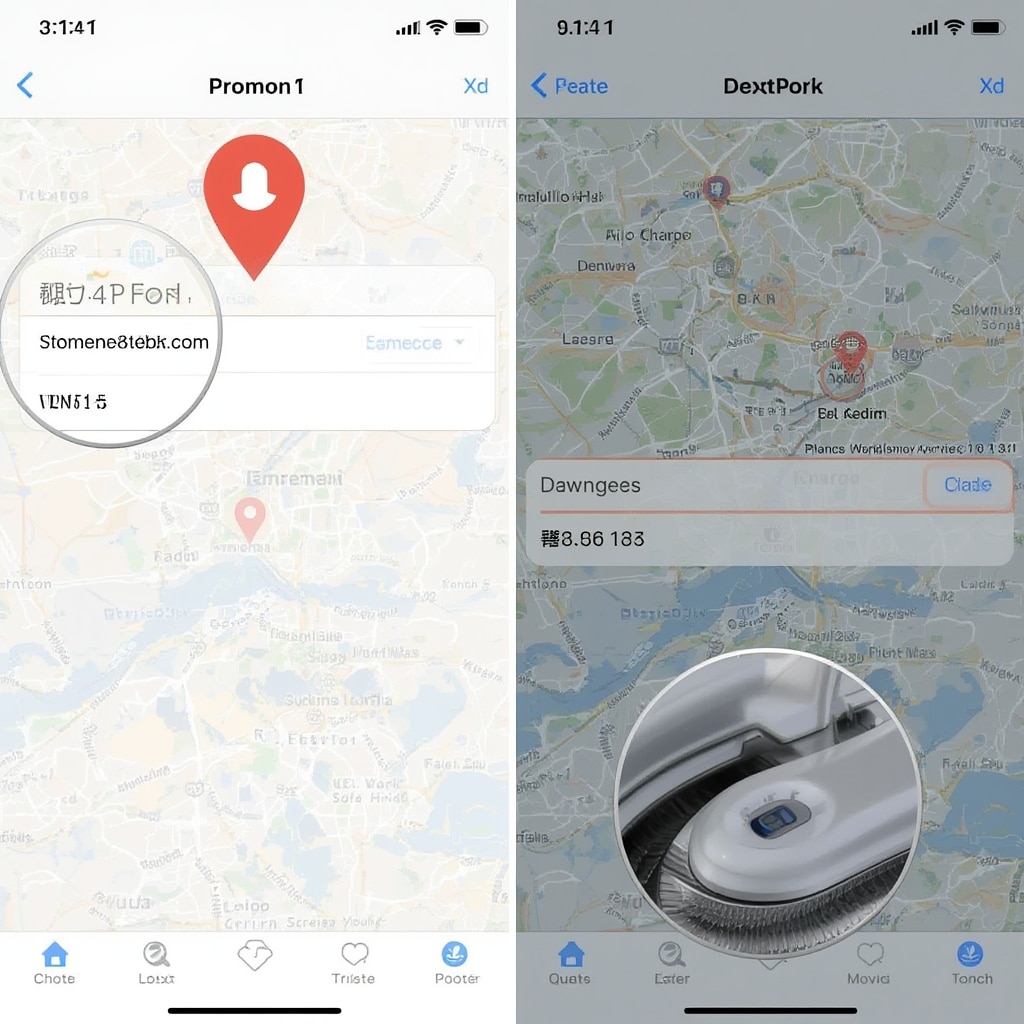
To double‑check that your GPS coordinates have shifted, open a map app and look at the pin’s location. If it still shows your actual place, the GPS spoofing feature is not activated. Some VPNs offer a “Location Spoof” option—enable it and confirm your new coordinates. This is especially important if you want to change location on iphone using vpn for app-specific content.
5. Test Streaming and Social Apps
Launch the app or service you want to access. For instance, open Netflix and try a title that was previously unavailable in your region. If it plays, congratulations! If it still blocks you, try switching servers within the same country or use a different VPN app. Some streaming services actively block known VPN IP ranges; rotating servers can often bypass this.
For social media or news apps that enforce regional restrictions, the same process applies. A successful connection confirms that your device truly believes it’s in the chosen country.
6. Disconnect and Reconnect as Needed
When you finish your session, tap Disconnect in the VPN app. Your device’s traffic will revert to its original path. If you need to use a different region later, simply repeat the connection process with a new server. Remember, many VPN apps allow you to pin favorite servers for quick access, which can save time in the future.
7. Optional: Configure Advanced Settings
Most VPN apps have a settings menu where you can tweak features. Enable “Kill Switch” to prevent data leaks if the VPN connection drops. Turn on “Stealth Mode” if you’re in an environment that monitors VPN usage. For advanced users, you can also set up split tunneling—only route certain apps through the VPN, keeping others on your local network.
Tips
• Choose a Server Close to Your Desired Location – Closer servers offer better speeds. If you’re in the U.S. but want to access Canada, pick a Canadian server near the US border.
• Enable Auto‑Connect on Startup – Some apps will automatically reconnect to your last used server when you open the app. This is handy for streaming services that block VPNs.
• Use the “Smart Connect” Feature – Many VPNs automatically choose the best server based on your location and current traffic. It’s a great option for casual users who don’t want to pick a server manually.
• Keep the VPN App Updated – Updates often include new servers, bug fixes, and security patches. A stale app may not support the latest iOS version or might lack certain countries.
• Check Your DNS Settings – Some VPNs offer custom DNS. If you notice DNS leaks, switch to a trusted DNS provider such as Cloudflare or Google DNS.
• Use a Secure Connection for Sensitive Data – When dealing with banking apps or personal emails, ensure the VPN’s encryption level is at least 256‑bit AES.
• Try Multiple VPNs If One is Blocked – Streaming services often block specific IP ranges. If you hit a wall, switch to a different VPN provider and test again.
For a deeper dive into how iPhones handle location and VPN changes, see Security.org’s guide on changing iPhone location via VPN.
Alternative Methods
While VPNs are the most common tool for changing your iPhone’s location, there are other techniques that can complement or replace a VPN under certain circumstances.
1. Browser‑Based VPN Extensions
Safari on iOS no longer supports extensions in the traditional sense, but the new “Safari Extensions” feature allows you to add VPN extensions that work only within the browser. These extensions can route your browser traffic through a VPN server without affecting system‑wide settings.
2. Proxy Apps
Proxy apps function similarly to VPNs but often use less overhead, resulting in slightly higher speeds. However, they usually lack the robust encryption of a full VPN and can expose you to privacy risks. If you need a quick, no‑cost solution, a lightweight proxy might suffice.
3. DNS‑Based VPN
Some services offer a DNS‑only VPN, which changes only your DNS queries. This can bypass certain geo‑blocks but won’t hide your IP address from all sites. For a more comprehensive approach, use a full VPN.
4. Using iOS Shortcuts for Automated Connections
With iOS Shortcuts, you can create a shortcut that opens your VPN app and connects to a specified server. This is useful for users who frequently switch locations. Simply tap the shortcut icon, and the VPN will activate automatically.
5. iPad VPN Features (Cross‑Device Sharing)
If you own both an iPhone and an iPad, you can share a VPN configuration between them. The VPN on iPad guide explains how to export the configuration and import it on the iPhone, ensuring you have a consistent experience across devices.
6. Use a Trusted VPN Service for Multiple Devices
Many VPN providers allow simultaneous connections on several devices. This means you can connect your iPhone and iPad to the same server and share a single subscription, often at a discounted rate. The VPN generation guide details how to set up multi‑device support.
Conclusion
Now that you’ve mastered how to how to use vpn to change location on iphone, you’re ready to unlock content worldwide while keeping your privacy intact. The ability to change location on iphone using vpn opens up a world of possibilities—from streaming your favorite shows on their original language to testing app behavior across regions. Remember to verify your new IP address and location after each connection, and keep your VPN app updated to enjoy the best performance.
With the tips and alternative methods outlined above, you can tailor the VPN experience to your specific needs, whether you’re a casual viewer or a professional who requires reliable, location‑specific access. And if you ever hit a roadblock, don’t forget to consult the ExpressVPN blog post on changing iPhone location—they’ve got a great troubleshooting section for common issues.
Enjoy the freedom to browse, stream, and work without geographic boundaries. Happy surfing!


