Introduction
With the rise of mobile internet usage, many iPhone users are turning to VPNs for privacy, security, and access to geo‑restricted content. Yet, there are times when you may need to remove or disconnect a VPN from your device, such as when troubleshooting connectivity issues or switching networks. This guide will walk you through how to remove a vpn from iphone step by step, explain why you might need to how to disconnect vpn on iphone, and cover alternative methods to manage your VPN settings.
Understanding the differences between VPNs on iOS and Android is crucial; you can read more about what is a VPN on your phone to see how these services protect your data across platforms.
If you’re wondering whether a VPN is necessary for your iOS device, check out our quick Do I need a VPN for my iOS? guide for a concise answer.
Step-by-Step Instructions
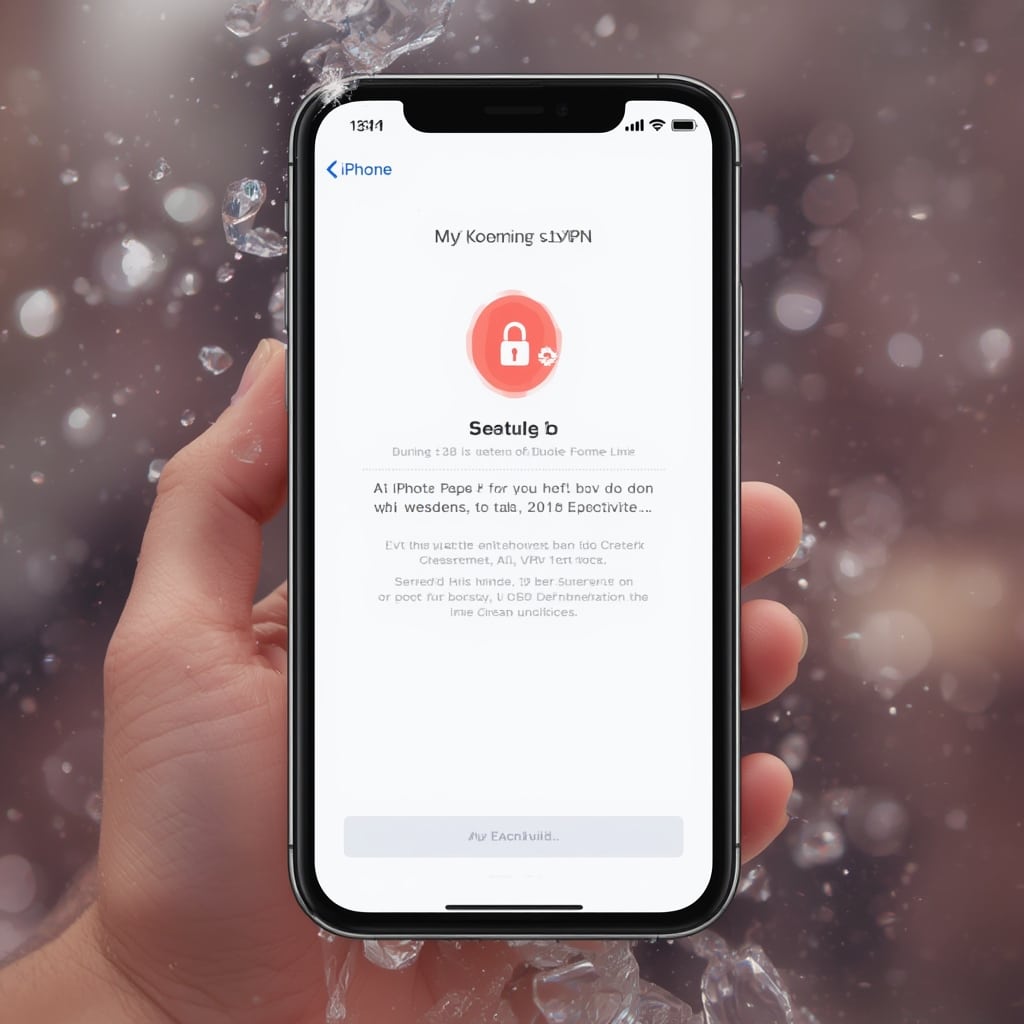
1. Open Settings and Locate VPN
Tap the Settings icon from your Home screen. Scroll down until you see the VPN option; it usually appears as a toggle or a separate section. If you have multiple VPN profiles, they will be listed under the VPN heading. This is the first place you will manage all VPN connections on your iPhone.
2. Identify the Active VPN Connection
When a VPN is active, the icon in the status bar at the top of the screen shows a lock and a VPN symbol. In the Settings app, the VPN entry will have a green “Connected” indicator next to it. This helps you confirm which profile is currently in use before you attempt to remove or disconnect.
3. Disconnecting the VPN Temporarily
To how to disconnect vpn on iphone temporarily, simply toggle the switch next to the VPN name to the off position. The lock icon should disappear from your status bar within a few seconds. This method is useful when you need to switch between networks or troubleshoot a connectivity problem.
Remember that toggling the switch does not delete the profile; it merely disconnects it until you turn it on again.
4. Permanently Removing a VPN Profile
If you wish to how to remove a vpn from iphone completely, go to Settings → VPN, tap the “i” icon next to the profile you want to delete, and select “Delete VPN.” A confirmation prompt will appear; confirm that you want to remove the configuration. This action deletes the profile from your device, freeing up storage and preventing accidental reconnection.
Once deleted, the VPN entry no longer appears in the VPN list, and the status bar will not show a VPN icon.
5. Using the “Remove” Button in the Status Bar
Some users prefer a quick method directly from the lock icon. Tap the VPN icon in the status bar, then tap “Disconnect.” After disconnecting, you can tap “Remove” to delete the profile from the list. This method works on iOS 15 and later and is handy when you’re on the go.
6. Resetting VPN Settings via System Settings
If you encounter persistent issues or want a clean slate, navigate to Settings → General → Transfer or Reset iPhone → Reset. Choose “Reset Network Settings.” This will remove all VPN configurations, Wi‑Fi passwords, and cellular settings. Note that you’ll need to re-enter Wi‑Fi passwords afterward, so proceed with caution.
7. Accessing VPN Settings from the Control Center
To quickly disconnect or remove a VPN, swipe down from the upper‑right corner (or up from the bottom on older devices) to open Control Center. Tap the VPN tile; a slider appears allowing you to toggle it off or tap “Remove” for deletion.
8. Using the Apple Support Guide for Advanced Users
For detailed instructions and troubleshooting, Apple provides an official guide at Apple iPhone VPN Support. This resource covers all versions of iOS and includes screenshots for each step.
9. Handling Third‑Party VPN Apps
If you installed a VPN via an app store or a direct download, the removal process varies. Usually, you can tap the app’s icon, select “Uninstall” or “Delete,” or go to Settings → General → iPhone Storage to locate the app and remove it. Deleting the app also deletes its associated VPN profile.
10. Verifying VPN Removal
After you have deleted the profile, double‑check the VPN section to ensure it no longer appears. Additionally, open your browser or a streaming app to confirm that your IP address reflects your current location, not a VPN server. Various online tools, like IP lookup services, can verify your current IP.
11. Using the Apple Support Community for Help
For user‑generated discussions and troubleshooting tips, visit the Apple Discussions forum: how to disconnect vpn on iphone. Community members often share solutions that are not in the official guide.
12. Checking VPN Usage with Google’s Device Usage Study
Google provides a helpful tool to see how your device uses VPNs in the background: Google Device Usage Study. This can help identify if any apps are using a VPN unexpectedly.
Tips
Keep Your VPN Firmware Updated
Ensure your VPN app and iOS version are up to date. Developers frequently patch security vulnerabilities and improve performance in new releases.
Use Built‑In VPN Profiles for Extra Security
Apple’s native VPN support is highly secure. Consider setting up a manual VPN profile from a trusted provider’s website for added privacy, especially when using public Wi‑Fi.
Set Automatic VPN for Specific Apps
In iOS 15+, you can assign a VPN to specific apps via “On Demand Rules.” This lets you automatically route traffic from chosen apps through a VPN while leaving other traffic unencrypted.
Use a Reliable VPN Provider
When selecting a VPN, opt for providers that support strong encryption standards like OpenVPN or IKEv2 and have a strict no‑logs policy. Some popular choices include ProtonVPN, ExpressVPN, and NordVPN.
Manage Multiple VPN Profiles Carefully
Having multiple profiles can cause confusion. Label each one clearly in its name or description so you know which one is active.
Alternative Methods
Remove VPN Using a Mac
If you have a macOS device paired with the same Apple ID, you can remove a VPN configuration from the iPhone using the “Continuity” feature. Connect your iPhone to the Mac, open Finder, select your device, then under “General” choose “Remove VPN.” This method is useful if your iPhone is locked or you can’t access Settings.
Use iCloud Backup and Restore
As a last resort, restoring your iPhone from a backup made before you installed the VPN can remove it. Ensure you back up any new data first, then choose “Restore from iCloud Backup” during the setup process.
Use a Third‑Party VPN Management App
Some apps, such as VPN Manager, allow you to view and delete all VPN profiles from one interface. This can be handy if you prefer a single point of control.
Contact Your VPN Provider’s Support
If the VPN profile refuses to delete, reach out to the provider’s customer support. They can often push a firmware update that resolves deletion issues.
Conclusion
Knowing how to remove a vpn from iphone and how to disconnect vpn on iphone empowers you to maintain control over your device’s security and connectivity. By following the step‑by‑step instructions above, you can quickly disconnect or delete VPN profiles whenever needed, whether for troubleshooting, privacy, or performance optimization. Remember to keep your VPN app and iOS updated, choose reputable providers, and utilize the built‑in controls Apple offers for a seamless experience. If you encounter any difficulties, consult Apple’s official support page or the Apple Discussions forum, where many users share practical solutions. With these tools and knowledge at hand, you’ll confidently manage your VPN settings on any iPhone model, no matter where you are in the world, from the U.S. and Canada to Europe and beyond.


