Introduction
When you first hear the phrase what’s vpn on iphone, it can be confusing. A VPN, or Virtual Private Network, extends a private network across a public network, allowing you to send and receive data securely. If you’re curious about the mechanics of this service on an Apple device, you’re in the right place. The iPhone VPN setup guide is a foundational resource, but this article goes beyond the basics. We’ll walk through a comprehensive, step‑by‑step process to set up a VPN on an iPhone, explore troubleshooting tips, and show you alternative methods to keep your data private. Whether you’re a student, a remote worker, or just a privacy enthusiast, understanding what’s vpn on iphone is essential for safe, anonymous browsing.
Every modern iPhone runs iOS, and Apple has built VPN support directly into the system. This means you don’t need a third‑party app for basic VPN functionality—you can use the native Settings app. However, for advanced features like split tunneling or custom DNS, many users prefer dedicated VPN apps. Knowing what’s vpn on iphone helps you decide which approach suits your needs.
In addition to the technical steps, we’ll cover best practices for choosing a provider and maintaining privacy. By the end, you’ll know not only how to set up the VPN but also why each step matters. The iPhone VPN setup guide will be referenced repeatedly throughout this article, providing a handy roadmap for troubleshooting and optimization.
Step‑by‑Step Instructions
Step 1: Open the Settings App
Launch the built‑in Settings application. It’s the gear‑shaped icon found on your Home screen. From here, you’ll navigate to the VPN section. This is the first place you’ll find the option to add a new configuration.
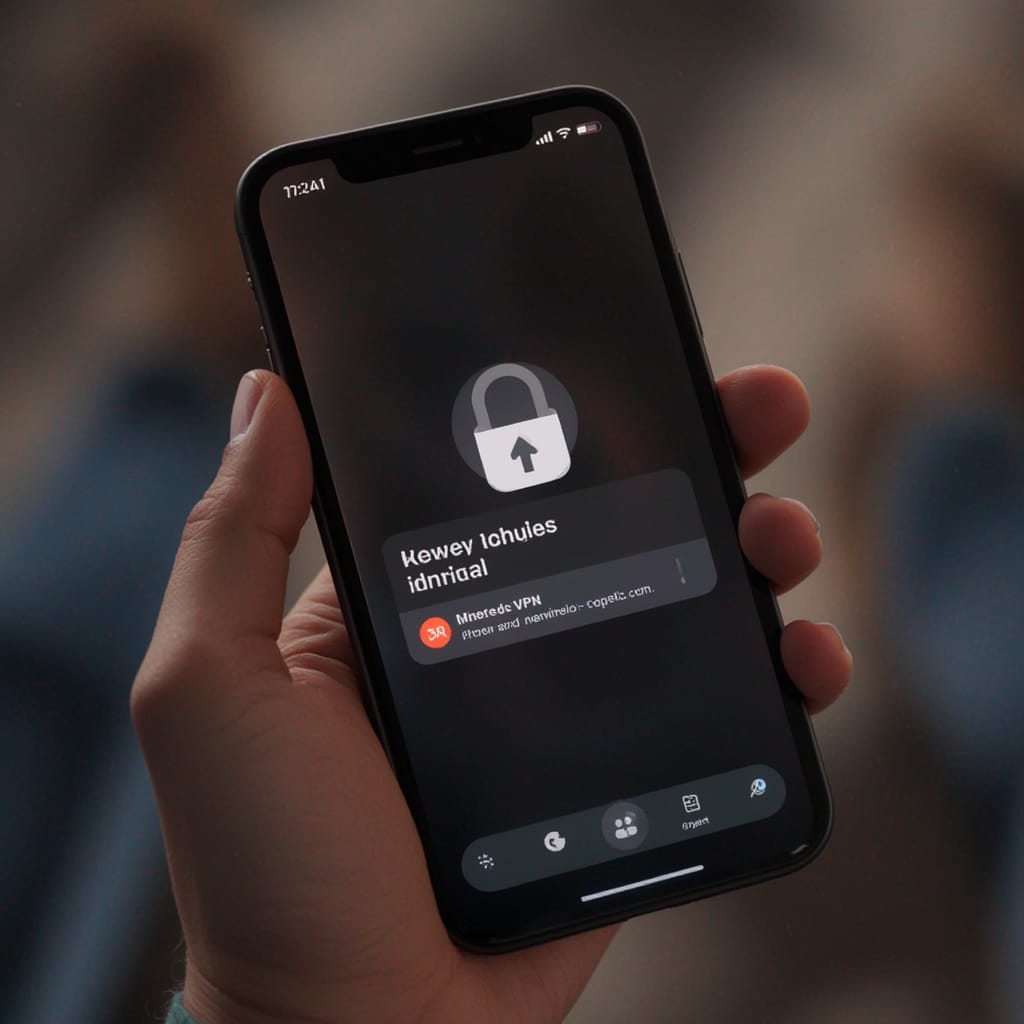
Step 2: Tap VPN
In the left‑hand sidebar, scroll until you see VPN and tap it. If you’ve never configured a VPN before, you’ll see an empty list. This is where you’ll add a new profile.
Step 3: Add a New VPN
Tap the “Add VPN Configuration…” button. You’ll be prompted to choose a type: IKEv2, IPSec, or L2TP. For most consumer services, IKEv2 is the recommended choice because it’s fast, reliable, and built into iOS.
Step 4: Fill Out the Configuration
- Type: Select IKEv2 (or the type your provider recommends).
- Description: Name your VPN profile (e.g., “Home VPN” or “Work VPN”). This helps you identify it later.
- Server: Enter the server address supplied by your VPN provider.
- Remote ID: Often the same as the server address.
- Local ID: Leave blank unless specified.
- Username & Password: Enter your VPN login credentials.
- Use Certificate: Choose “None” unless your provider requires a certificate.
After completing these fields, tap Done to save the configuration.
Step 5: Turn On the VPN
Back in the main VPN screen, toggle the switch next to your new profile. When the status changes to “Connected,” a VPN icon appears in the status bar. You’re now routing traffic through the VPN tunnel.
Step 6: Verify Your Connection
Open Safari and navigate to a site like https://www.iplocation.net to confirm your IP address reflects the VPN server location. This simple check verifies that your data is encrypted and routed correctly.
Step 7: Auto‑Connect (Optional)
If you want the VPN to start automatically when you open your iPhone, go back to Settings > VPN > Auto‑Connect and enable the toggle. This ensures your privacy is maintained even if you forget to activate it manually.
These seven steps cover the core of the iPhone VPN setup guide and demonstrate what’s required for a smooth configuration. Each step is designed to be accessible for beginners while still providing enough detail for experienced users to troubleshoot effectively.
Tips
Choose a Reputable Provider
Not all VPN services are created equal. Look for providers with a clear no‑log policy, strong encryption standards (AES‑256), and a presence in privacy‑friendly jurisdictions. For example, you might consider a free option like ProtonVPN, which offers robust security and an easy-to‑use iOS app. Paid services typically provide faster speeds and additional features such as split tunneling.
Keep Your iOS Updated
Apple frequently releases updates that improve VPN performance and security. After installing a VPN, check for iOS updates under Settings > General > Software Update. Staying on the latest iOS version ensures you benefit from the newest security patches.
Use Strong, Unique Passwords
Your VPN credentials should be separate from your Apple ID and other services. Consider using a password manager to generate and store a unique, complex password for each provider.
Leverage Split Tunneling
Some VPN apps allow you to route only specific apps or traffic through the VPN. This is useful if you need to use a public Wi‑Fi network for email but want to keep gaming traffic unencrypted for better performance.
Enable DNS Leak Protection
Most VPN apps automatically enable DNS leak protection. If you’re using the native iOS VPN settings, add a secure DNS server like Cloudflare (1.1.1.1) or Google (8.8.8.8) to your VPN configuration to avoid leaking your requests to your ISP.
Consider Using a Dedicated VPN App
While the built‑in Settings app is sufficient for basic needs, dedicated VPN apps often provide advanced features such as kill switches, automatic reconnection, and multiple server choices. If you require more control, download a reputable app from the App Store and follow the provider’s setup guide.
Keep an Eye on Battery Usage
VPNs can slightly increase battery consumption. Monitor your battery level after enabling a VPN, and if you notice a significant drop, try switching to a lighter protocol (e.g., IKEv2 over L2TP).
Know When to Disconnect
If you’re on a secure, trusted network (e.g., a private office Wi‑Fi) and your VPN isn’t necessary, you can toggle the VPN off to improve speed. Just remember to reconnect when you return to less secure environments.
Check for VPN Compatibility
Before purchasing a service, verify that the provider supports iOS. Many services, such as IPVanish VPN, offer native apps with extensive server networks and robust security features. Some providers also support manual configuration, which can be handy if you’re using a custom setup.
Use Geo‑Restrictions Wisely
If you’re traveling abroad, a VPN can help bypass geo‑restricted content. Choose a server in a location that grants you access to the desired services, then connect before launching your browser or streaming app.
Alternative Methods
Use a Third‑Party App for Advanced Features
When the native Settings app falls short—perhaps you need a kill switch, or you want a dedicated DNS—third‑party apps provide a richer feature set. Most VPN providers publish iOS apps that include automatic reconnection, a built‑in firewall, and even ad‑blocking capabilities.
Manual Configuration for Custom Protocols
Some users prefer to manually configure a VPN for custom protocols (e.g., WireGuard). While iOS doesn’t support WireGuard natively, you can install a dedicated app that supports it. Follow the app’s instructions to import a configuration file or set up a profile.
Use Apple Configurator for Bulk Deployment
Large organizations often deploy VPN settings across many devices using Apple Configurator. This tool allows IT administrators to push configuration profiles to multiple iPhones simultaneously, ensuring consistent security settings.
Switch to an Android Device for Cross‑Platform Testing
To compare VPN behavior on Android, you can use the how to set VPN on android guide. This is especially useful if you manage multiple devices and need a unified policy across platforms.
Understand MPLS VPNs for Enterprise Networks
For businesses that rely on MPLS VPNs, what is mpls vpn can be crucial. While MPLS is typically used in corporate networks, some small businesses also leverage it for secure, low‑latency connections between offices.
Explore What “Mean VPN” Means in the Context of Performance
The term what is mean vpn often refers to average VPN performance metrics. Understanding these metrics can help you choose a provider that meets your speed and reliability expectations.
Use a Free VPN for Quick Tests
If you want to test VPN connectivity without committing, many providers offer free tiers. However, be cautious of data caps and limited server choices. Always read the fine print before relying on a free service for critical tasks.
Leverage ExpressVPN’s Knowledge Base
For deeper insights into how VPNs work on iPhone devices, consult the ExpressVPN article on “what is VPN on iPhone”. It offers a broader perspective on encryption, privacy, and performance considerations.
Conclusion
Setting up a VPN on an iPhone is straightforward once you understand what’s vpn on iphone and how the native Settings app facilitates the process. The iPhone VPN setup guide outlines the essential steps, but the true power of a VPN lies in its ability to protect your data in an increasingly connected world.
By following the instructions above, you’ll have a secure, private connection that shields your browsing from eavesdroppers, governments, and advertisers. Don’t forget to apply the best‑practice tips: choose a trustworthy provider, keep your iOS updated, use strong passwords, and consider advanced features such as split tunneling or DNS leak protection.
Remember that every VPN service offers a unique blend of features, speeds, and privacy guarantees. Use the resources and links we’ve provided—whether that’s ProtonVPN for a free, secure option or a premium provider with advanced capabilities—to find the right fit for your needs. Stay informed, stay protected, and enjoy the full benefits of a reliable VPN on your iPhone. The journey to a safer, more private digital experience begins with a single step, and now you have the knowledge to take that step confidently.


